Cultivating Moss Part 2: Propagation Methods
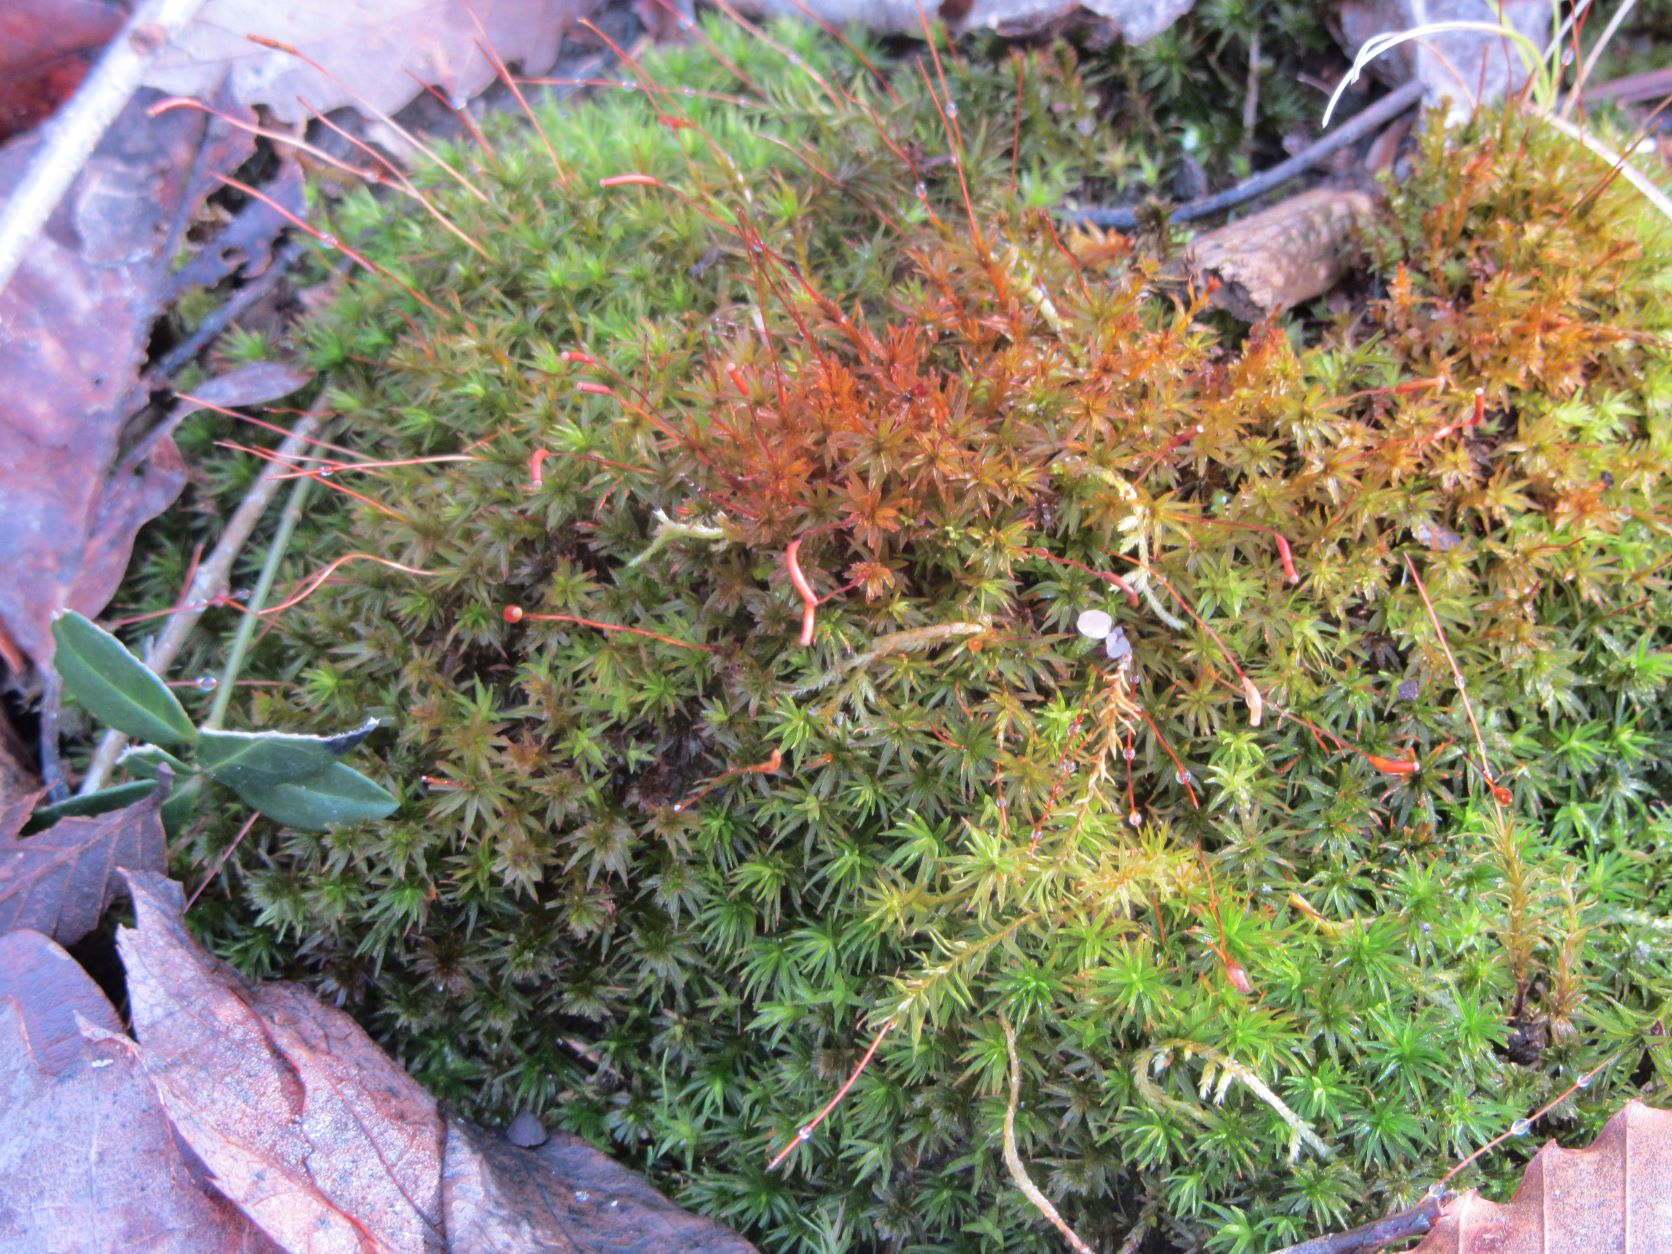
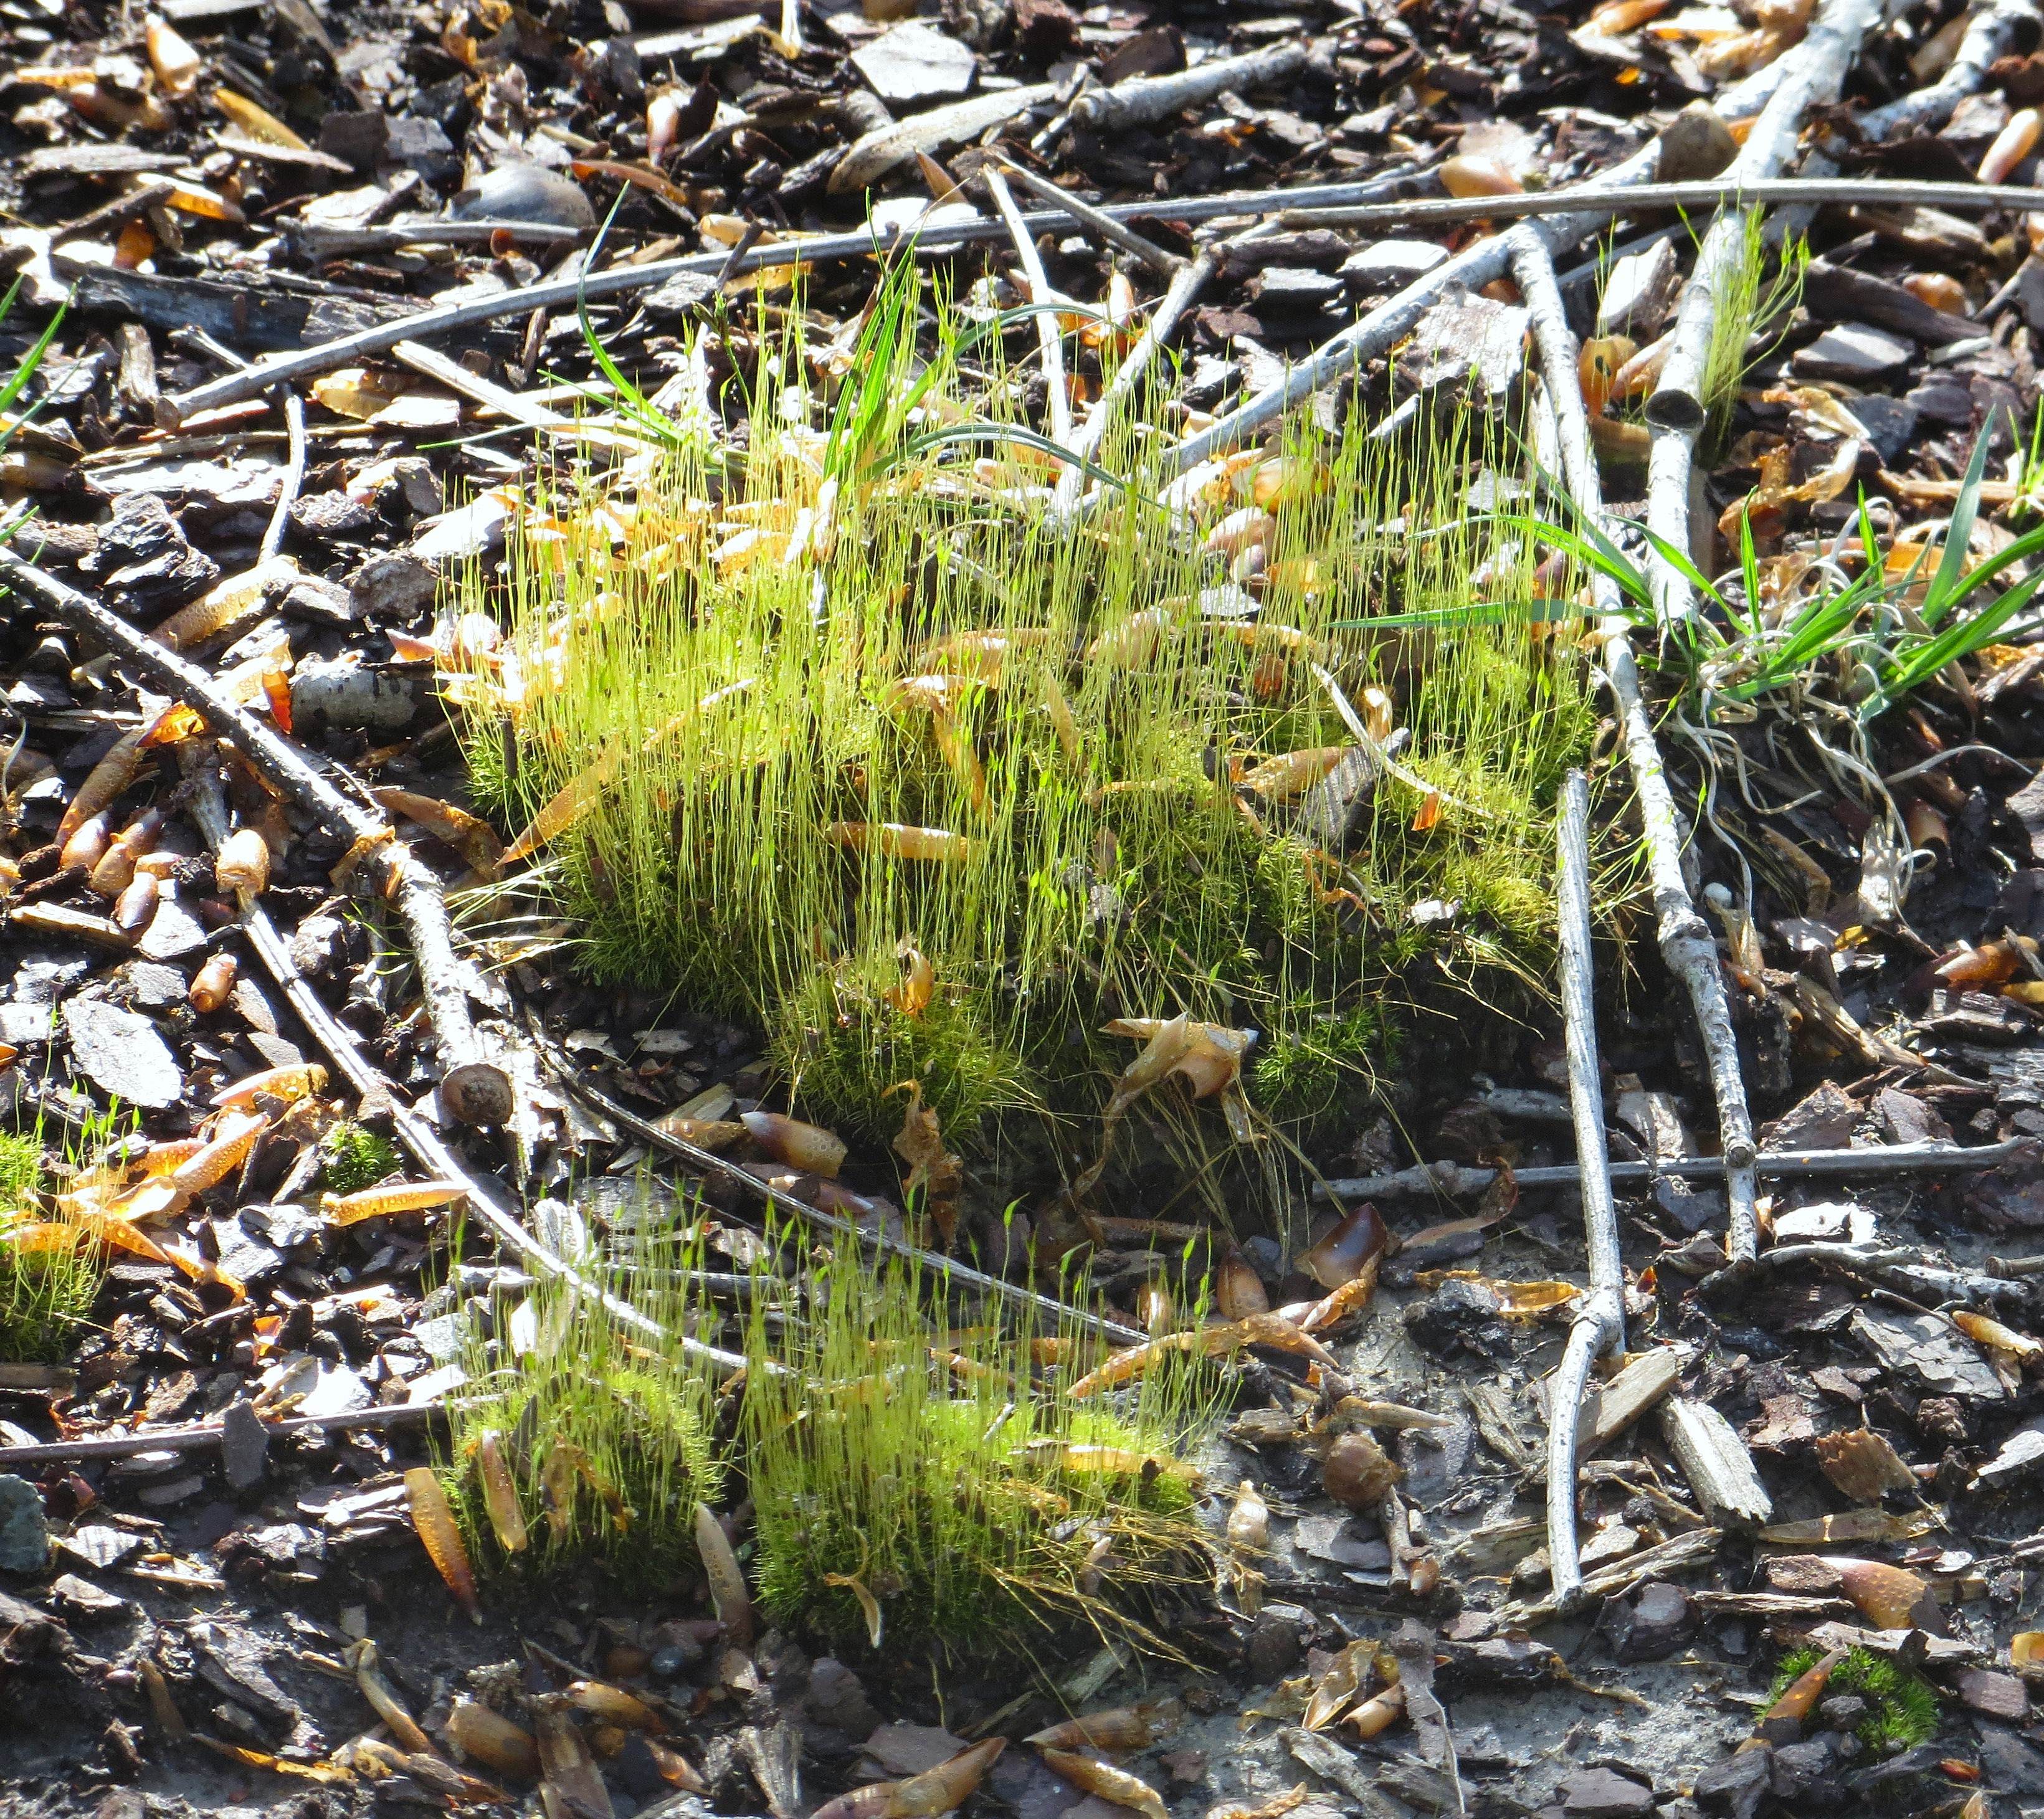
Spores ripen in capsules, held high above this haircap moss’s leaves. The capsules break open when the spores are ready to disperse on the wind.
Mosses are wild, native plants and find spots to grow where conditions support them. They reproduce sexually with tiny spores that blow on the wind. They need consistent moisture to transform from a spore to a small plant, but they do it without any interference from the gardener. One way to develop a moss garden is to provide favorable conditions and let the mosses colonize on their own terms. This may take several years, even with consistent efforts to keep the prepared area clear of debris and other plants, and to keep the moss colonies moist.
There are ways to propagate mosses for faster coverage. Every small bit of moss can grow into a new moss plant with a stem, leaves, and rhizoid.
Thuidium delicatulum, delicate fern moss, is easy to propagate and makes an excellent ground cover for a mossy ‘lawn.’
Propagation Techniques
Some gardeners dry clumps of moss, crumble them, and use them, dry mixed with sand, or moist mixed with a slurry of diluted yogurt, buttermilk, or beer, to spread tiny bits of moss over a larger area. Early recipes for moss slurry often failed. Newer recipes call for ½ teaspoon of water storing polyacrylamide ‘crystals’ added to ½ cup of dried and shredded moss, blended with 2-3 cups of liquid. There are many recipes out there, and some of the books in the bibliography in Part 3 offer specific recipes and directions.
Always begin with dry moss for the sand or the slurry method. Gather and clean the moss of small sticks or grasses, then lay it out on paper indoors, out of direct sunlight, for 3 to 4 days to completely dry enough to crumble. The moss prepares itself, as it dries, to quickly regenerate from any cell. Tear, snip, or crush the moss before mixing it with dry sand or into the liquids and water storing crystals solution.
The solution of beer or highly diluted dairy helps the fragments of moss adhere to a surface, like a clay pot or brick wall, while also providing the acidic environment and some nutrients that most mosses need. When ‘seeded’ in this way, the moss fragments require consistent moisture to re-grow into new plants. Mist the treated areas daily with distilled water or rainwater until new growth is established. You might cover the slurry with moist cheesecloth until growth begins, which will look like algae at first. Crumbled moss mixed with sand may be sprinkled to establish moss on a flat surface while the liquid slurries may be used on flat or 3-D surfaces.
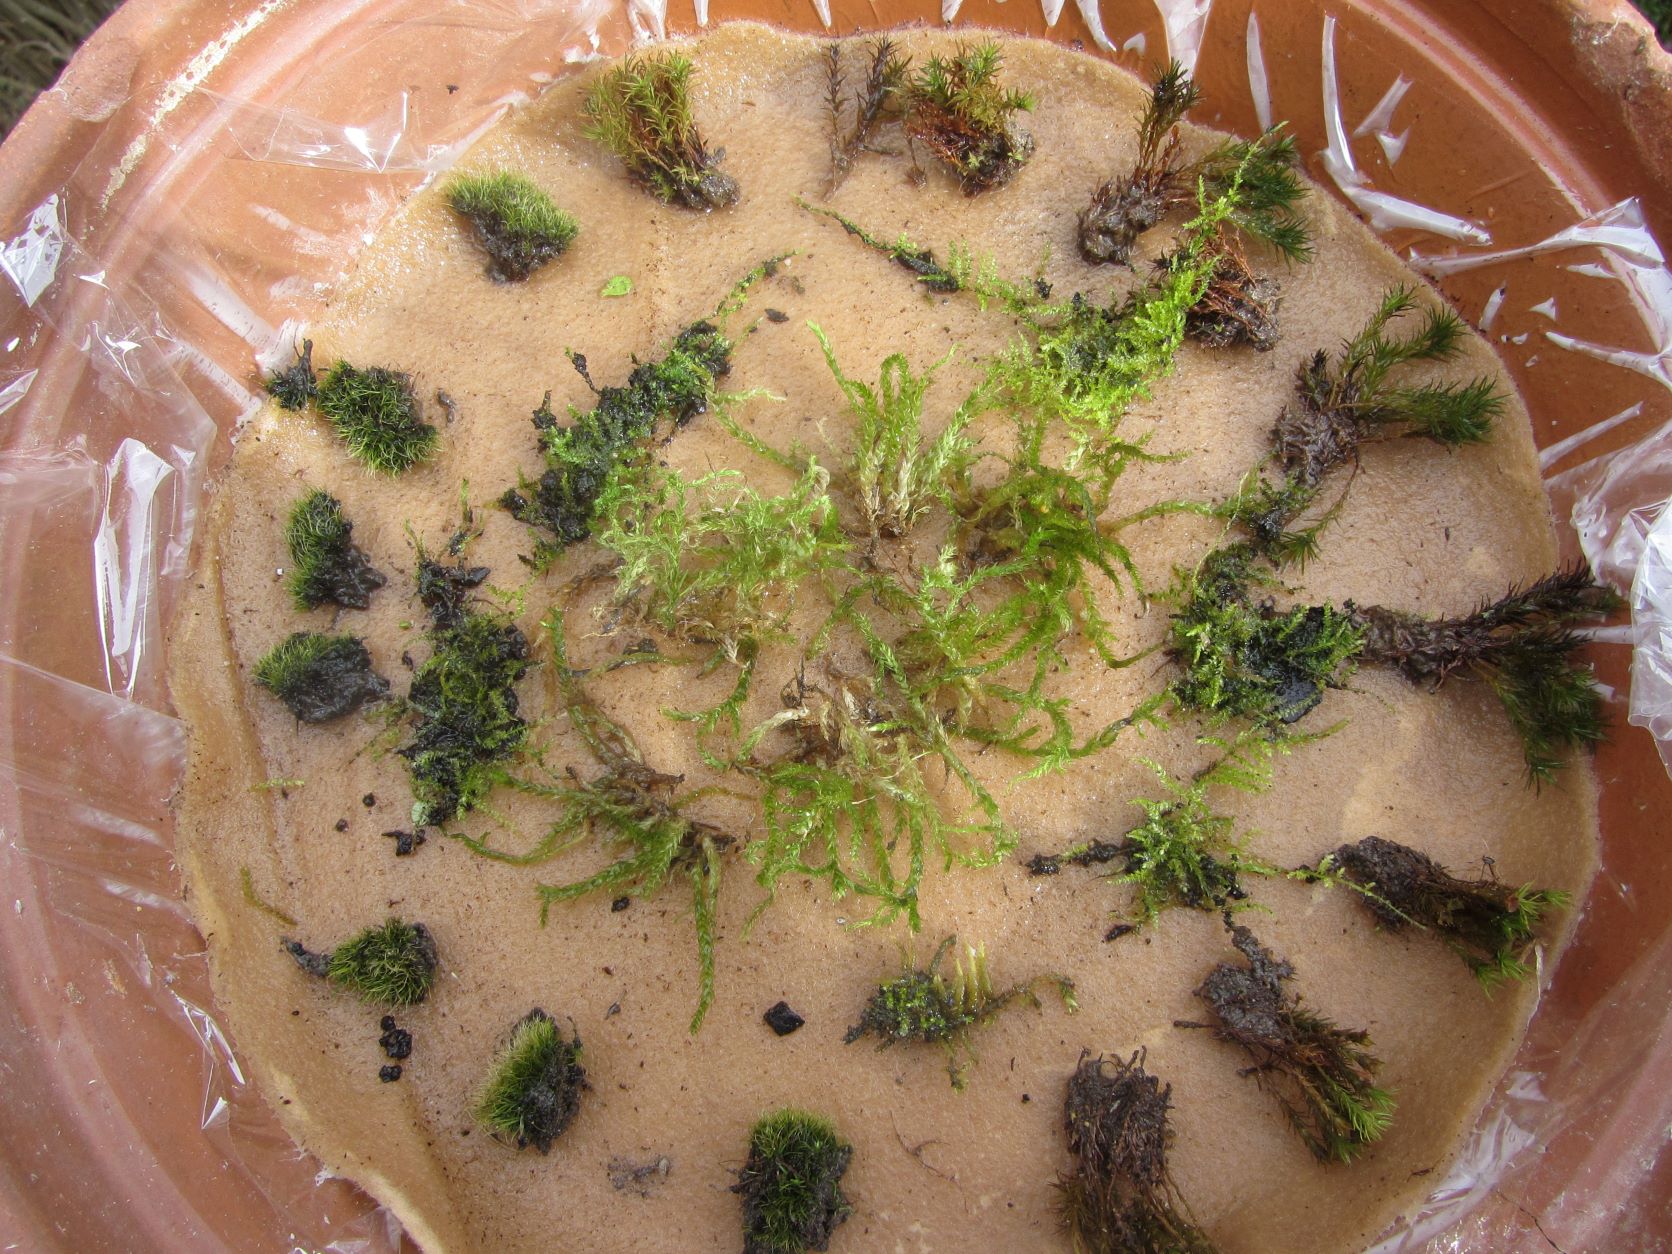
A ‘moss mat’ propagation system begins with one or more layers of synthetic felt moistened with distilled or rain water. A layer of plastic below the felt helps conserve moisture.
The Moss Mat Propagation Method
Another, faster method to grow moss from fragments is the ‘moss mat’ method described by Richard R. Smith in his 2012 book, New Methods in Moss Gardening: How to Grow Mosses in Gardens and Landscapes. He recommends growing mosses on sheets of synthetic felt, which holds moisture and has a neutral pH.
I am experimenting with making moss mats this month and gathered moss fragments from my own yard for this project. Finding moss locally ensures growing mosses that are well-adapted to thrive in our own area. Mail-ordering fresh or dried moss may introduce a non-native moss that needs different conditions to grow well.
The heart of the moss mat is the felt, which supplies moisture to the fragments and allows them to latch on to the thick fabric with their threadlike rhizoids. Smith recommends using a sheet of plastic under the felt to help conserve moisture and prevent soil beneath the mat from wicking moisture away from the moss. The plastic also discourages weeds. A layer of airy tulle above the felt protects the moss from disruption by birds or other animals, shades and protects the moss from drying winds, and keeps anything that falls on the moss from smothering it.
Pull the moss into small clumps. New moss plants grow along the edges of clumps. Plantings can be made with just one, or with a mixture of moss species.
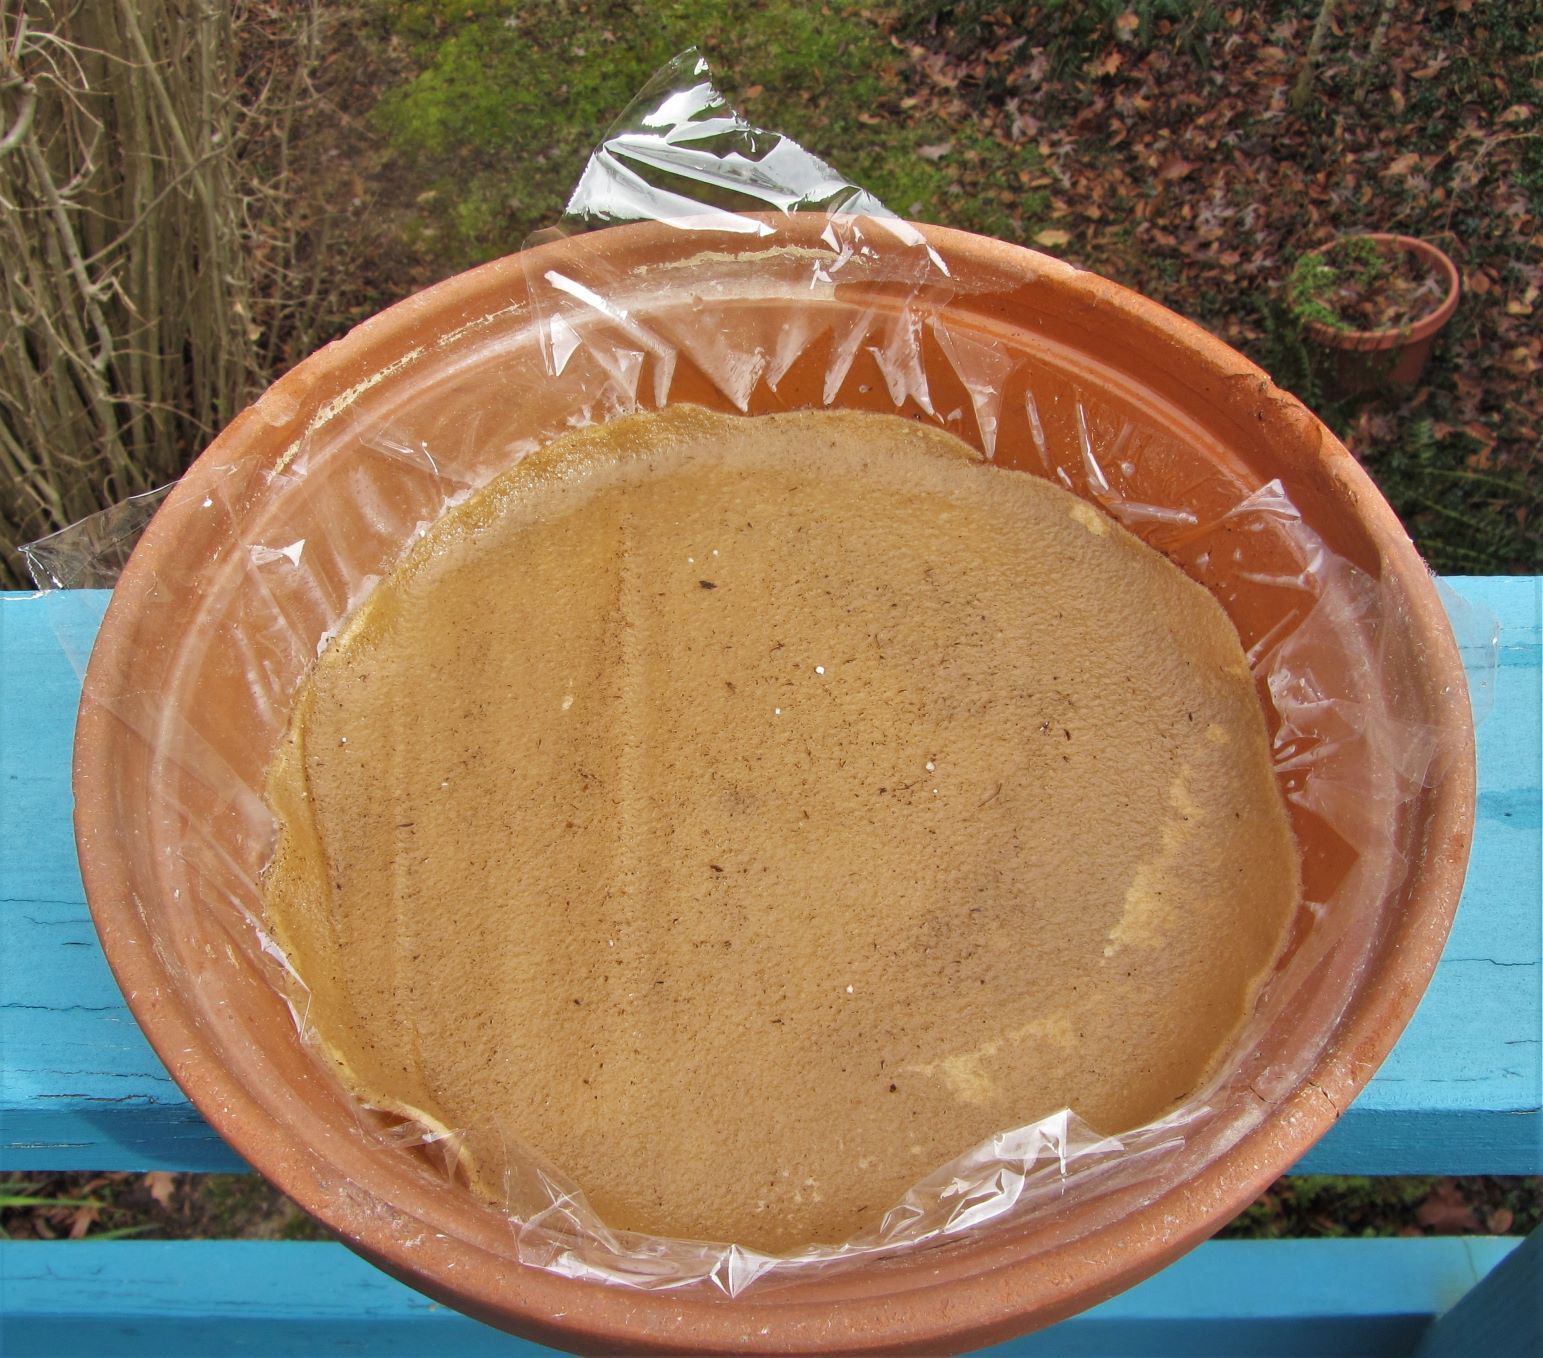
Smith doesn’t explain how to secure these layers of a moss mat together. If used directly on the ground, floral pins can secure the layers in place. I am experimenting in a clay saucer, in nursery flats, and in a plastic bin. I pinned the layers together in the saucer, and simply tucked the tulle under the plastic and felt in the bin and flats.
While bits of moss can be torn into very small pieces, Smith recommends using hunks of at least an inch to reduce the time it takes to grow into a solid sheet of moss. Moss grows fastest along the edges of a clump, so this allows for lots of room to grow and expand around every small clump. Remove all the little bits of grass or other vascular plants that may be caught in your moss fragments before placing the moss on the mat to grow. Moss slurry can also be painted onto a moss mat to speed it growth into new moss plants.
Once the moss begins to grow and spread on the felt, the mats can be cut into smaller pieces. It is easy to cut an opening in the mat to plant ferns, bulbs or other plants directly through the mat into the soil below. Moss plants will grow up through the tulle, hiding it.
Follow up: This ‘moss mat method’ was a total failure for me. The moss didn’t grow on the mat and it ended up as a waste of beautiful moss and of resources. In retrospect, I wish that instead of planting these pieces of moss in trays on felt that I had instead filled the containers with an inch or two of soil and planted the moss in/on the soil. I believe the moss would have grown, and it would then be easy to transplant clumps of growing moss out into the garden.
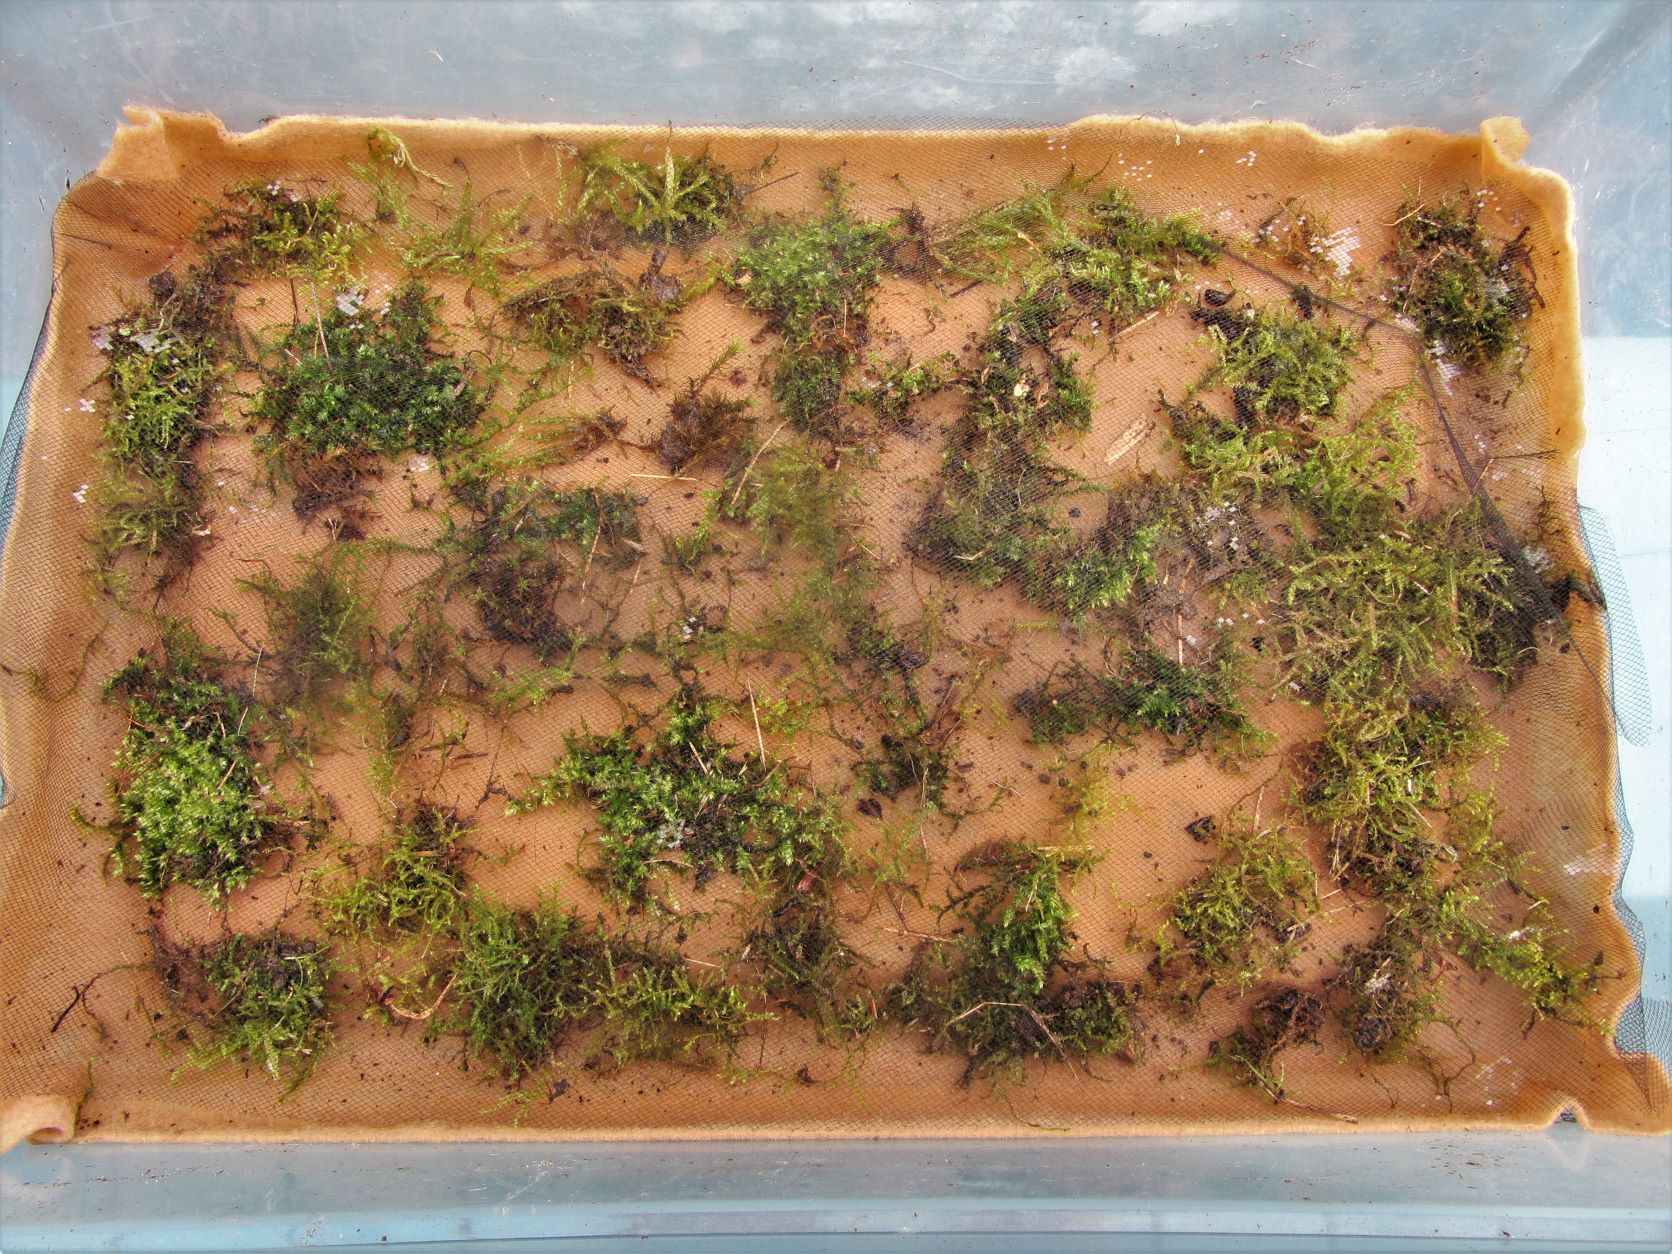
Cover the planted moss mat with black tulle to protect the moss fragments.
Finding Moss to Propagate:
Take along a plastic bag or box when collecting mosses, to keep them fresh. Every little fragment can be used. Never collect in public parks or on private property without the permission of the property owner. Remember that even small bits of moss recovered from the spaces in a sidewalk, or little bits growing in the lawn or along a foundation may be used to propagate larger areas of cultivated moss.
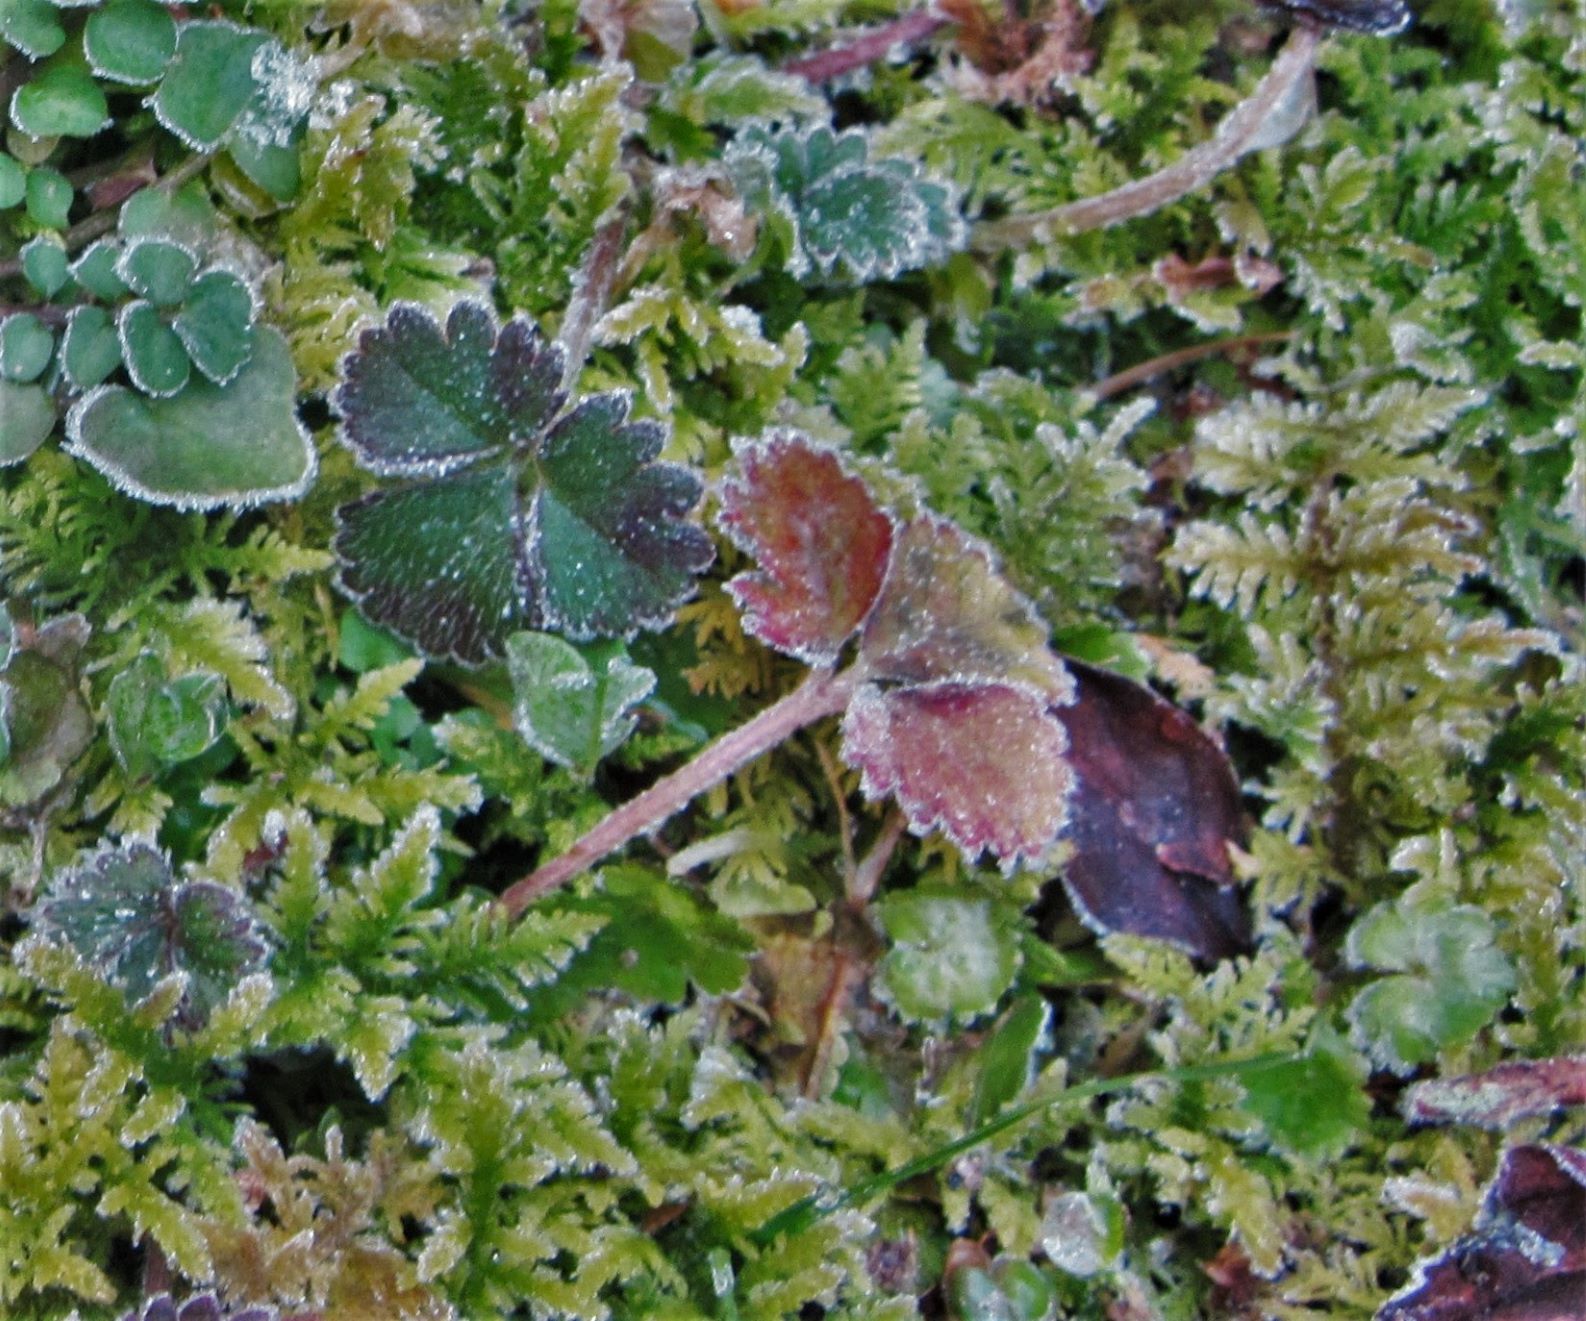
While most of us will never be able to glance at a moss and identify it by genus and species, we can learn to identify types of mosses, understand how they grow, and perhaps even recognize their genus. Only a few mosses earn common names, and there are no named selections, cultivars, or improved hybrids. We are always working with the ‘wild’ native species as we garden with mosses.
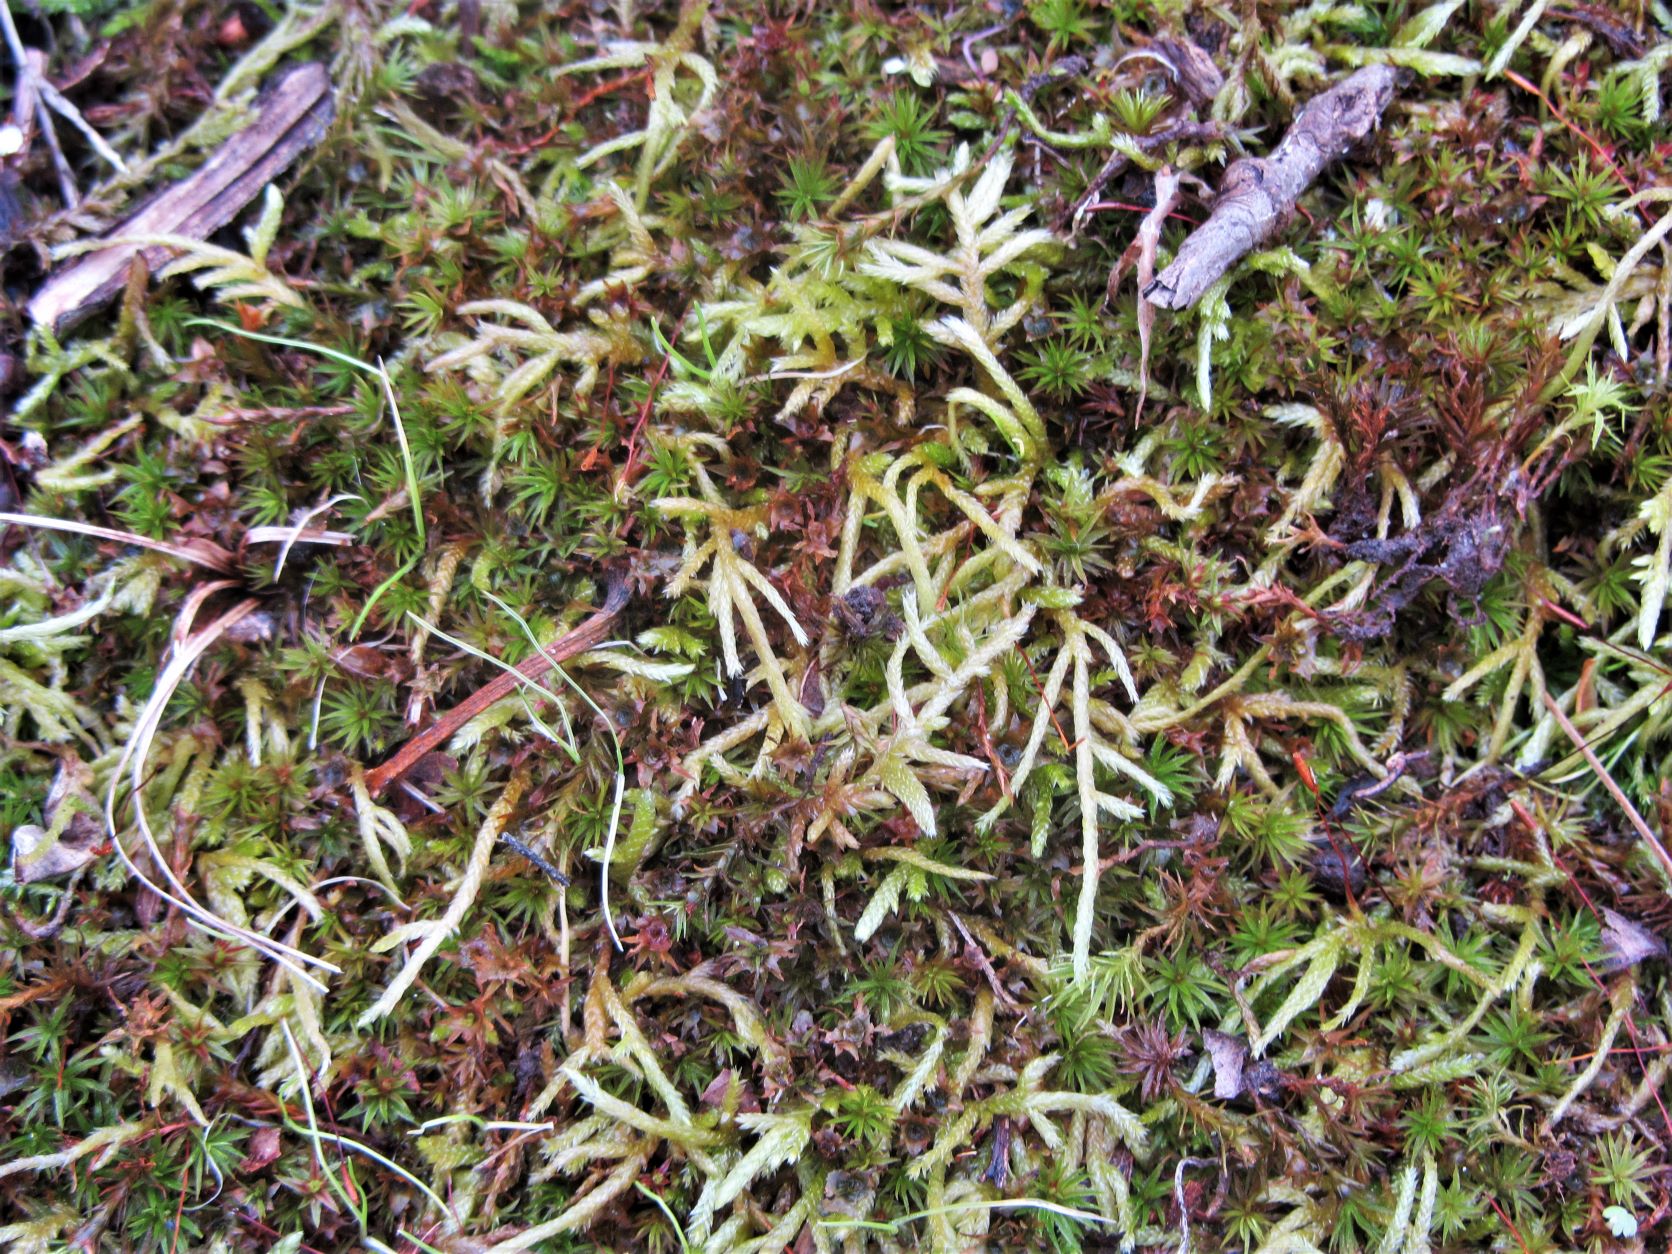
The very shiny moss growing sideways is Entodon seductrix, toothpick moss. It is growing with haircap moss under mature trees.
General Types of Mosses:
Some mosses grow upright, closely packed together, and hold their spore containing capsules upright, centimeters above the moss’s leaves. You may hear some of these called ‘pincushion moss,’ because they grow like little velvety green pincushions. Other mosses spread out, growing sideways, with capsules growing out to the sides from the far-branching stems. Some of these are almost fern-like in appearance and may be called ‘fern moss.’ In general, the upright, tightly packed mosses can stand more sunlight and drier conditions like cracks in the sidewalk and between bricks. The spreading mosses prefer a shadier, damper environment.
The shape of a moss’s stems and leaves, and the way it grows, can indicate how much water it needs to thrive. Mosses need to be damp to photosynthesize. Once they dry out, they can no longer produce food and pause their growth. The more a moss’s form helps it to retain water when the weather turns dry, the better suited it is for drier, sunnier areas.
Mist a new moss planting frequently with rainwater or distilled water. Minerals dissolved in water and its pH will affect the moss. Watering with tap water may eventually kill the moss by raising the pH of the planting and by adding chemicals used for water purification to the soil, particularly when the moss grows in a confined container.

Delicate fern moss, Thuidium delicatulum, appreciates shade and moisture for its best growth.
Keeping Container Plantings Alive and Happy
When you want to establish moss on potting soil in a container, irrigate with slightly acidic water. Oddly enough, adding a little beer to the water may help moss to establish faster by providing nutrients while lowering the pH of the planting. Beer has a pH ranging from around 4-6, depending on the type of brew, and is a frequent ingredient in several ‘home brew’ fertilizer tonic recipes. Tea is even more acidic and may be used in a similar way to lower soil pH. Brew an already used tea bag in a gallon of warm distilled water until the water is light brown, then use this to water the container with moss.
Growing moss indoors is difficult because moss requires good air circulation. Molds and fungus may invade a planting that doesn’t have exposure to wind and natural light. A terrarium can be deadly to moss unless it is grown under grow lights and is opened regularly for fresh air circulation. Indoor moss plantings should be moved outside into the shade every few days for the same reason.
Cold weather, snow and ice won’t harm moss native to the area. Moss will thrive under snow because light can penetrate and the slowly melting snow feeds and waters it.
Gardening on the Wild Side
Careful observation helps us to refine our gardening skills. Even without knowing a moss’s proper name, we can care for it successfully by noticing where it was growing before we collected it and then giving it similar conditions.
A moss growing in the right place will tend to itself. We can help it along, especially when the weather turns dry. We can protect it from birds who want to transplant it to their nests or push it back in place when a squirrel or deer has kicked it up. We can help it spread around our garden. But mostly, we should just sit back and enjoy it.
Moss brings beauty and calm to our garden spaces. It protects the soil and doesn’t need fertilizing or mowing to stay beautiful year after year. Gardening with moss is gardening with nature, in its purest form.
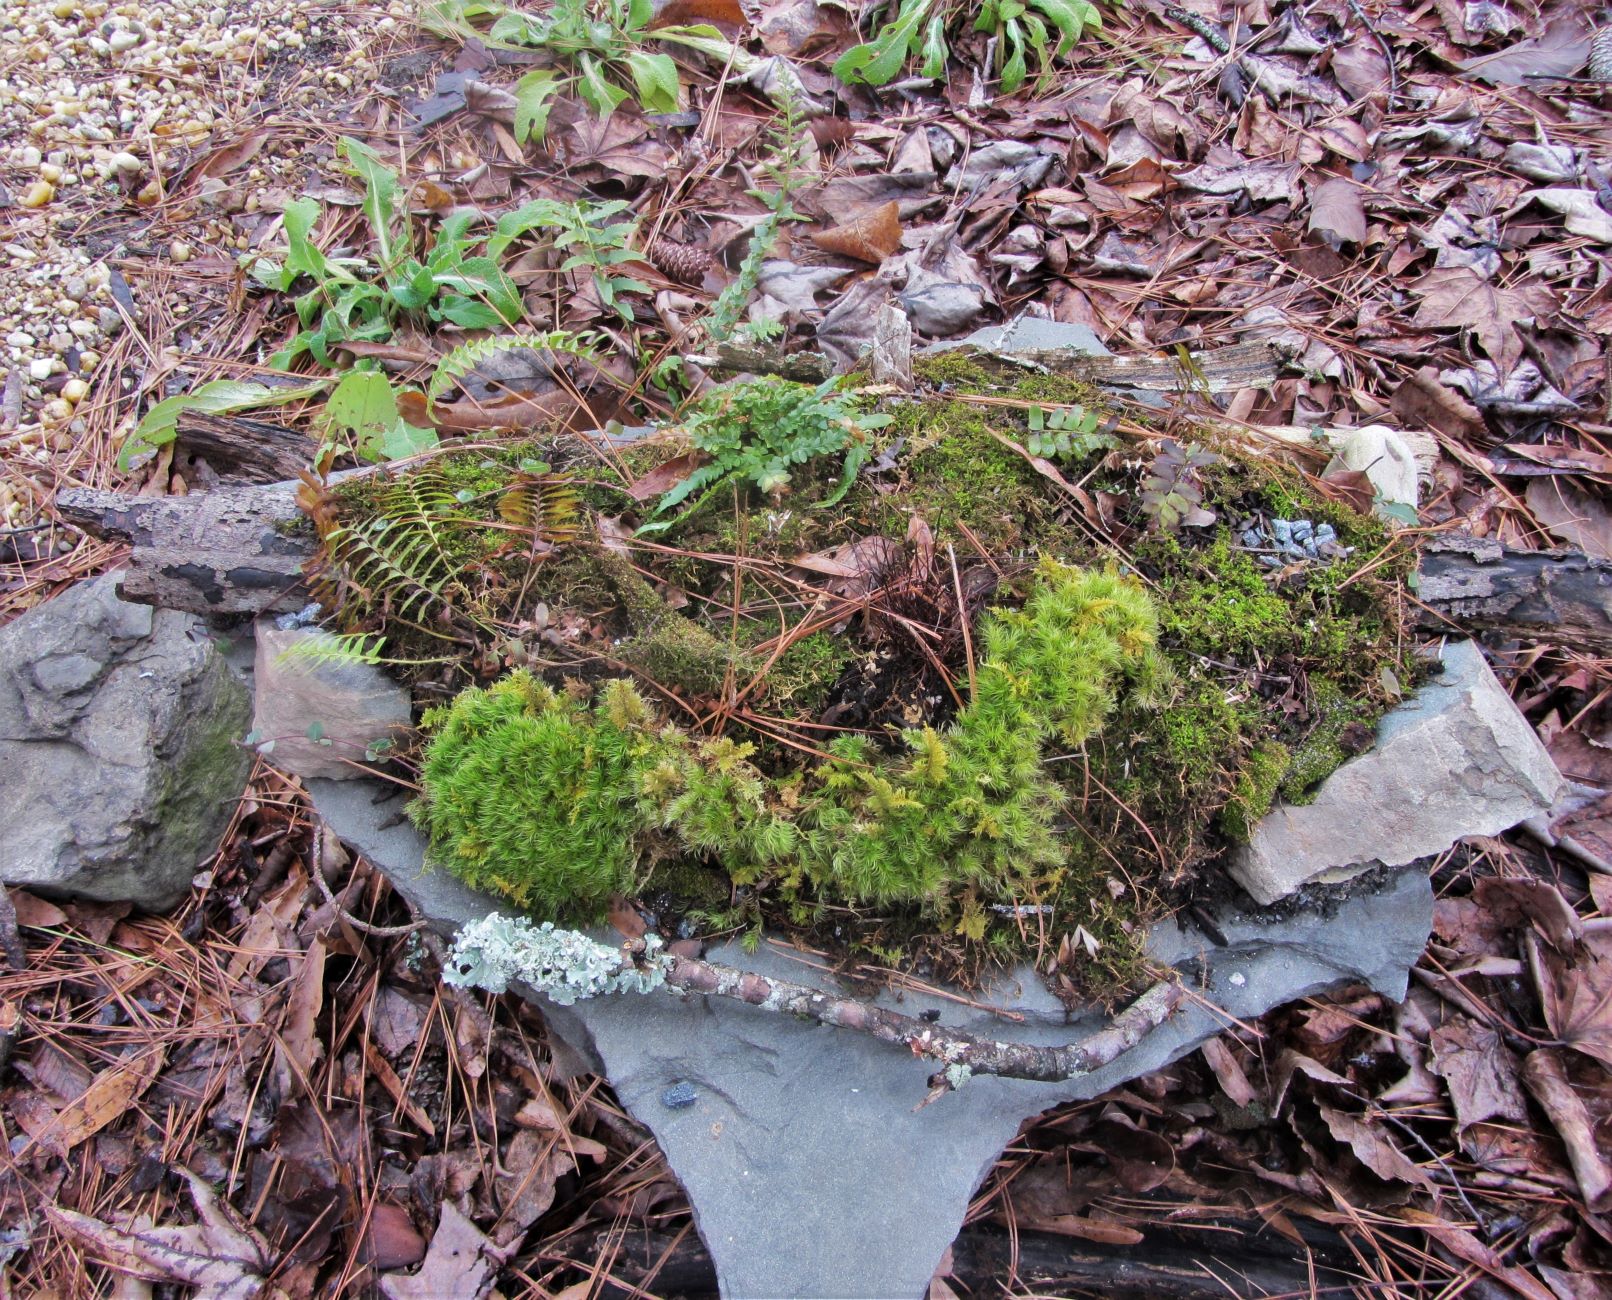
A variety of mosses grow on this fern table at the Williamsburg Botanical Garden.
How did you do with your quiz? Find the answers below:
The Moss Quiz Answers
1. Which will kill moss the fastest? Watering it with tap water
2. Will moss make new roots if you transplant it? No, because moss doesn’t have roots.
3. Can I share my beer with my moss? Yes, use 1 part beer to 3 parts rain or distilled water when making a slurry with crumbled moss, or add a little beer to distilled or rainwater to mist moss growing on potting soil in a container.
4. What is the fastest way to establish a new moss planting? Shred and spread my moss, because fresh moss, broken up into small pieces and attached to moist compacted soil of the proper pH, or to a moss mat will fill in more quickly than spores or slurry. Moss grows from the edges of a clump out, so smaller clumps offer more growth potential than large ones.
5. Where is moss least likely to grow well? In a terrarium, because it may not receive enough light or air circulation. If the terrarium is made with potting soil and tap water, the pH may be too high for the moss to survive.
6. Can I order hardy hybrid moss seeds from a supplier? No, because moss reproduces with spores, not with seeds. Native moss is suited to its environment and will remain green all winter. Named hybrids or selections aren’t available.
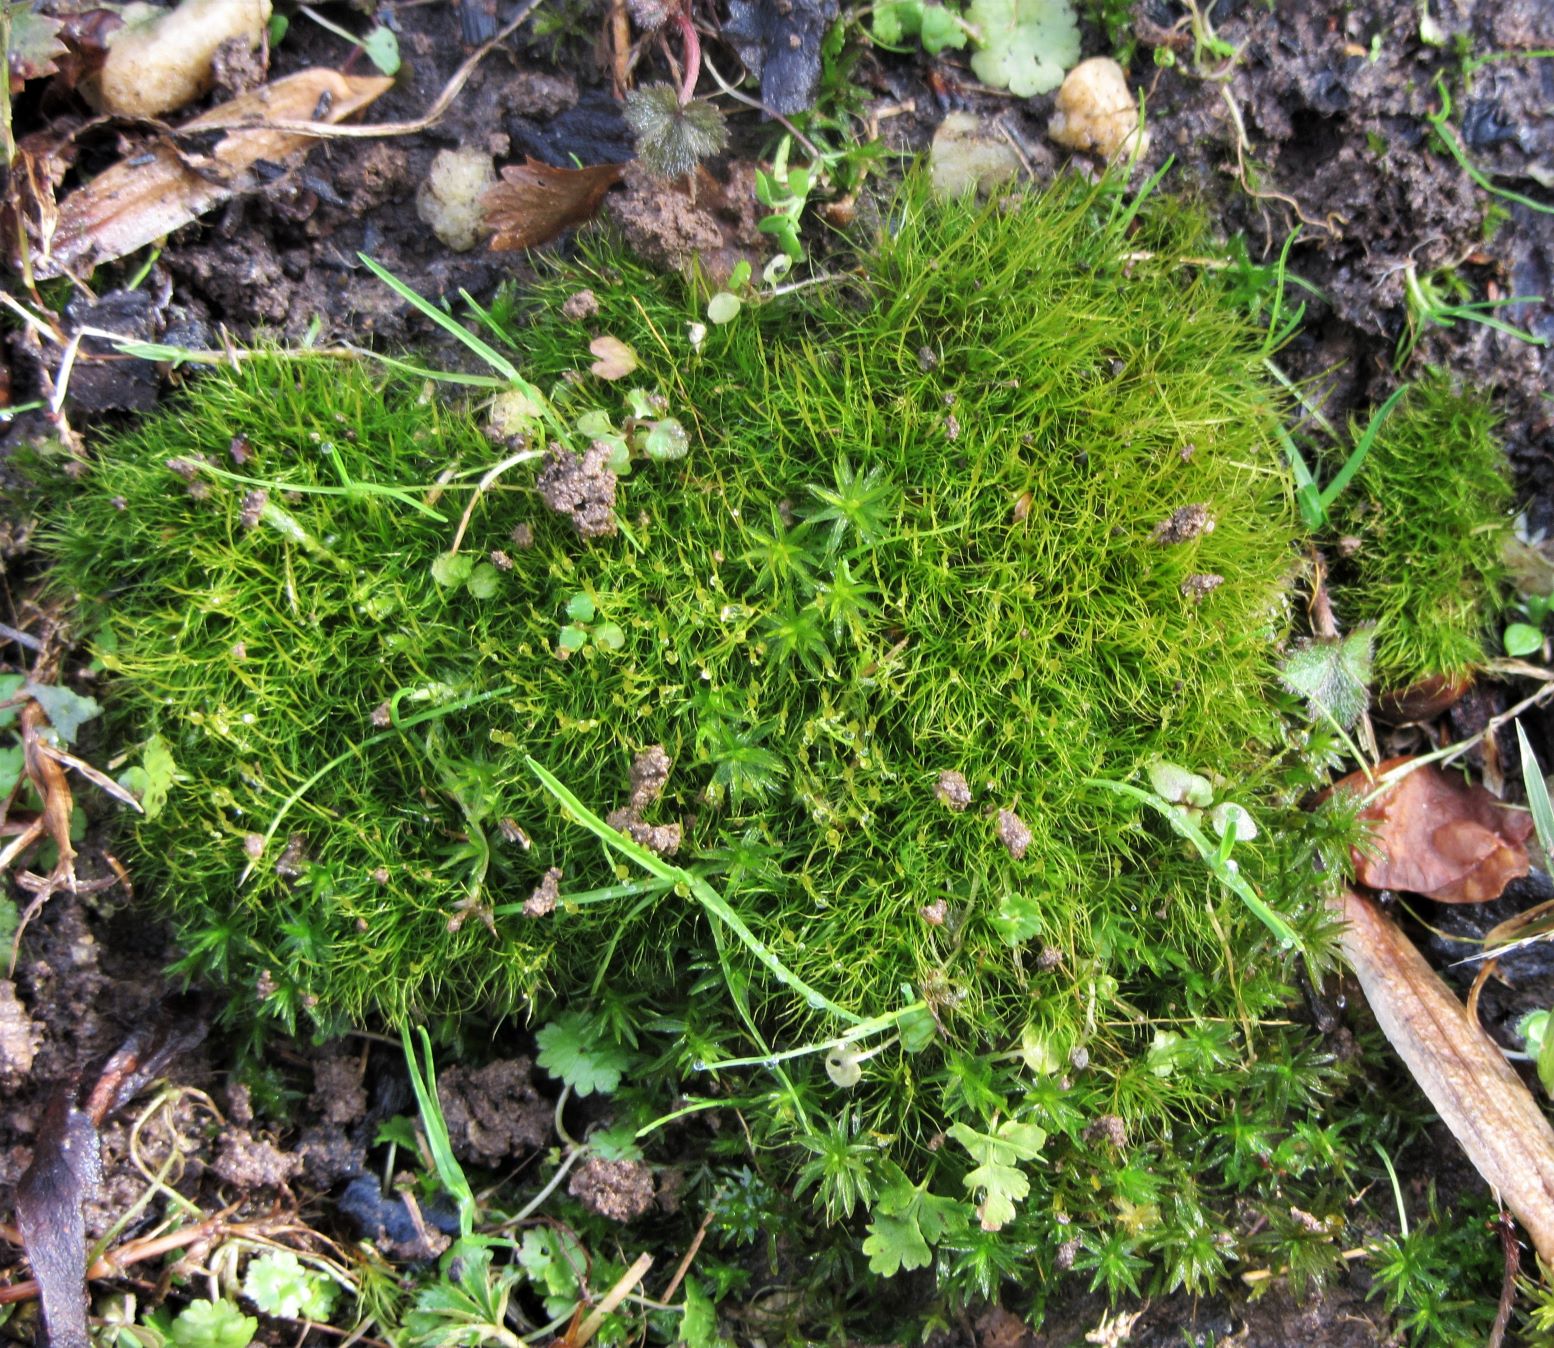
Dicranum scoparium, broom moss
All Photos by E. L. McCoy
Cultivating Moss Part 1: Native Mosses in the Garden
See Cultivating Moss Part 3 for more photos and further resources