
How to Make a Natural, Compostable Wreath
You may already have everything you need to make a simple, wildlife friendly, natural Christmas wreath. Can you remember Christmas before the decorations were all made with plastic and came from a store? This is a simple wreath that you can make in an afternoon, enjoy during the season, and then add to your compost pile. It will be fresher, more fragrant, and will last longer than any purchased wreath. Best of all, you can find the materials as you prune and clean up your yard this month.
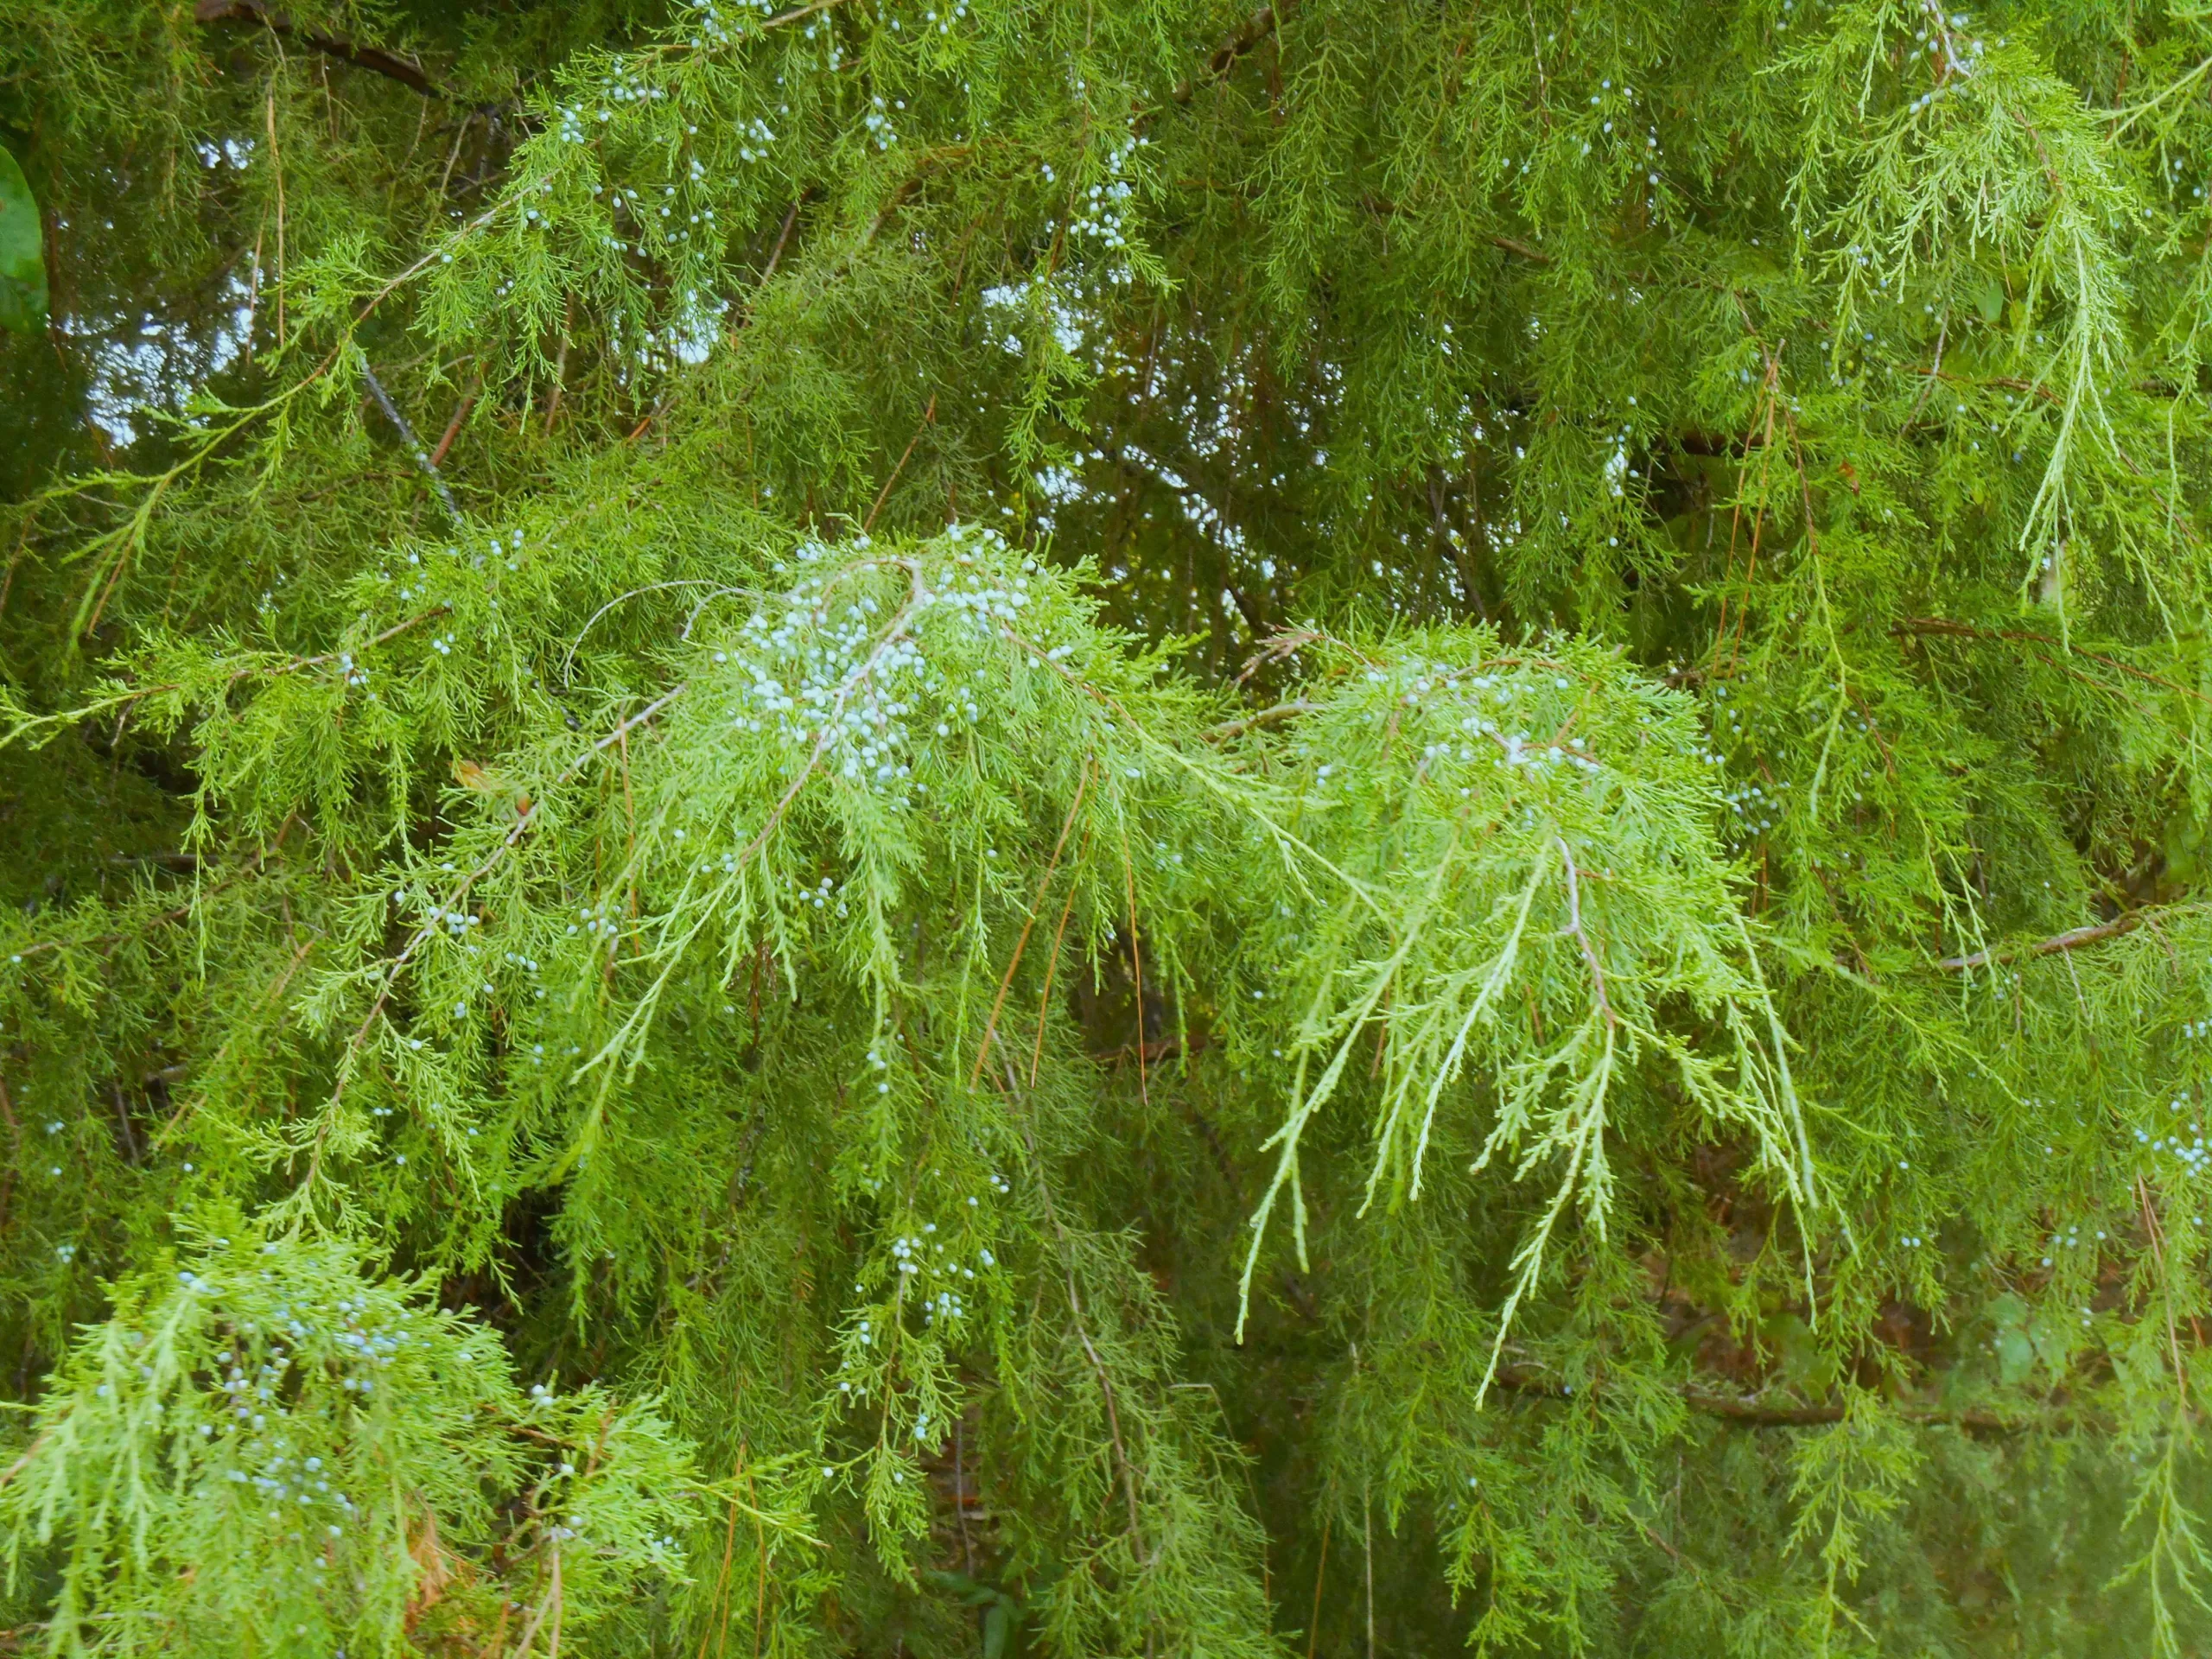
Red cedar, and other evergreens with berries, can be pruned now to use in your wreath. Evergreen branches you cut away probably won’t regrow, so prune from the base of the shrub and from places that won’t be too noticeable.
Construct a Base
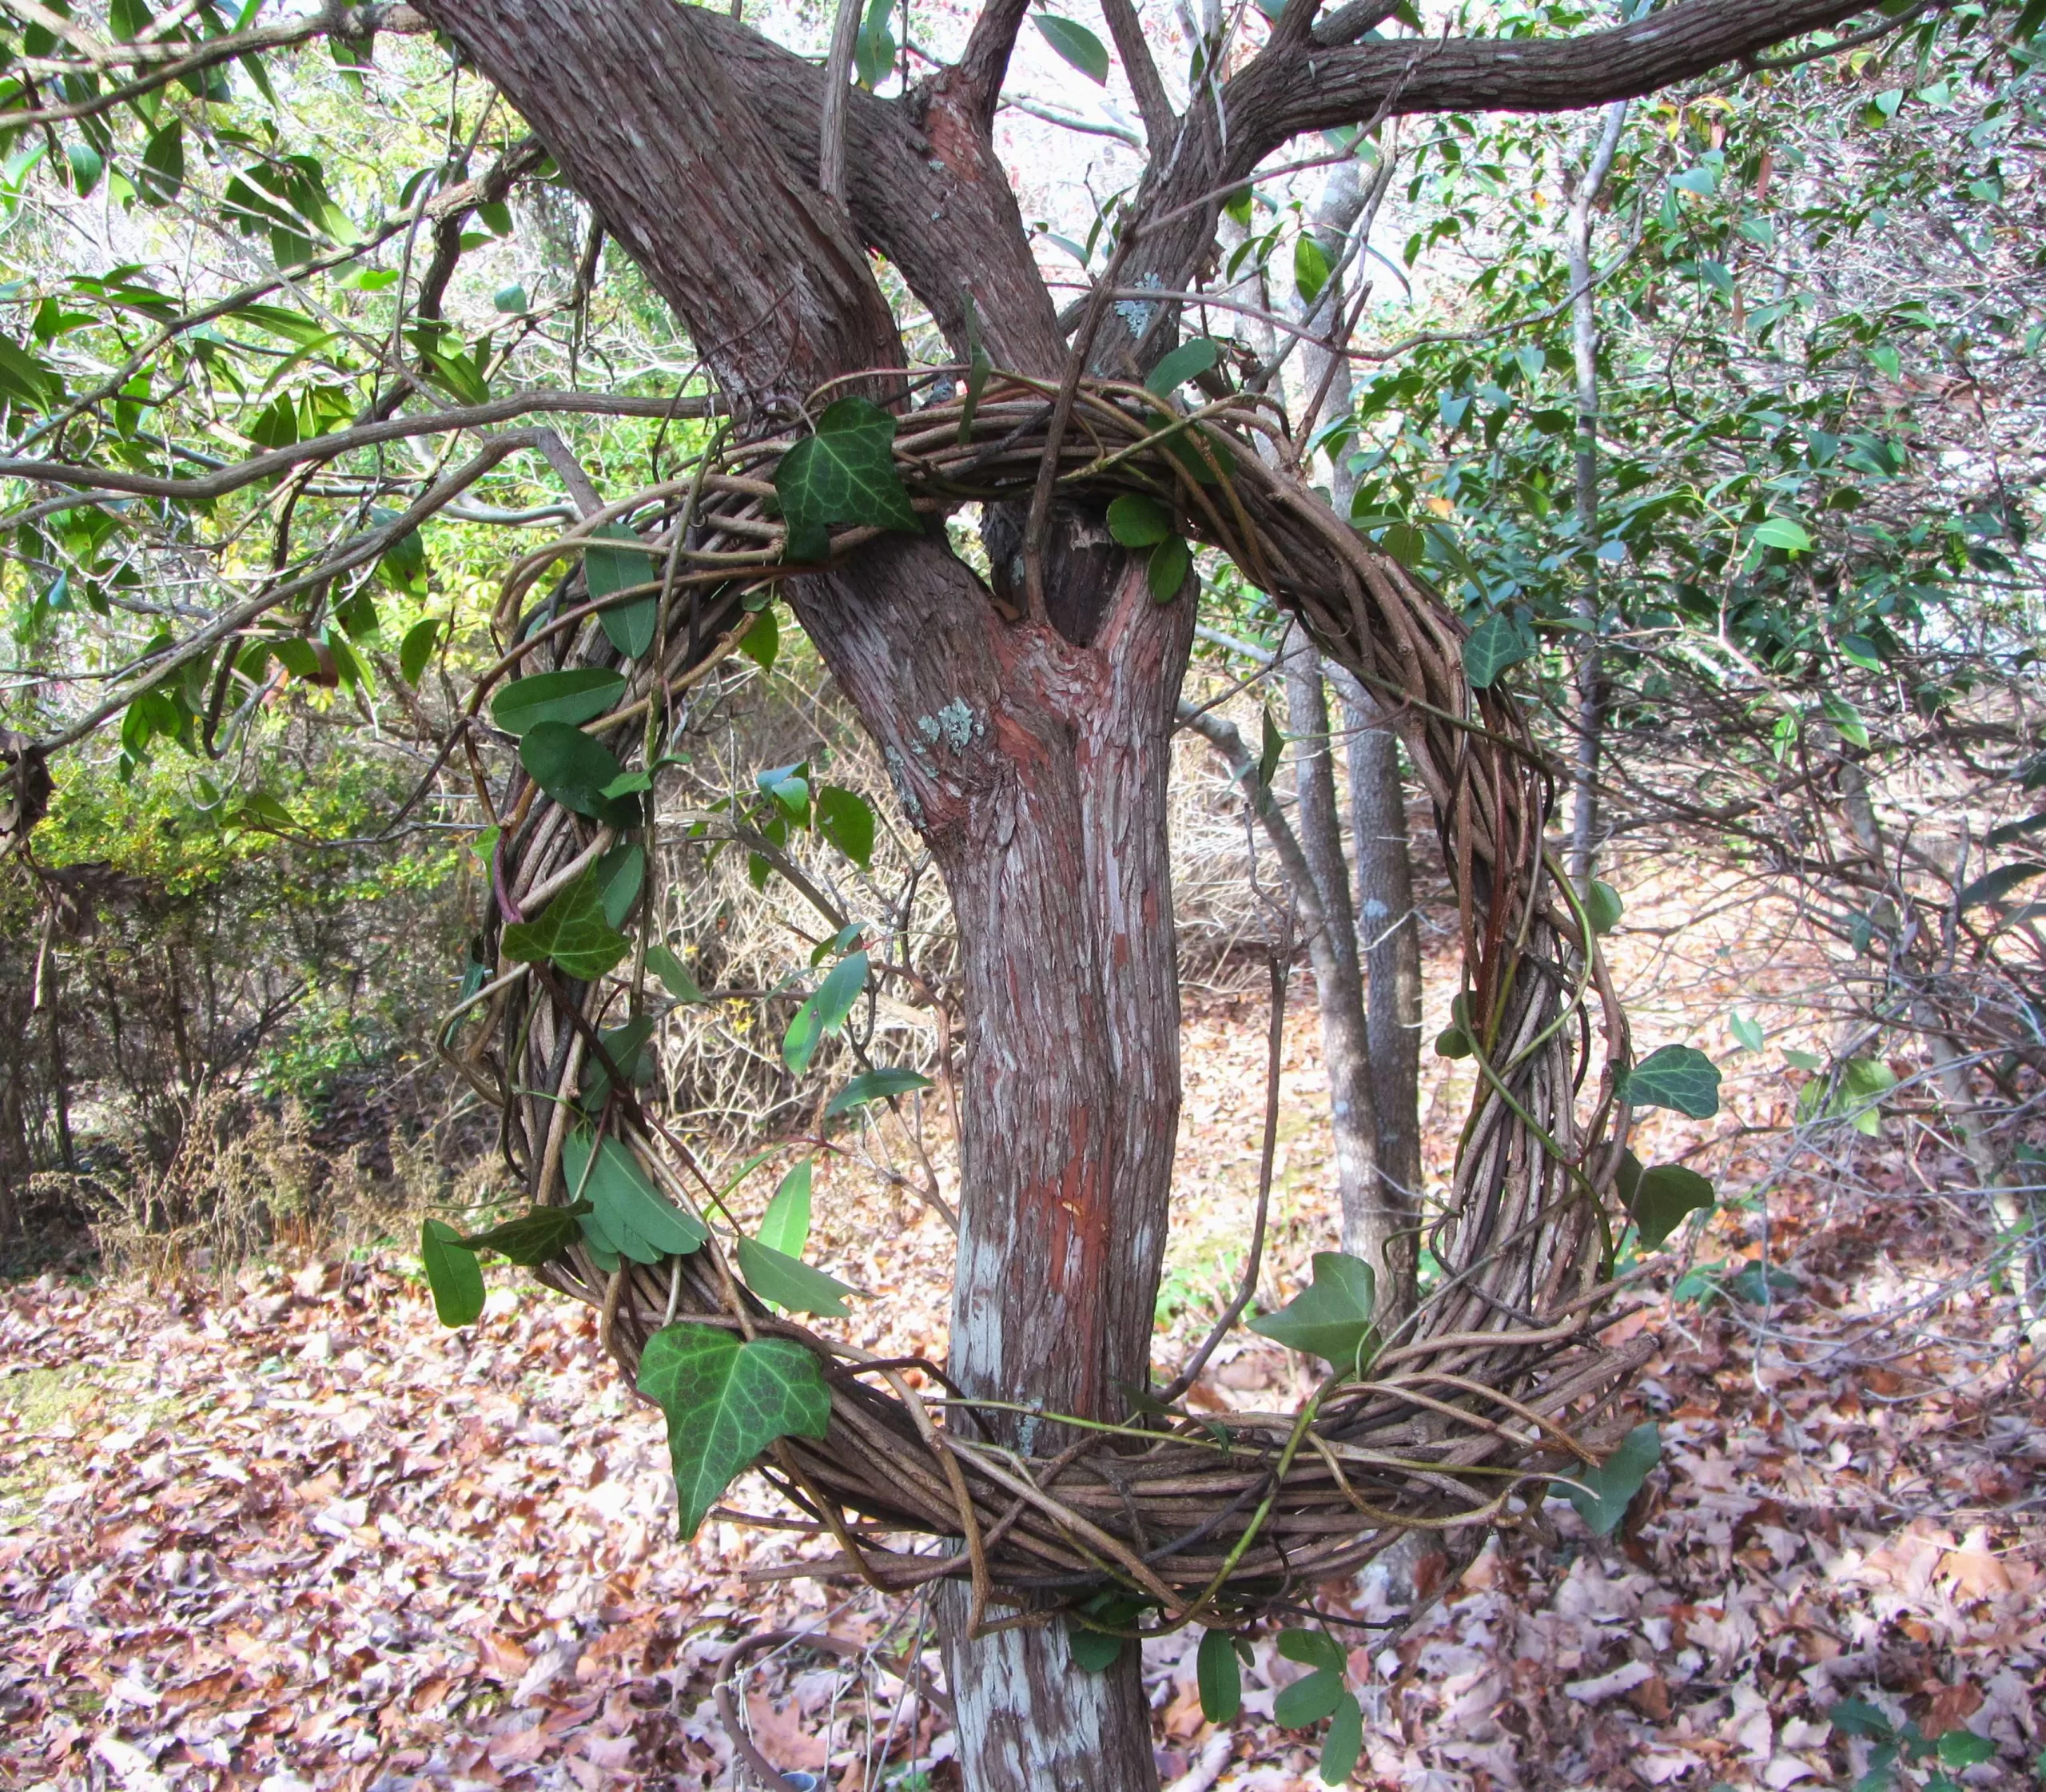
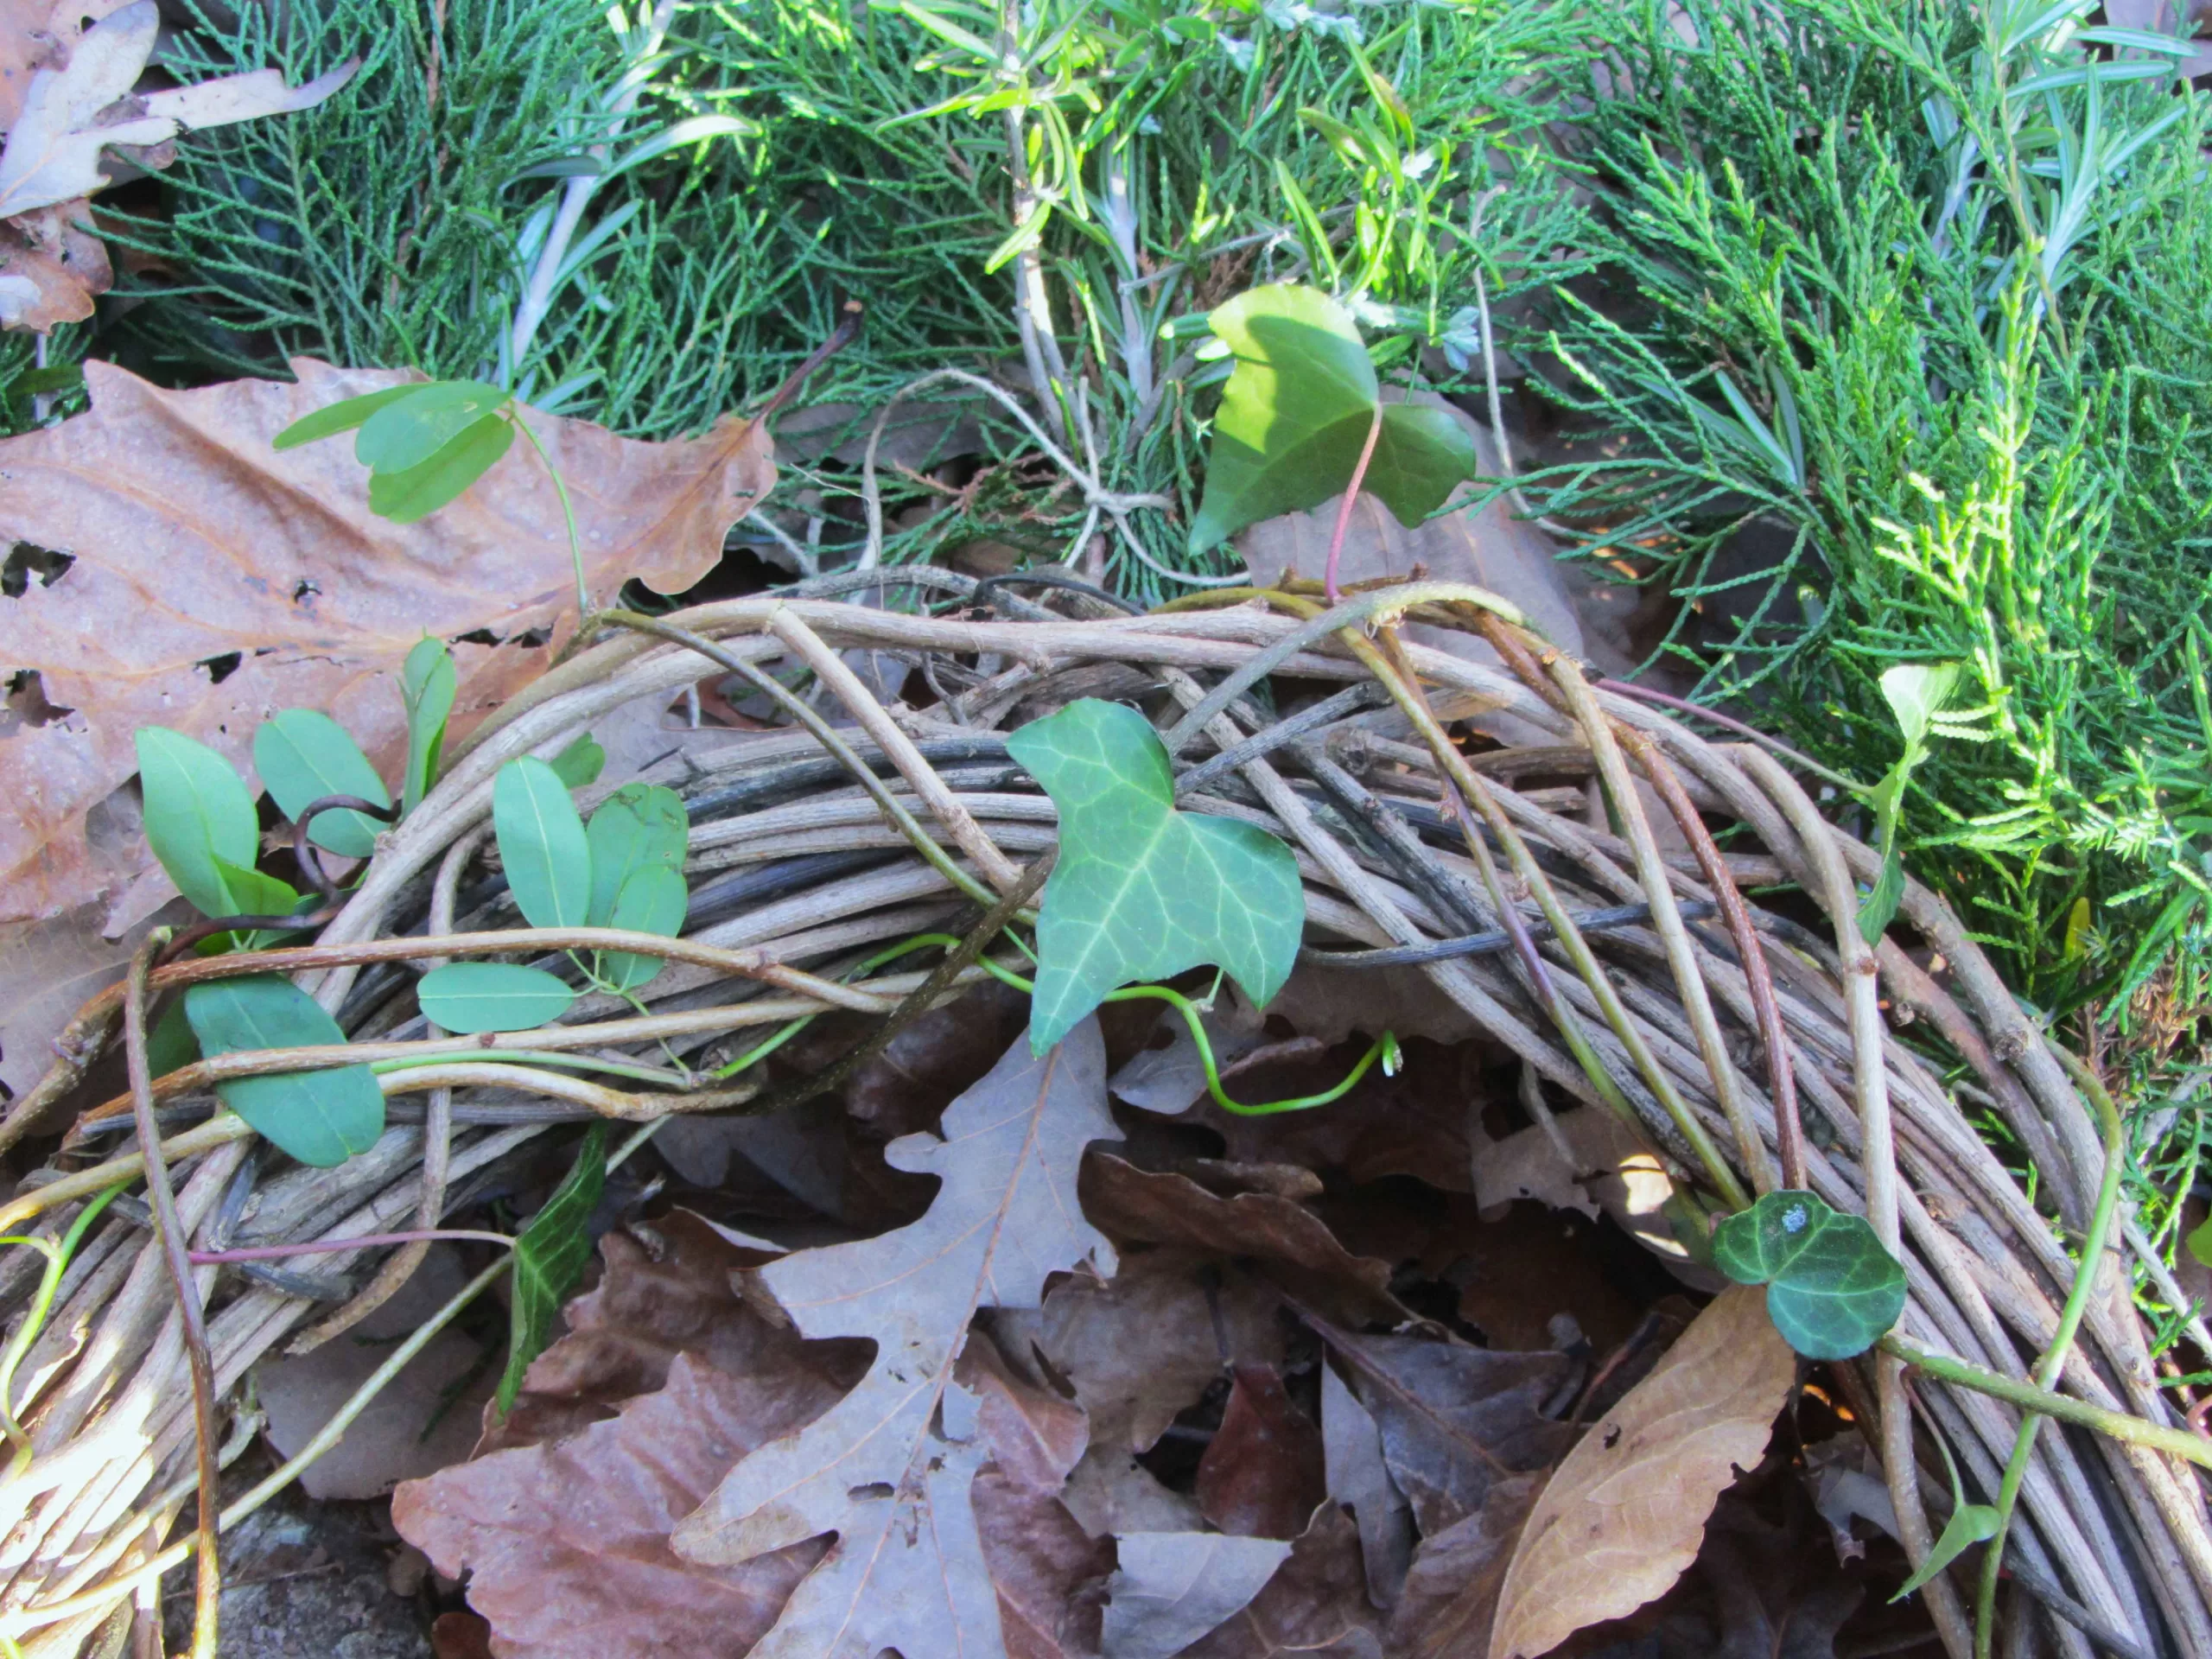
Begin with vines, most likely aggressive or invasive vines, that you need to prune out of trees and shrubs each winter, anyway. We have several vines that keep growing back in our yard, and whenever I trim them out of shrubs, I usually weave the long runners into a wreath to manage them. Use honeysuckle, ivy, grape vines, or any other sturdy vine you can find. But, ‘Leaves of three, let them be.’ Vines with only three lobed leaves are most likely poison ivy or poison oak, which will give you a nasty rash if you handle them. Virginia Creeper is easy to confuse with poison ivy, but most of its leaves have five lobes; others are smaller, with three.
I am constantly fighting back Japanese five-leaf Akebia quinata, and routinely wind the prunings into a wreath. Fresh vines are flexible and easy to work with, but they can become brittle and stiff as they dry. Use only freshly pruned vines to weave the wreath. The dried wreath base will last for years and can be used again and again, if you cut away the dried greenery in January, and store the base indoors.
The base of this wreath is made from invasive Akebia vines I have pruned from our shrubs. Grape vines, honeysuckle, trumpet vine, and any other woody vine you have in abundance may be used. Avoid using poison ivy vines, which have three-lobed leaves.
You may want to add ivy, or another vine that still has green leaves, as the outer layer of your wreath for extra color. In cold weather, the leaves will last for another few weeks before they dry out.
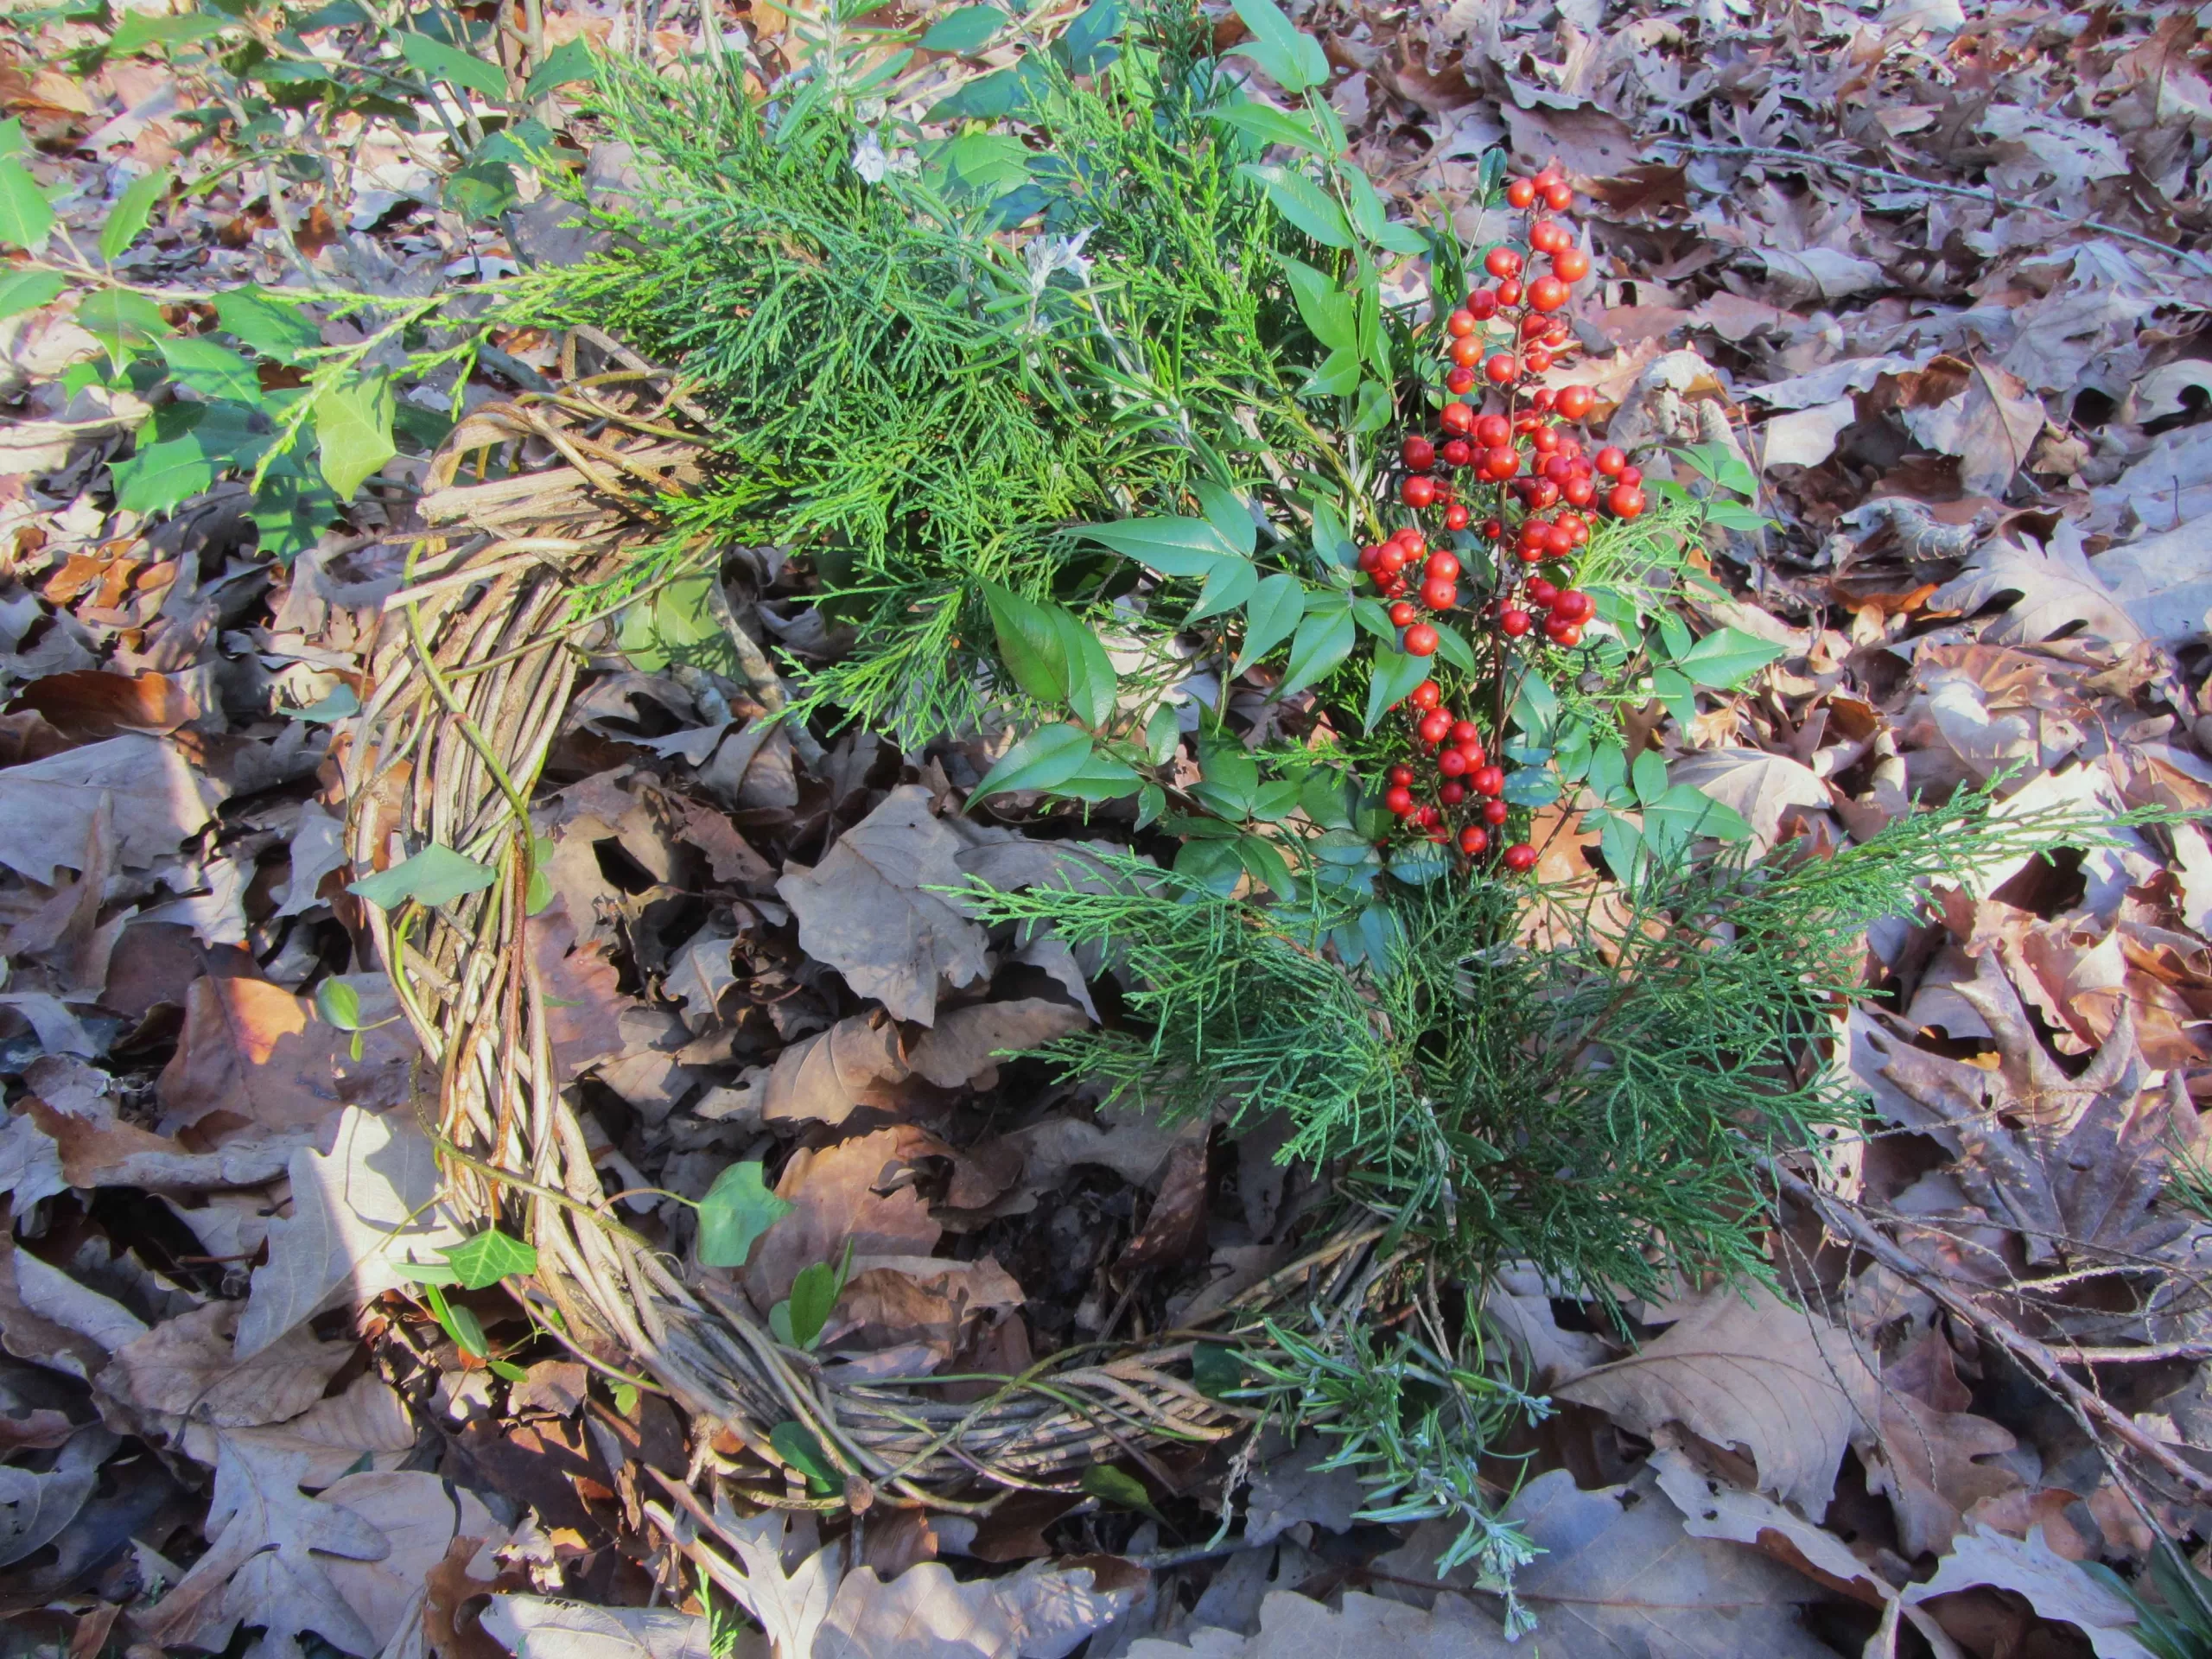
The wreath base is ready to decorate.
Harvest Evergreens
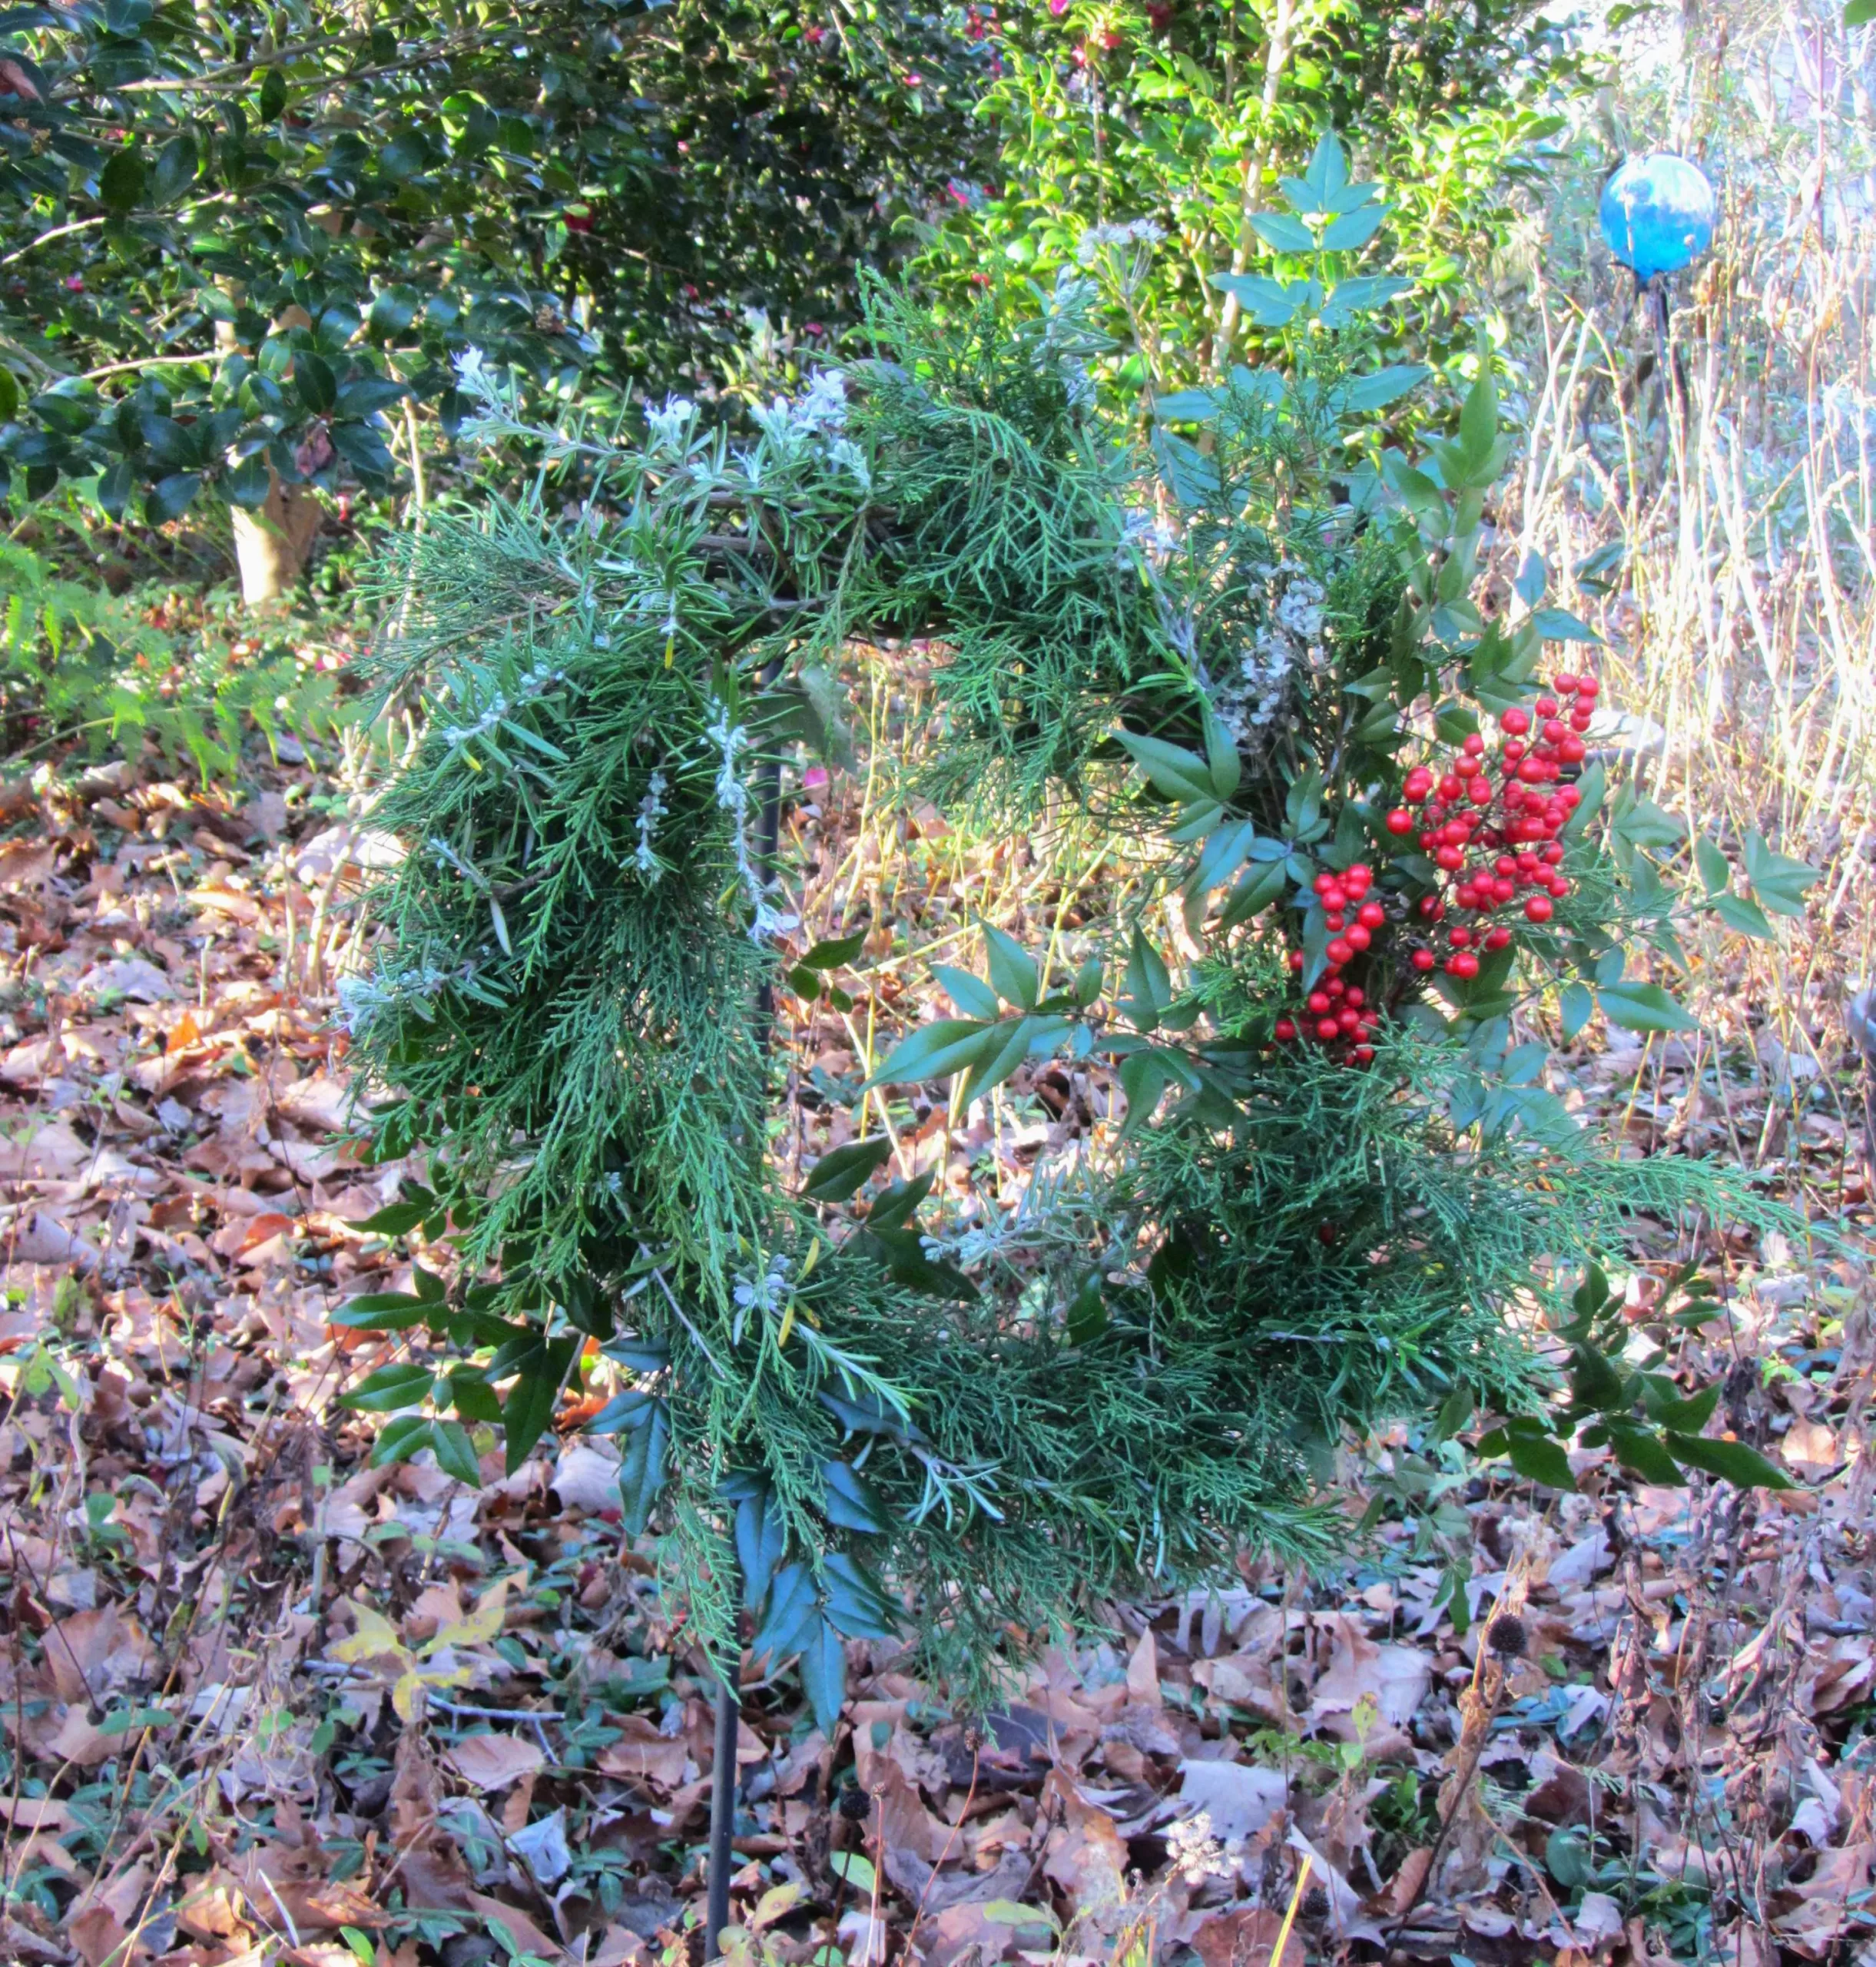
Next, half fill a clean bucket with water. Plunge branches into the water as you harvest them, and allow them to soak overnight. Branches are freshest if it has rained within the last few days. Juniper, red cedar, holly, pine, Osmanthus, rosemary, thyme, lavender, box, trimmings from a purchased Christmas tree, or other evergreens can be used. Use whatever evergreens you have in your yard or that a friend can give you. I cut Juniper, red cedar, and rosemary for my wreath. Evergreen herbs add additional texture, color and fragrance.
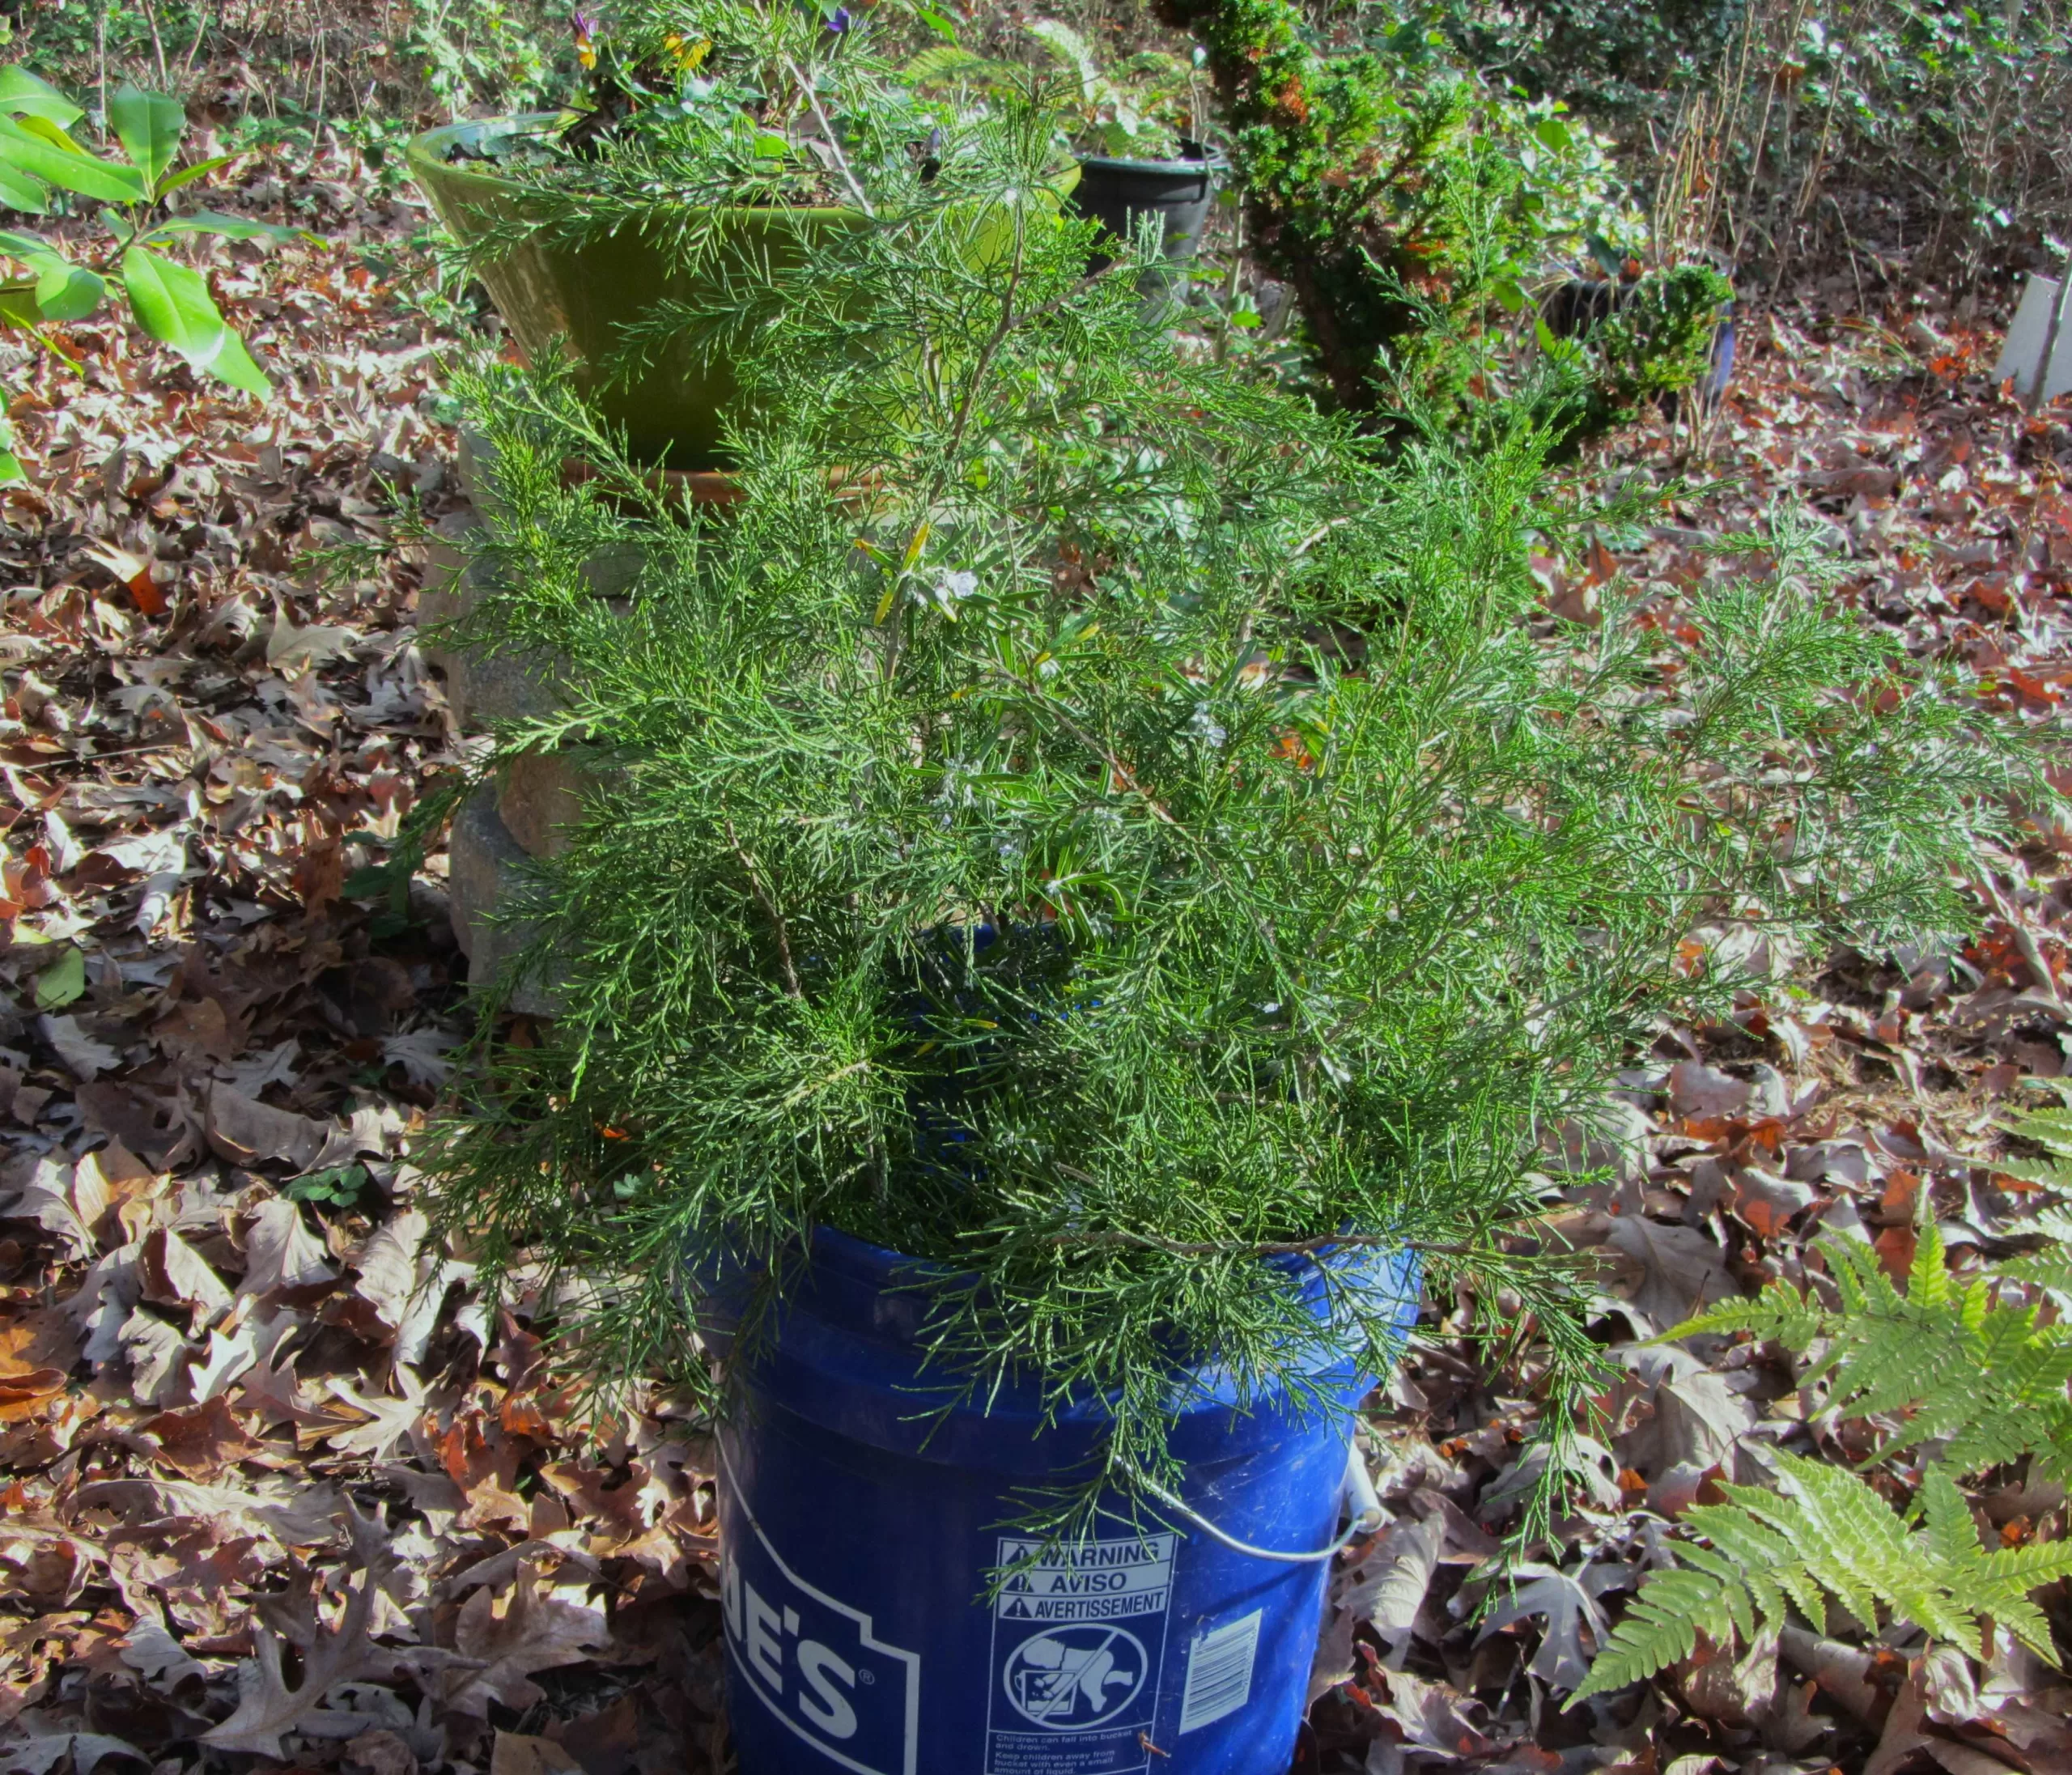
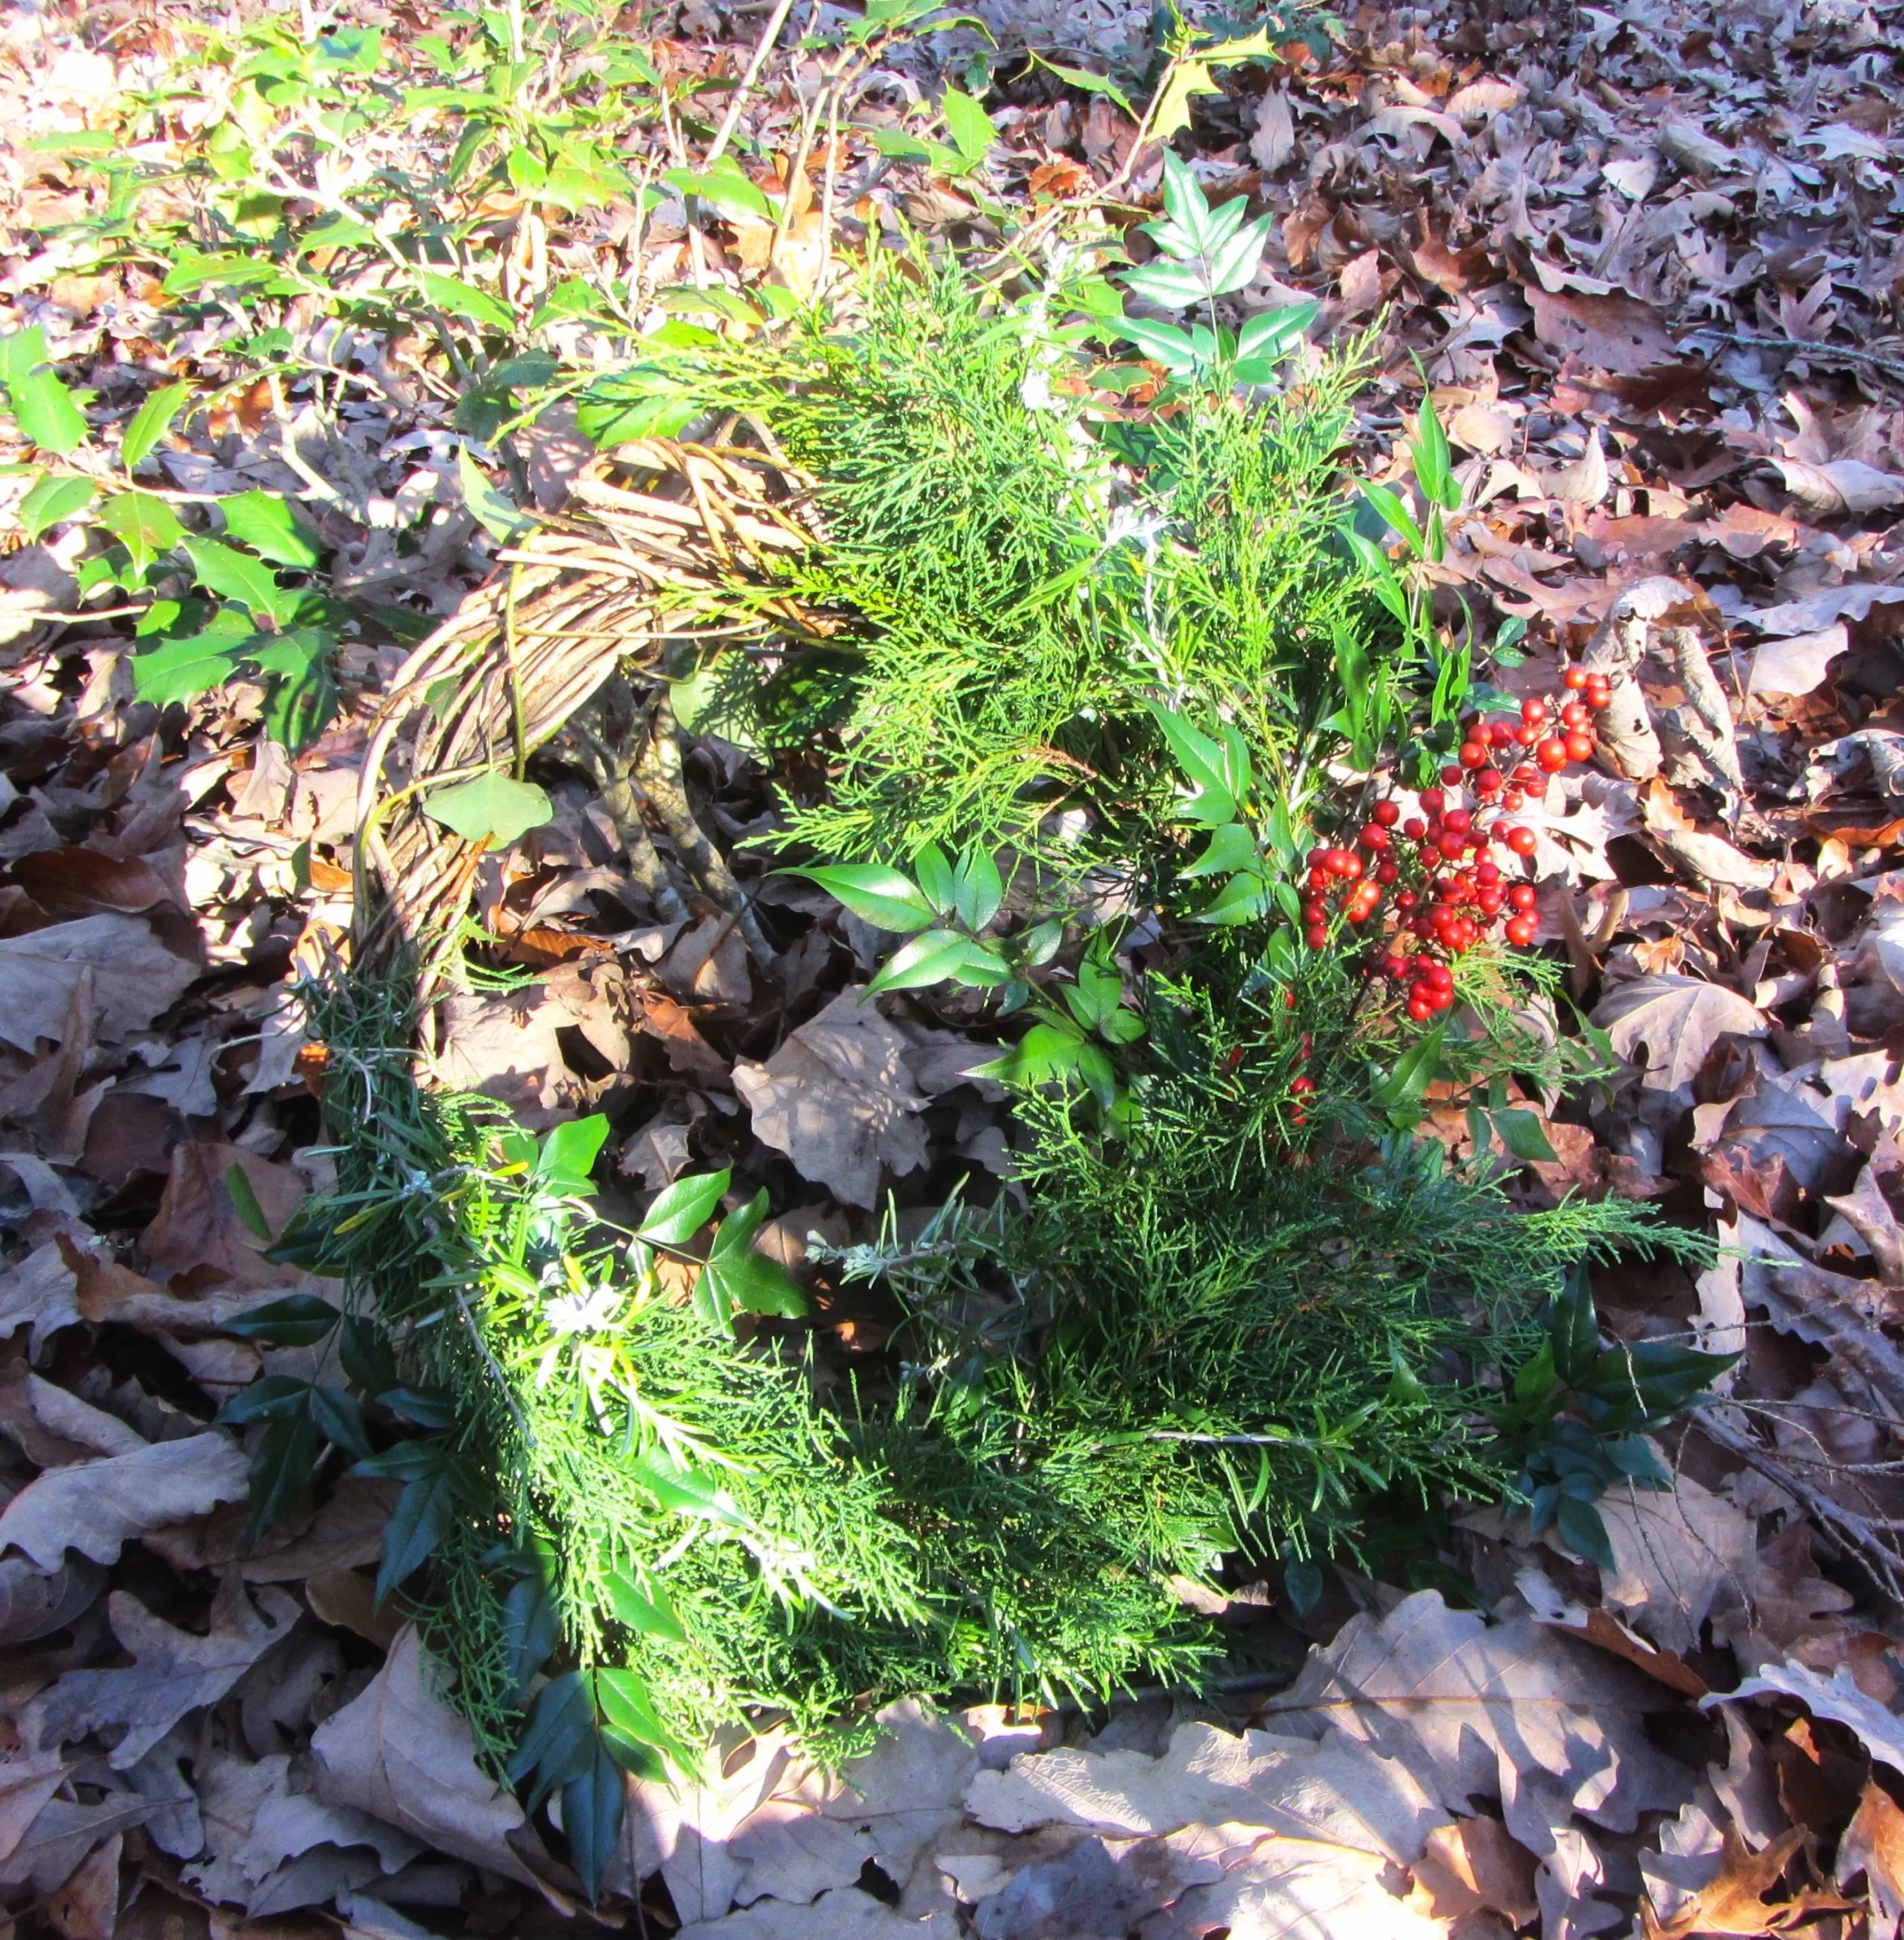
Soak cut branches for several hours, or overnight, so they are well-hydrated before you trim them down for the wreath.
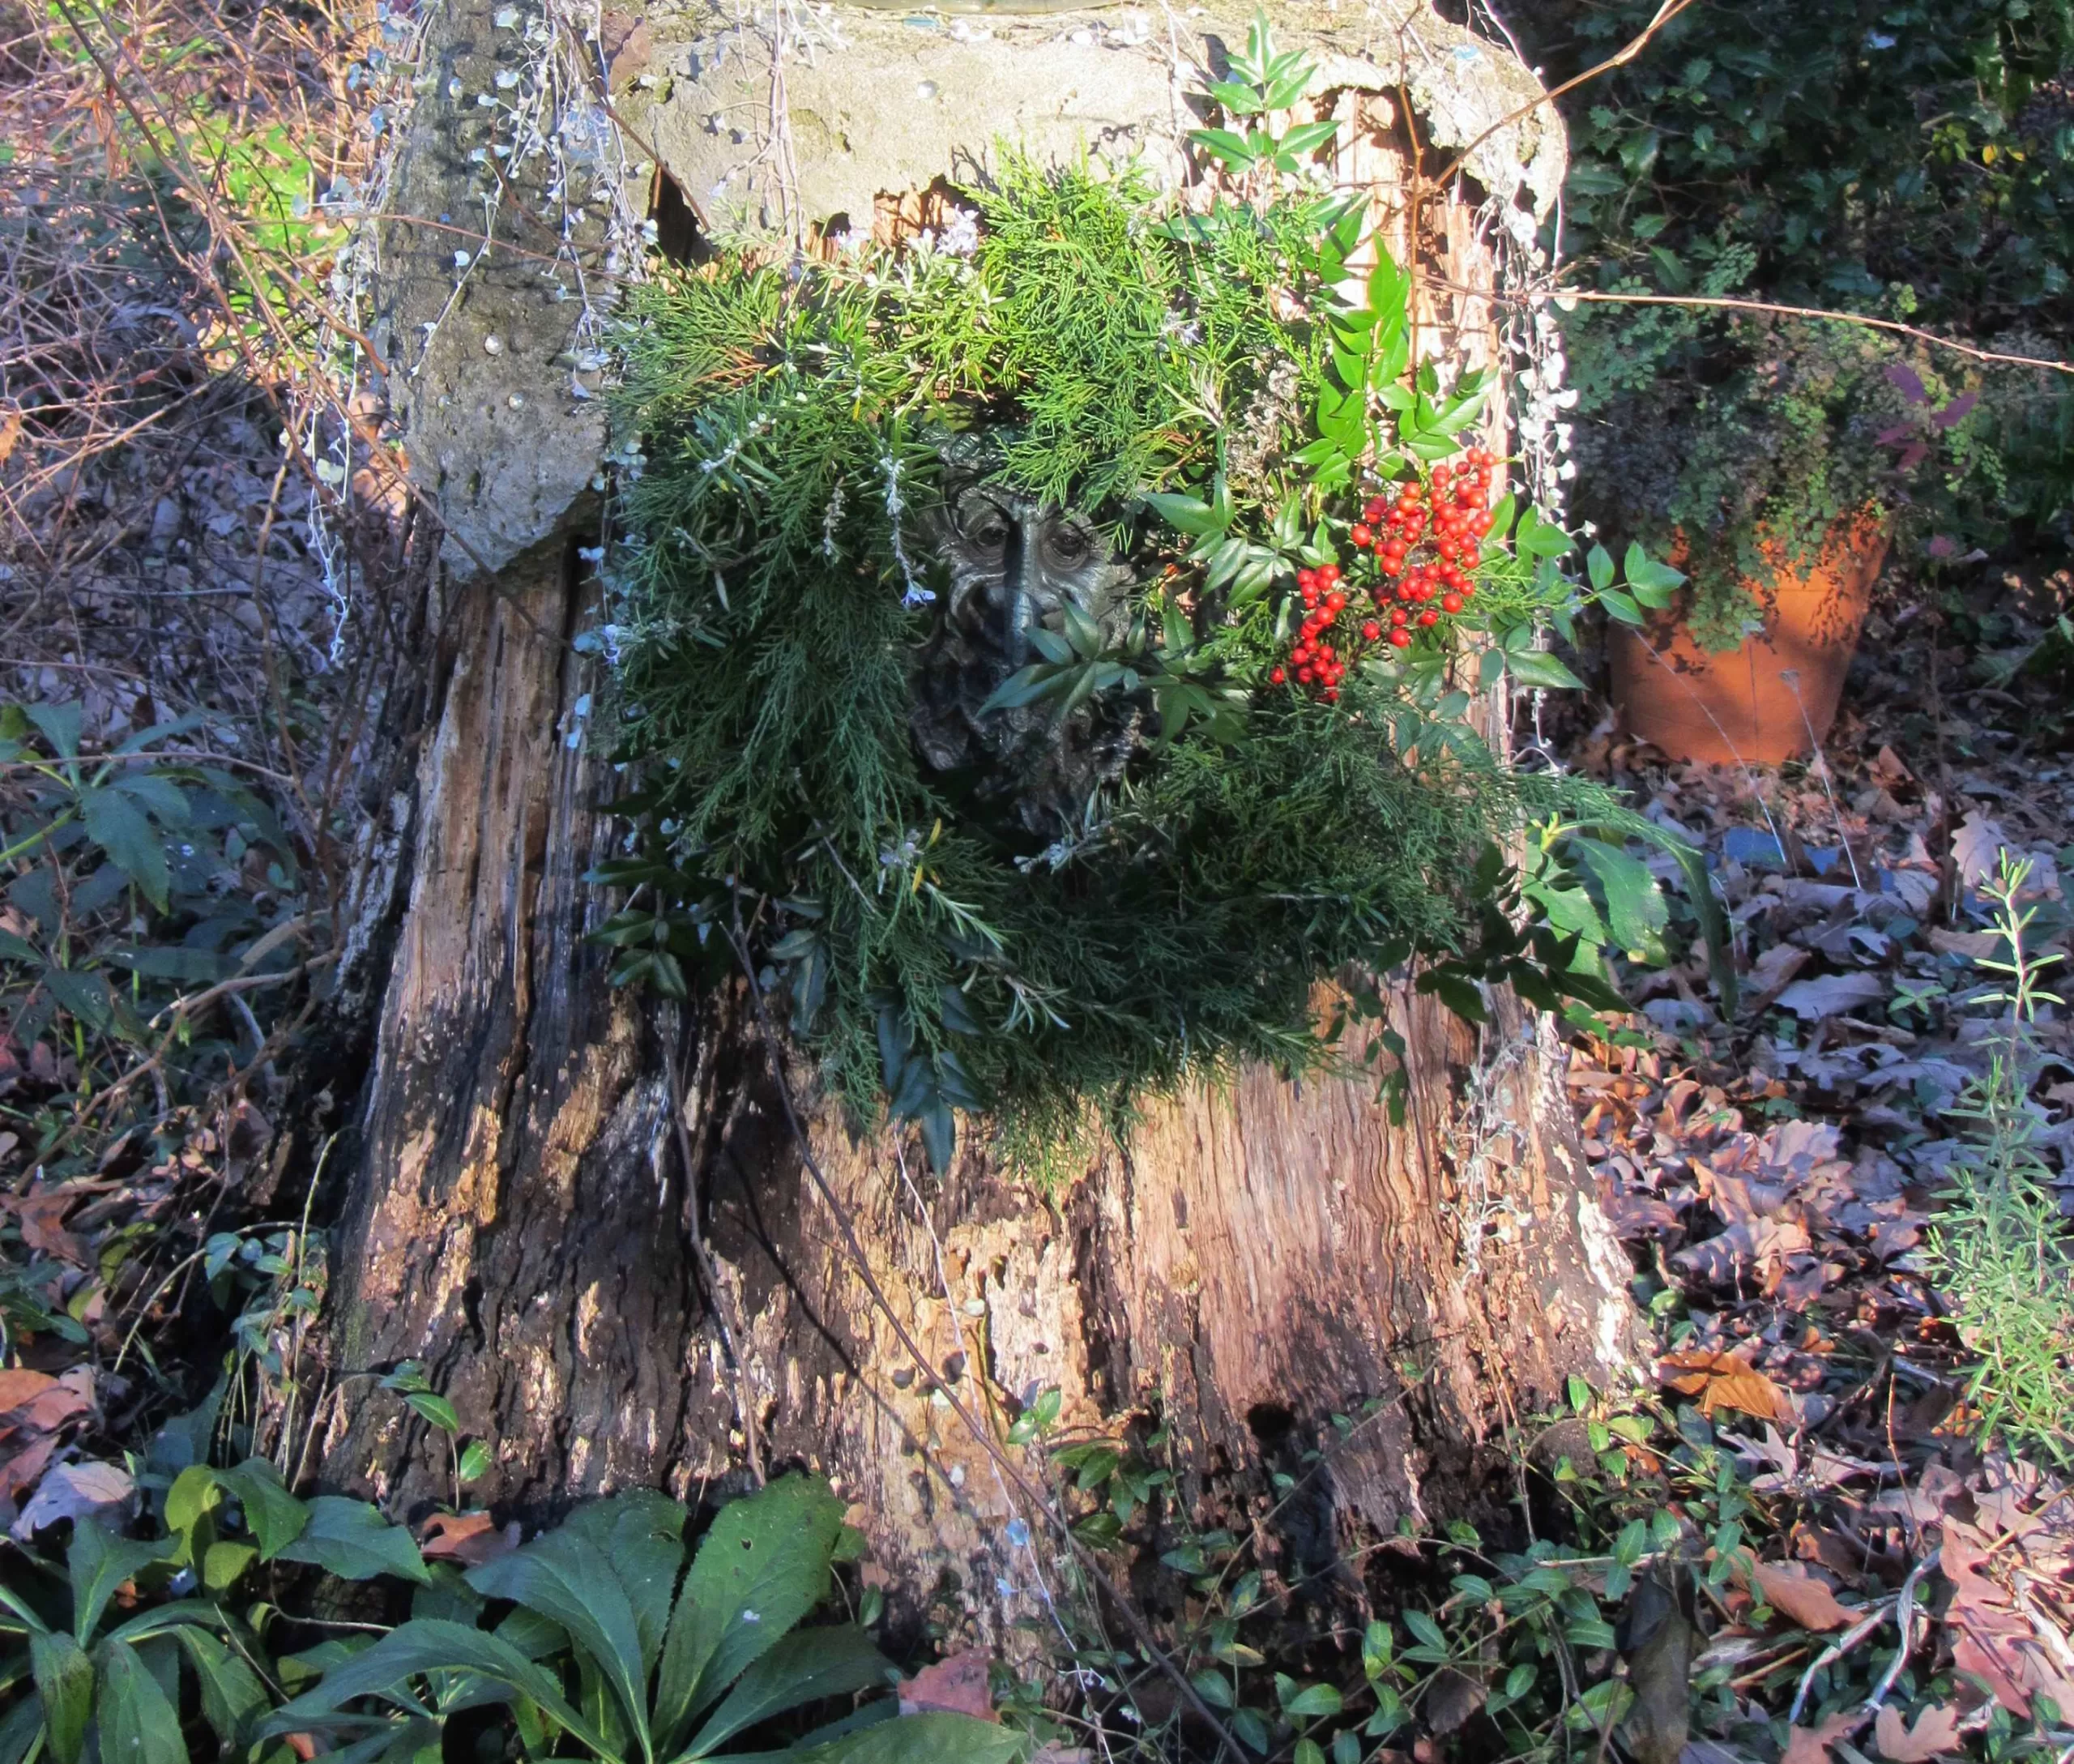
It is good to have a variety of textures from at least two or three different foliage plants. I missed some well-hidden Nandina berry sprays when I was trimming them out of my yard to dispose of last month, so I also cut a spray and some leaves for the wreath. (I don’t expect that there are enough berries on the wreath for any bird to gorge itself to death on these poisonous berries.)
Gather Accents
Materials for the wreath should all be natural, but can include seed pods; cones; sprays of berries; dried flowers; strings of cranberries, plain popcorn or kumquats; dried red peppers; or even little lichen covered branches. ‘Shop’ your yard with an open mind and see what treasures you can find to add to your wreath.
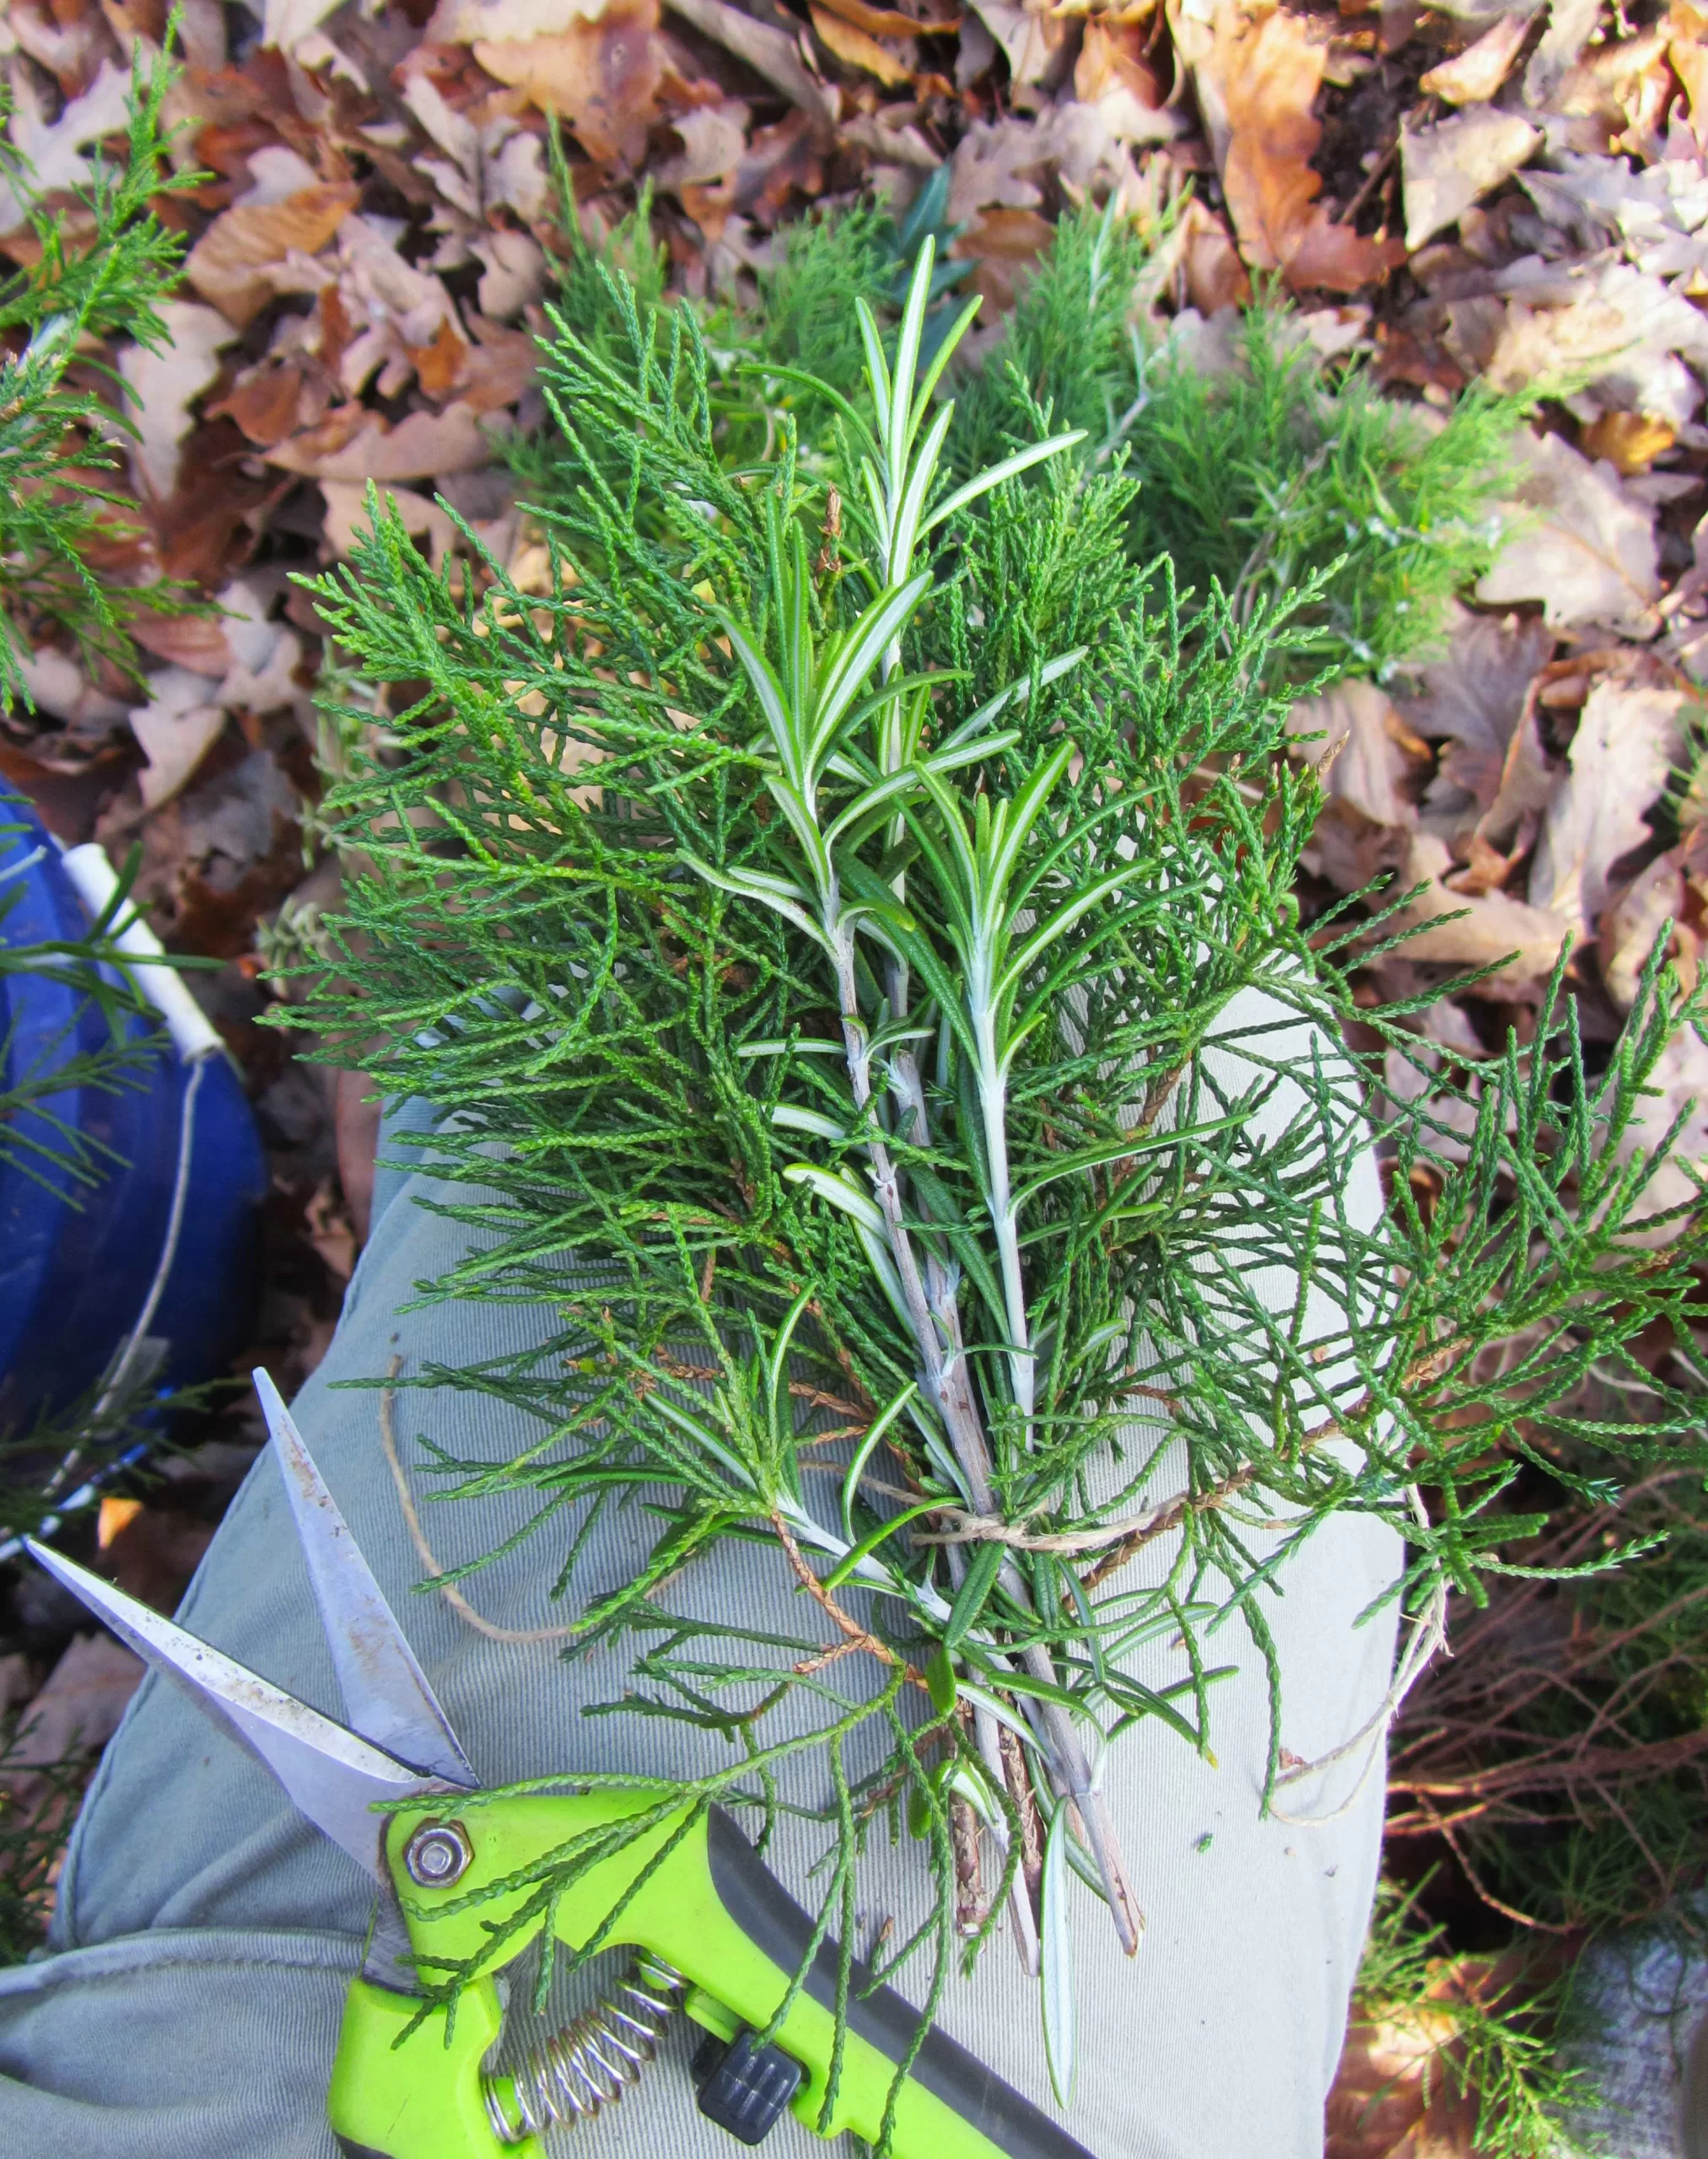
Trim several stems, layer them in a pleasing arrangement, and tie them together tightly with twine. Make a tight square knot, leaving long twine ends on both sides for tying the bundle to the wreath base.
Keep it Simple and Compostable
Once the branches have soaked, and are fully hydrated, it is time to construct the wreath. Everything is assembled using simple, jute twine or kite string. Make sure it is not nylon or plastic if you expect to compost the wreath in the new year. If your goal is to reduce plastic waste, then also avoid the simple coated wire many of us keep around for tying things up all summer. In past years, I’ve made this sort of wreath with florist’s wire, and you can certainly do that if you wish, but the wire will likely rust in time and will have sharp ends, which can harm wildlife if it is left outside. Twine can be ‘re-purposed’ in nests.
Make the Bundles
Begin by cutting a dozen pieces of twine to between 10″-14″ long. The length needed will depend on the thickness of your wreath base and how thick your ‘bundles’ of stems will be. The wreath is constructed from several ‘bundles’ of stems, each a little mixed spray or bouquet, which are then tied onto the wreath frame so that one bundle overlaps the next.
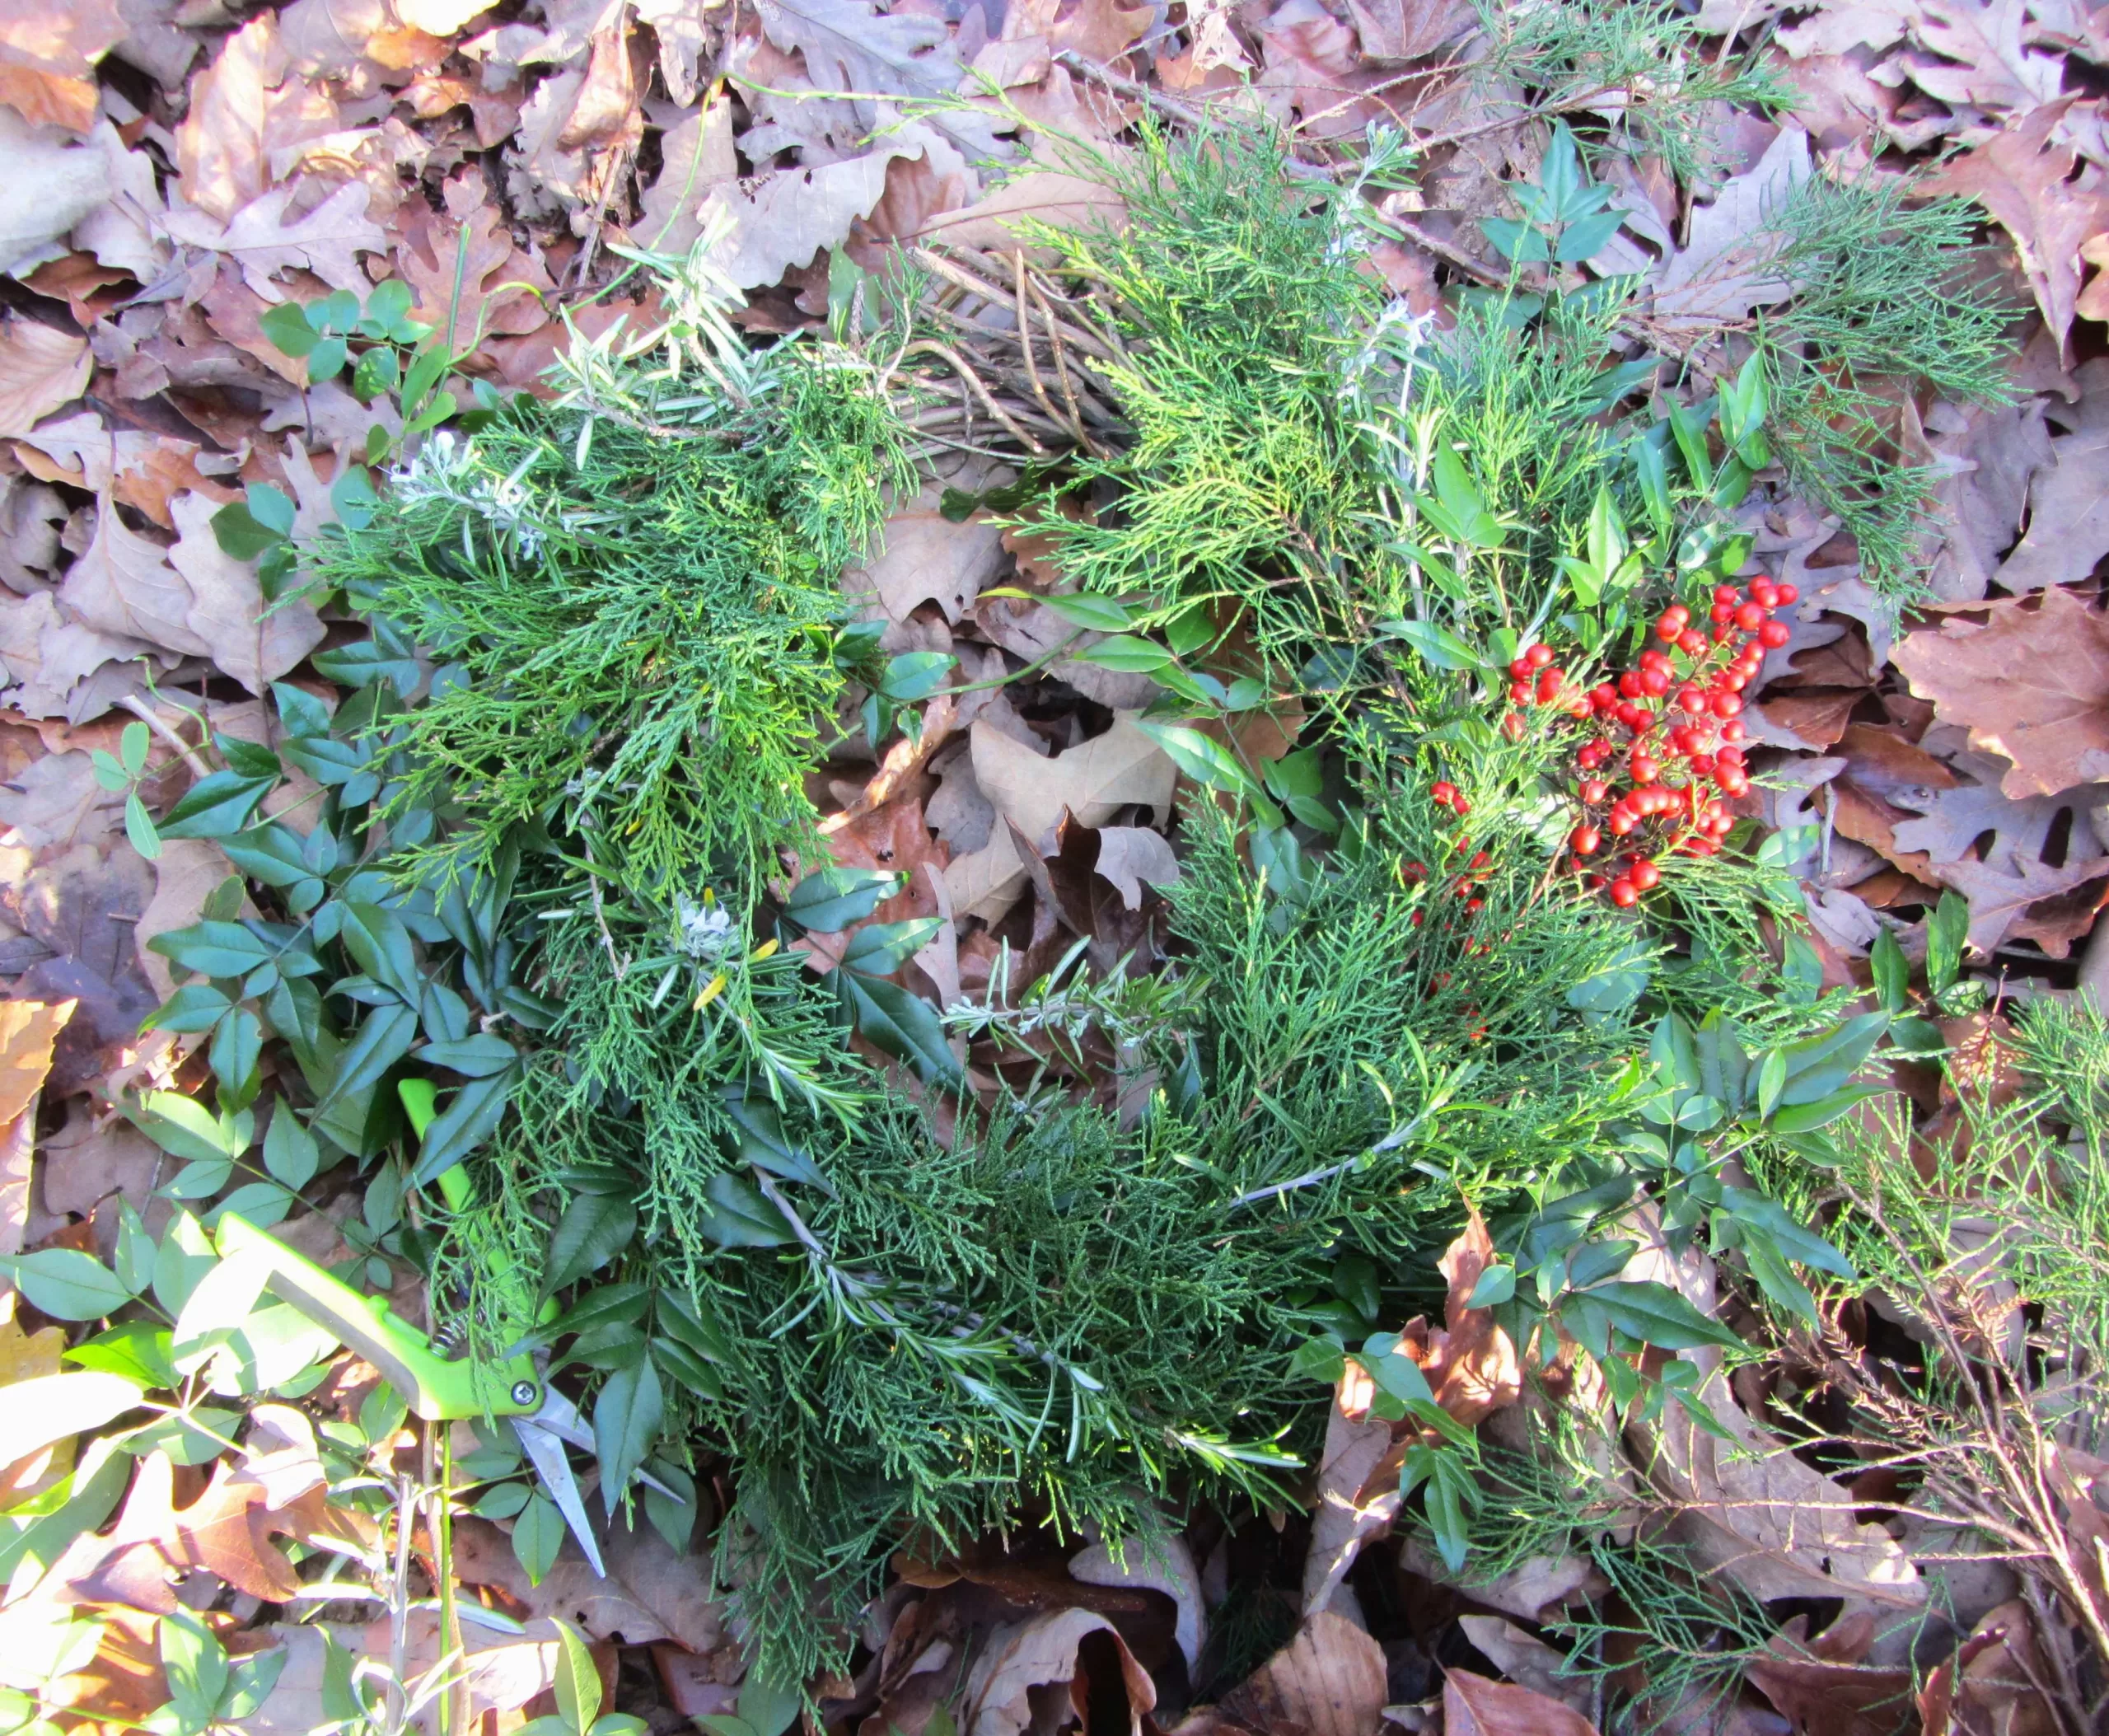
Assemble each bundle from between 2 and 4 types of stems. Choose one or two plants that will be in every bundle, for continuity, and another 2 or 3 stems that you will use for accents. I used Juniper and rosemary in every bundle, and then accented with Nandina leaves and a cluster of Nandina berries. Some sprigs of rosemary are blooming, others are not. I also worked some red cedar twigs, which has a coarser texture, in with the other Juniper.
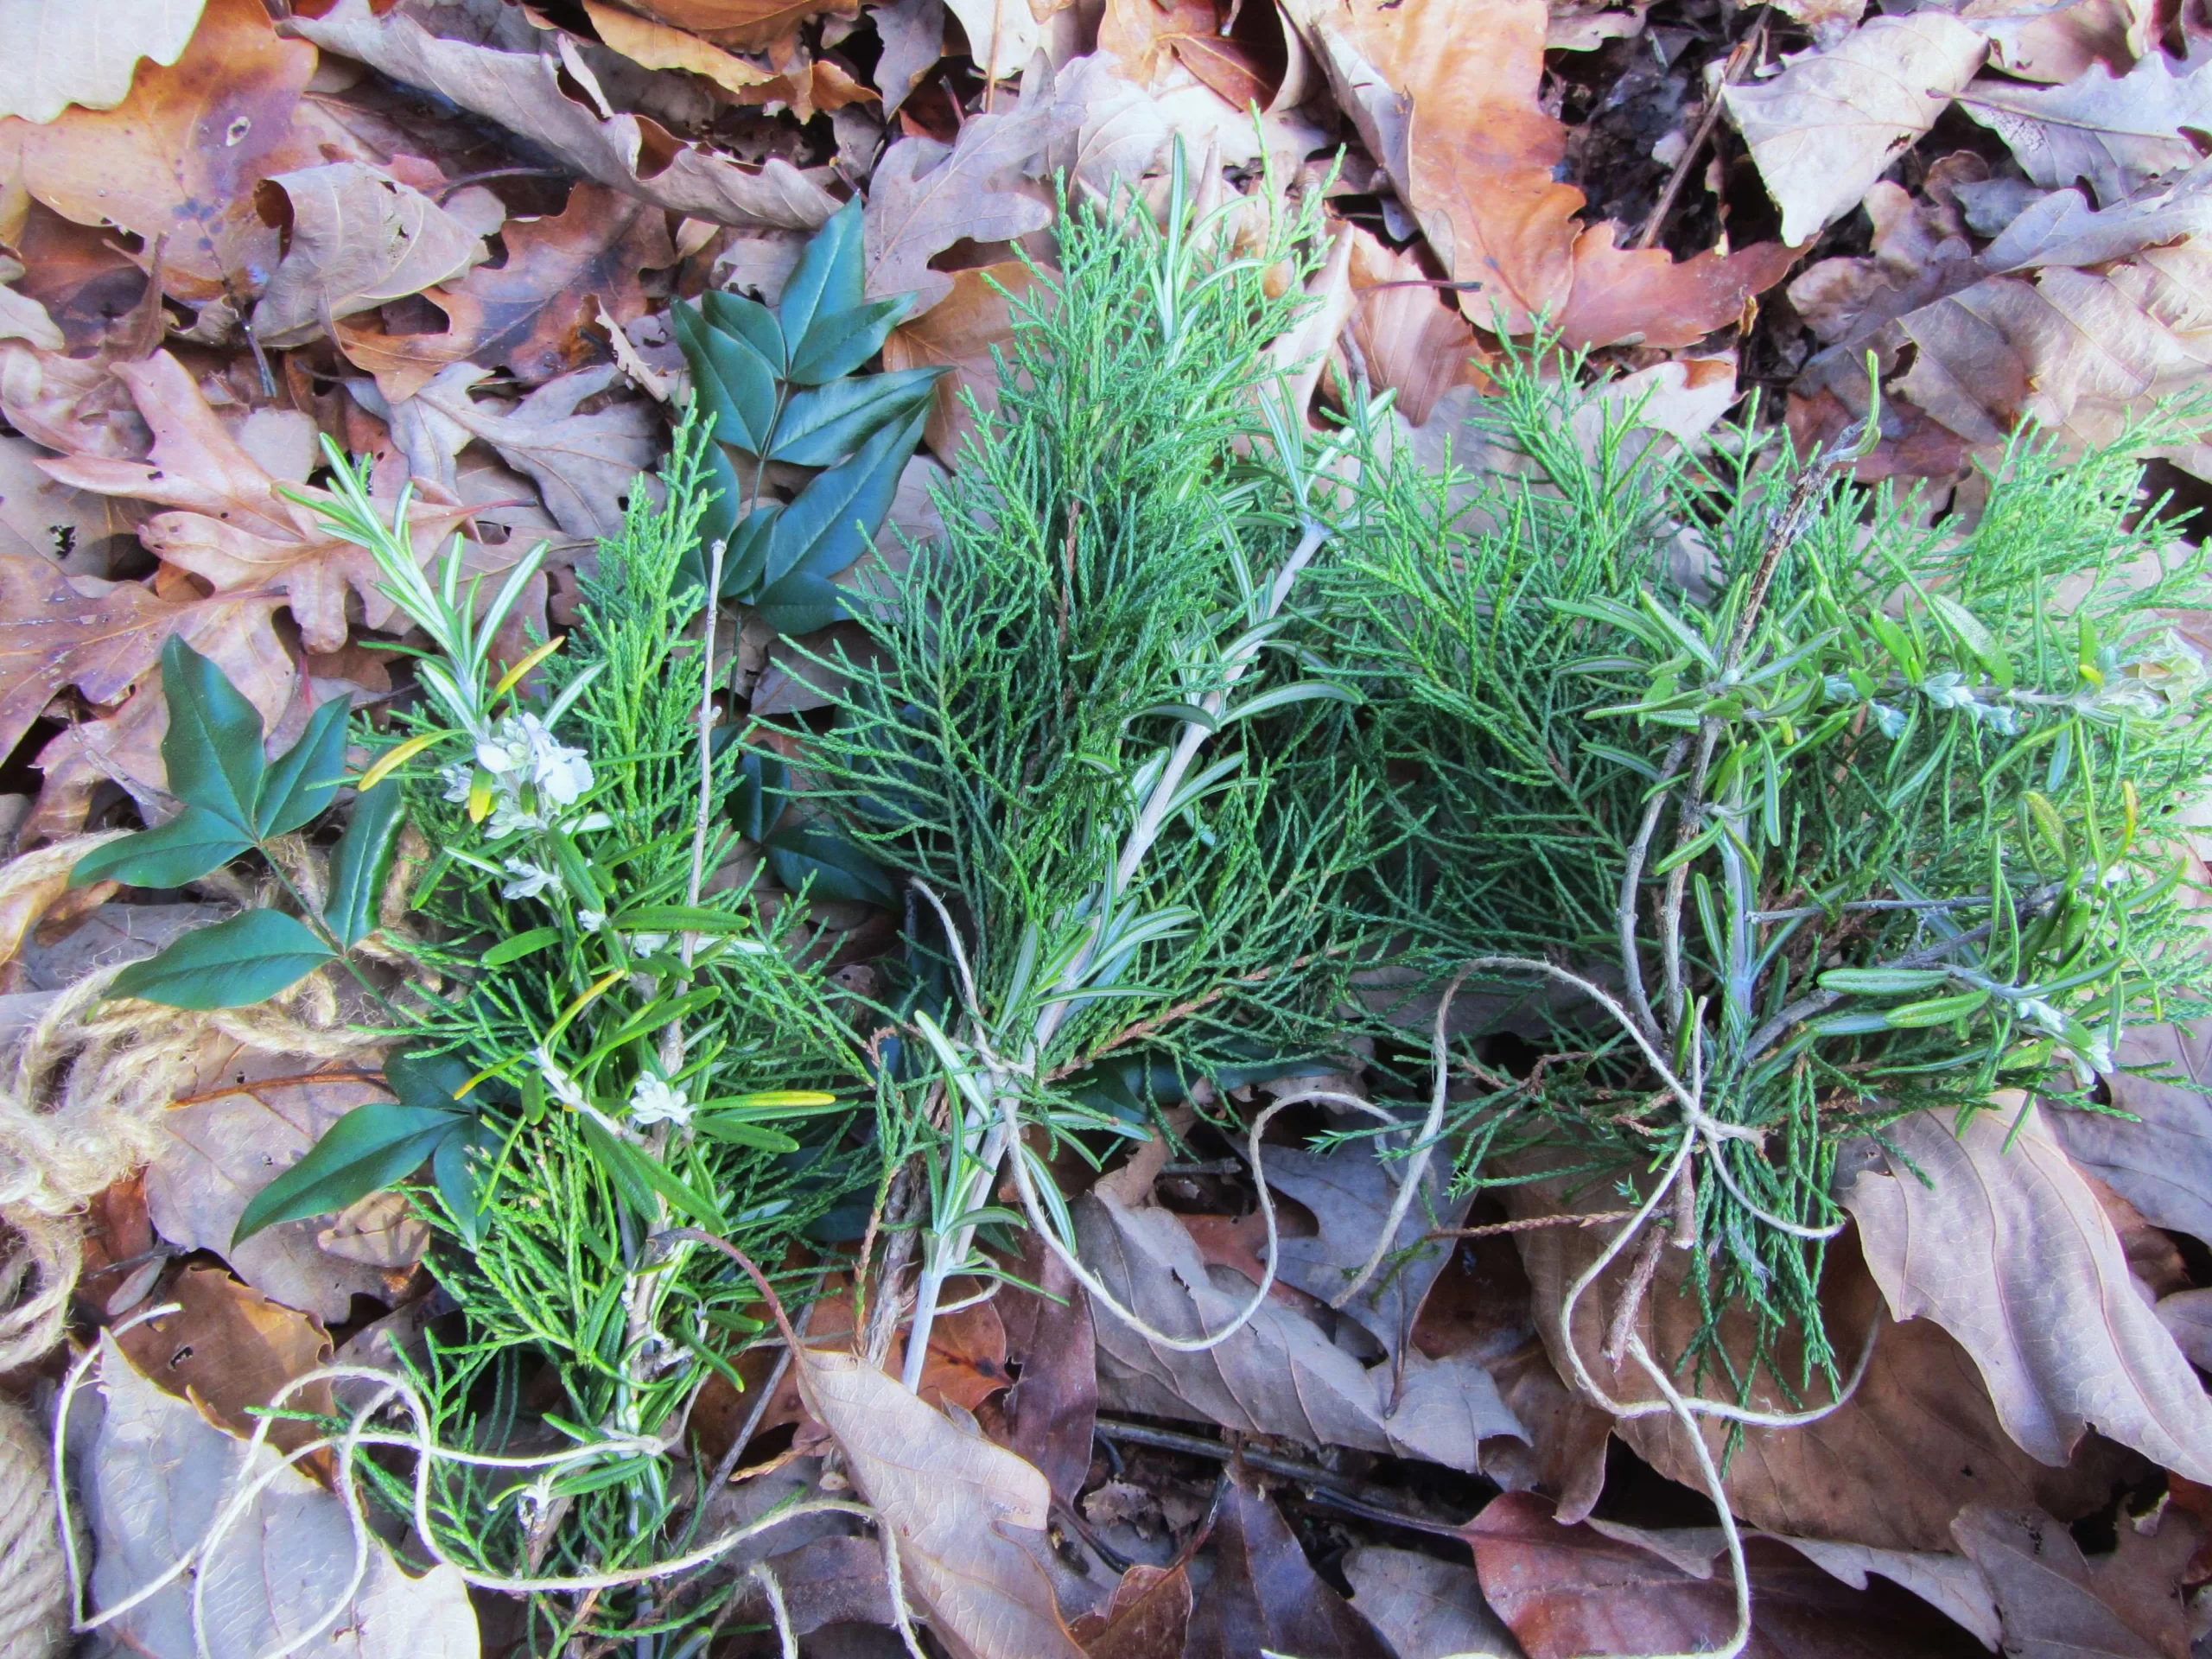
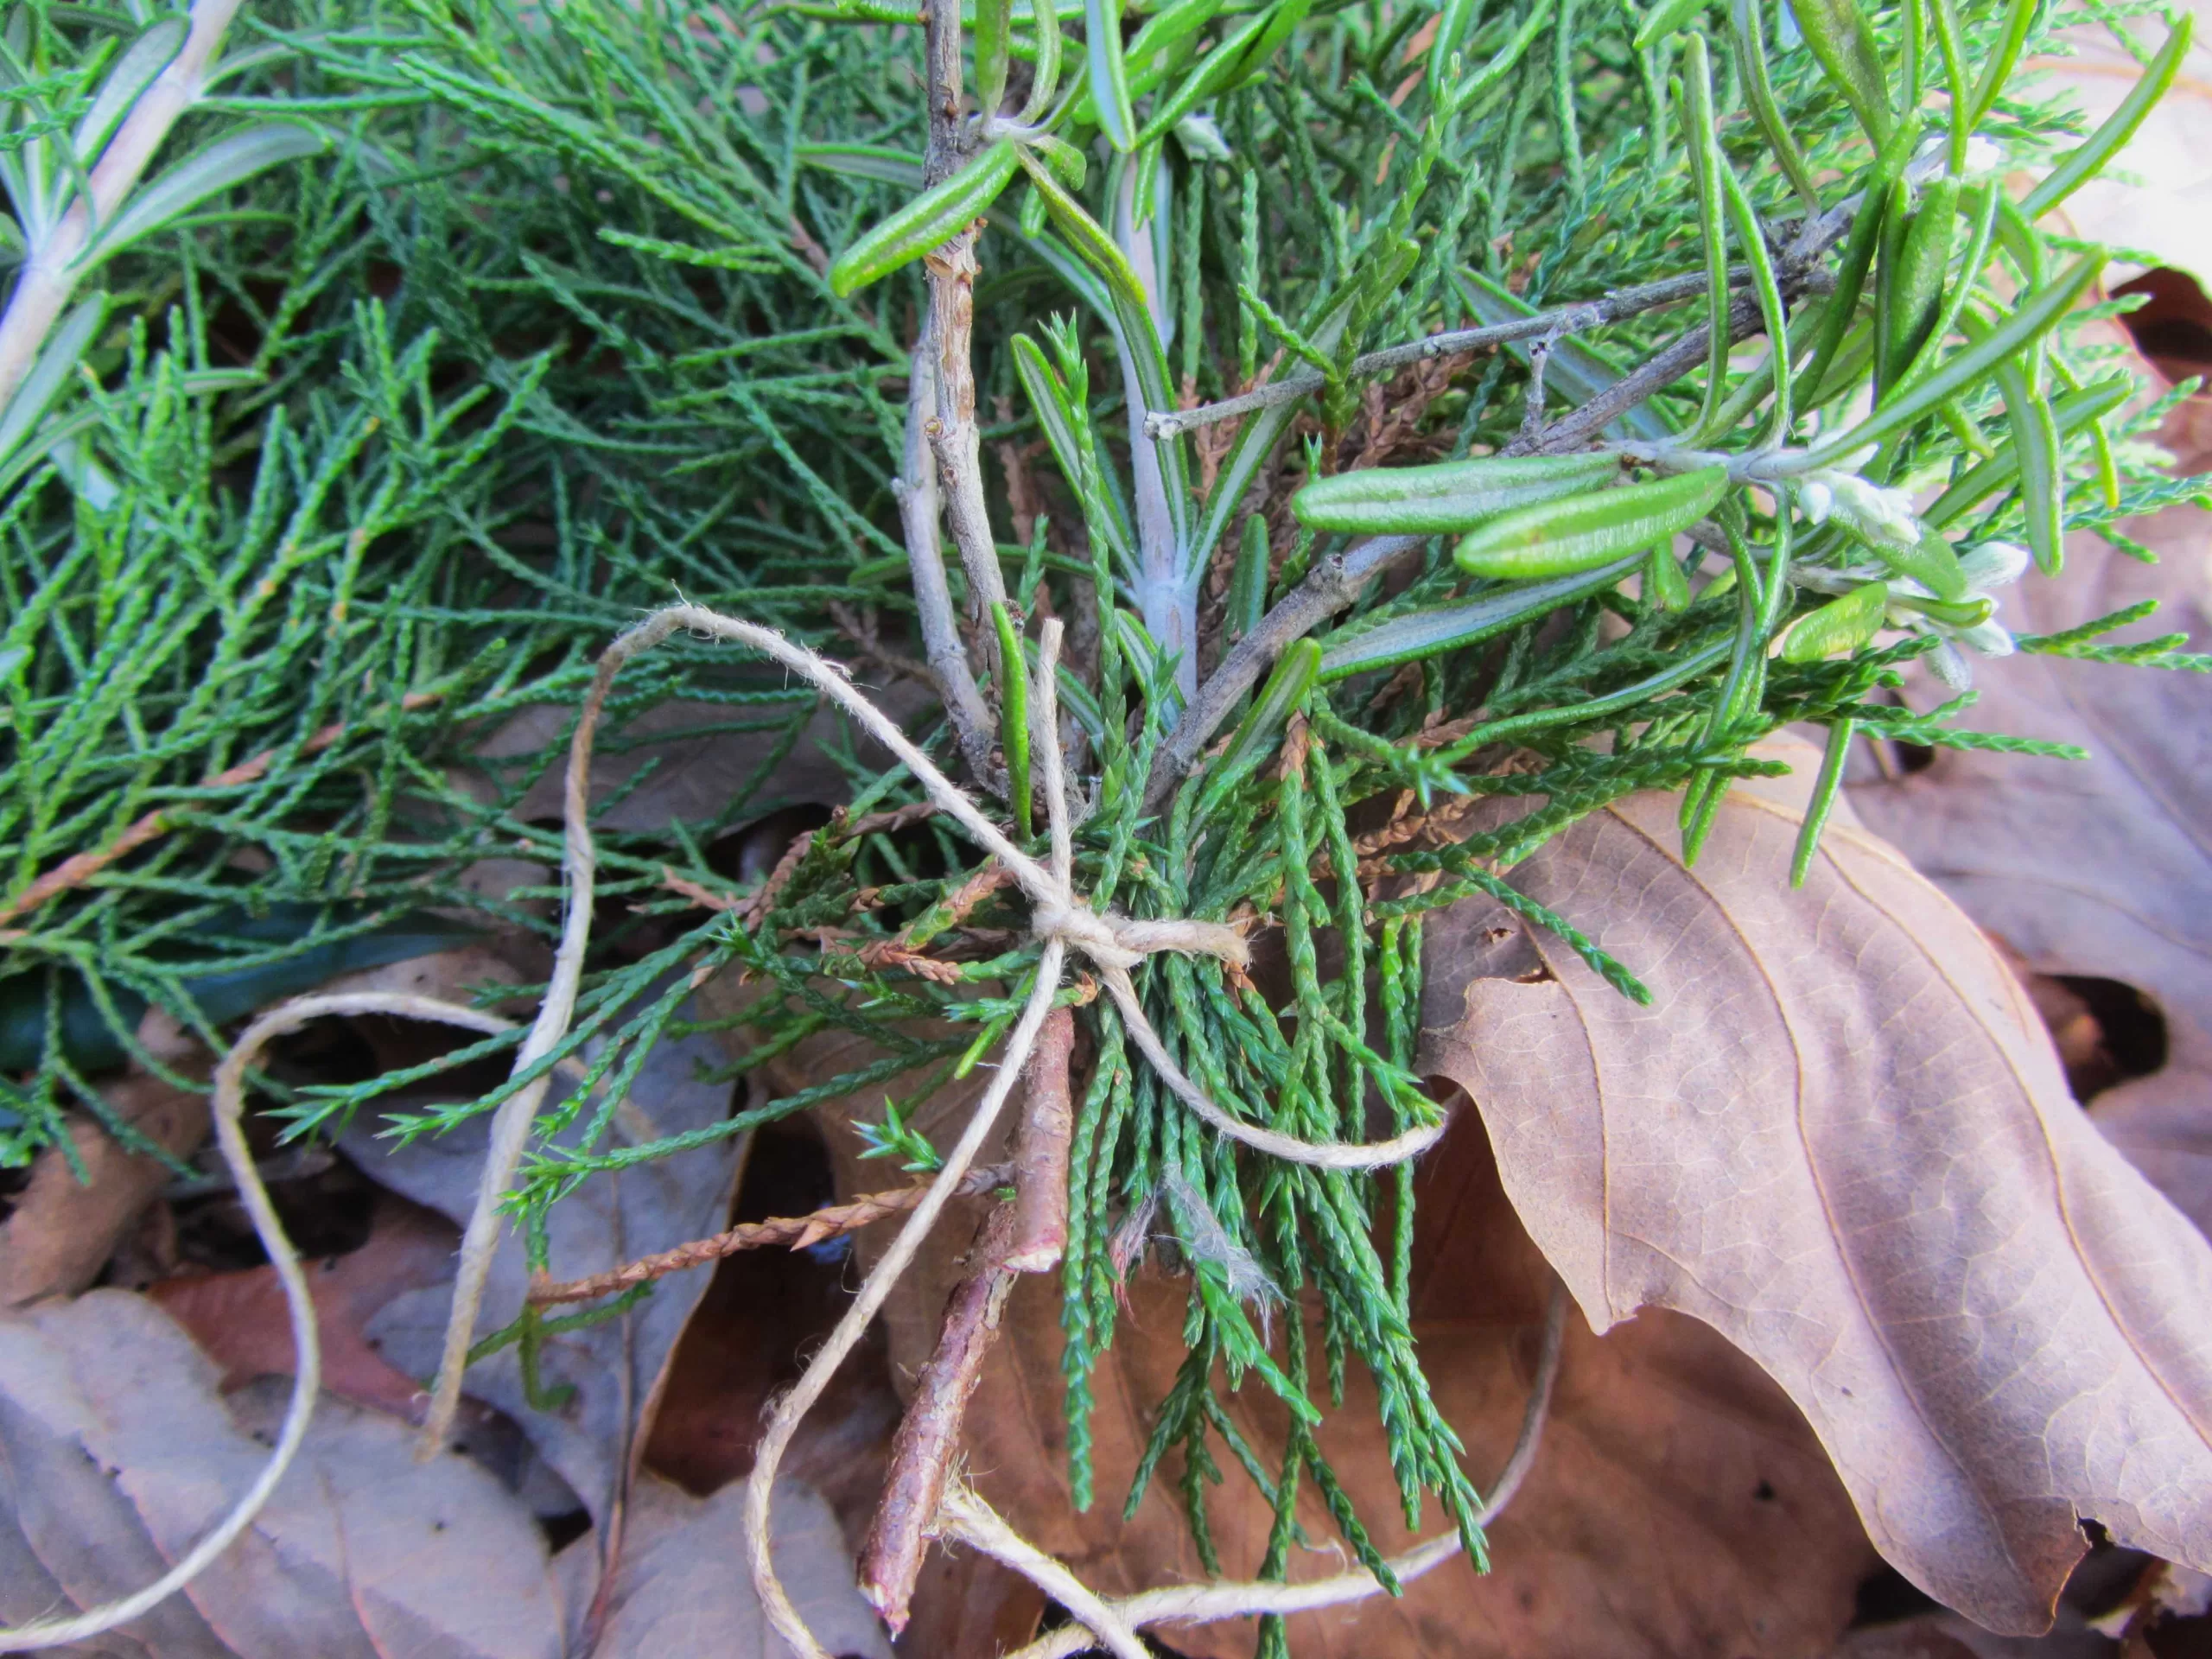
To make a bundle, trim and assemble 4-7 stems in a pleasing, layered arrangement, and then tie the bundle together tightly with twine about 2″ from the bottom. You may want to wrap the twine several times around to give each spray a little more stability, but finish off with a square knot and about 4″ of twine left hanging on each end. Wrap and tie the knot as tightly as you can, remembering that the stems may shrink as they dry.
Make at least two different types of bundles using the same basic stems, but with different accents. You can alternate these different types of bundles to give the wreath more character and interest. The length of each bundle will depend on what plants you are using, the diameter of your wreath base, and the texture you hope to achieve. Each of my bundles was about 7″-10″ long. Once the bundle is tied tightly, you can trim any stray stems that extend too far below the knot.
Decide where the ‘top’ of the wreath will be for ease of hanging. There may be some loose stems of vines which can hang on a nail or hook. Otherwise, tie a twine loop onto the back of the wreath in the center of the ‘top.’
Plan Your Design
Now, examine the vine wreath base to determine which side will be the ‘back’ and which the front. Look for an area where the vines are somewhat loose, and there is a space where the vines can be hung over a nail or hook. At the same time, determine the orientation of where the ‘top’ of the wreath will be. Lay the wreath in front of you with the ‘top’ furthest away, and the ‘front’ side up and facing you.
Construct the Wreath
Once you have made several bundles, what you expect will most likely cover your wreath, begin tying the bundles onto the vine wreath base one by one. Begin at the 2:00 or 3:00 position, just to the right of the middle top.

Tie on the first bundle in the 2:00 or 3:00 position, and work clockwise with the rest of the bundles. A ‘Lefty’ may choose to begin at 10:00 and work counter-clockwise.
Lay your first bundle on the base, with the tied end ‘down’ and the tips of the stems pointing ‘up.’ If your vines are loose, then you may be able to slip the strings under some of the outer vine stems as you pass the twine from front to back around the wreath base. Cross the two ends on the back of the base and bring the ends back to the front of the bundle. Pull them tightly and tie them securely in a square knot. The extra wrap from crossing them behind the wreath before bringing them back to the front to tie off gives each bundle extra stability. Even if there seem to be long ends left at this point, don’t trim them yet, just in case you decide to adjust something later.
Each new bundle should cover the area where the previous bundle is tied to the wreath base. Vary the bundles to give good variety to the foliage, with different accents every few bundles.
Lay the next bundle on top of the first, slightly lower down on the right side of the wreath, so that the second bundle covers the knot holding the first one. Tie this on securely in the same way, and continue around the wreath. Remember to add an ‘accent’ bundle containing berries, flowers, or some special or showy foliage every second or third bundle.
If your wreath will hang, then tip it up vertically from time to time to see how the greenery lies. You may need to adjust if any stems flop because they are too heavy or too lose.
Finishing Touches
Work all the way around the wreath until you reach the top again. Here, you can choose to add a final bundle that is ‘tied off’ under the tips of the first bundle’s stems, or you can add a dried flower accent, some sort of garland or ribbon, or some other decoration of your choosing. You might tie together a cluster of pine cones, herbs, nuts, cotton, or dried peppers or okra, and tie them on in the gap at the top of the wreath.
Now, add any final accents, like twigs or other stems, by pushing them into any empty spaces between the bundles and the base. Look everything over carefully and trim off any exposed twine ends or extra long stems.
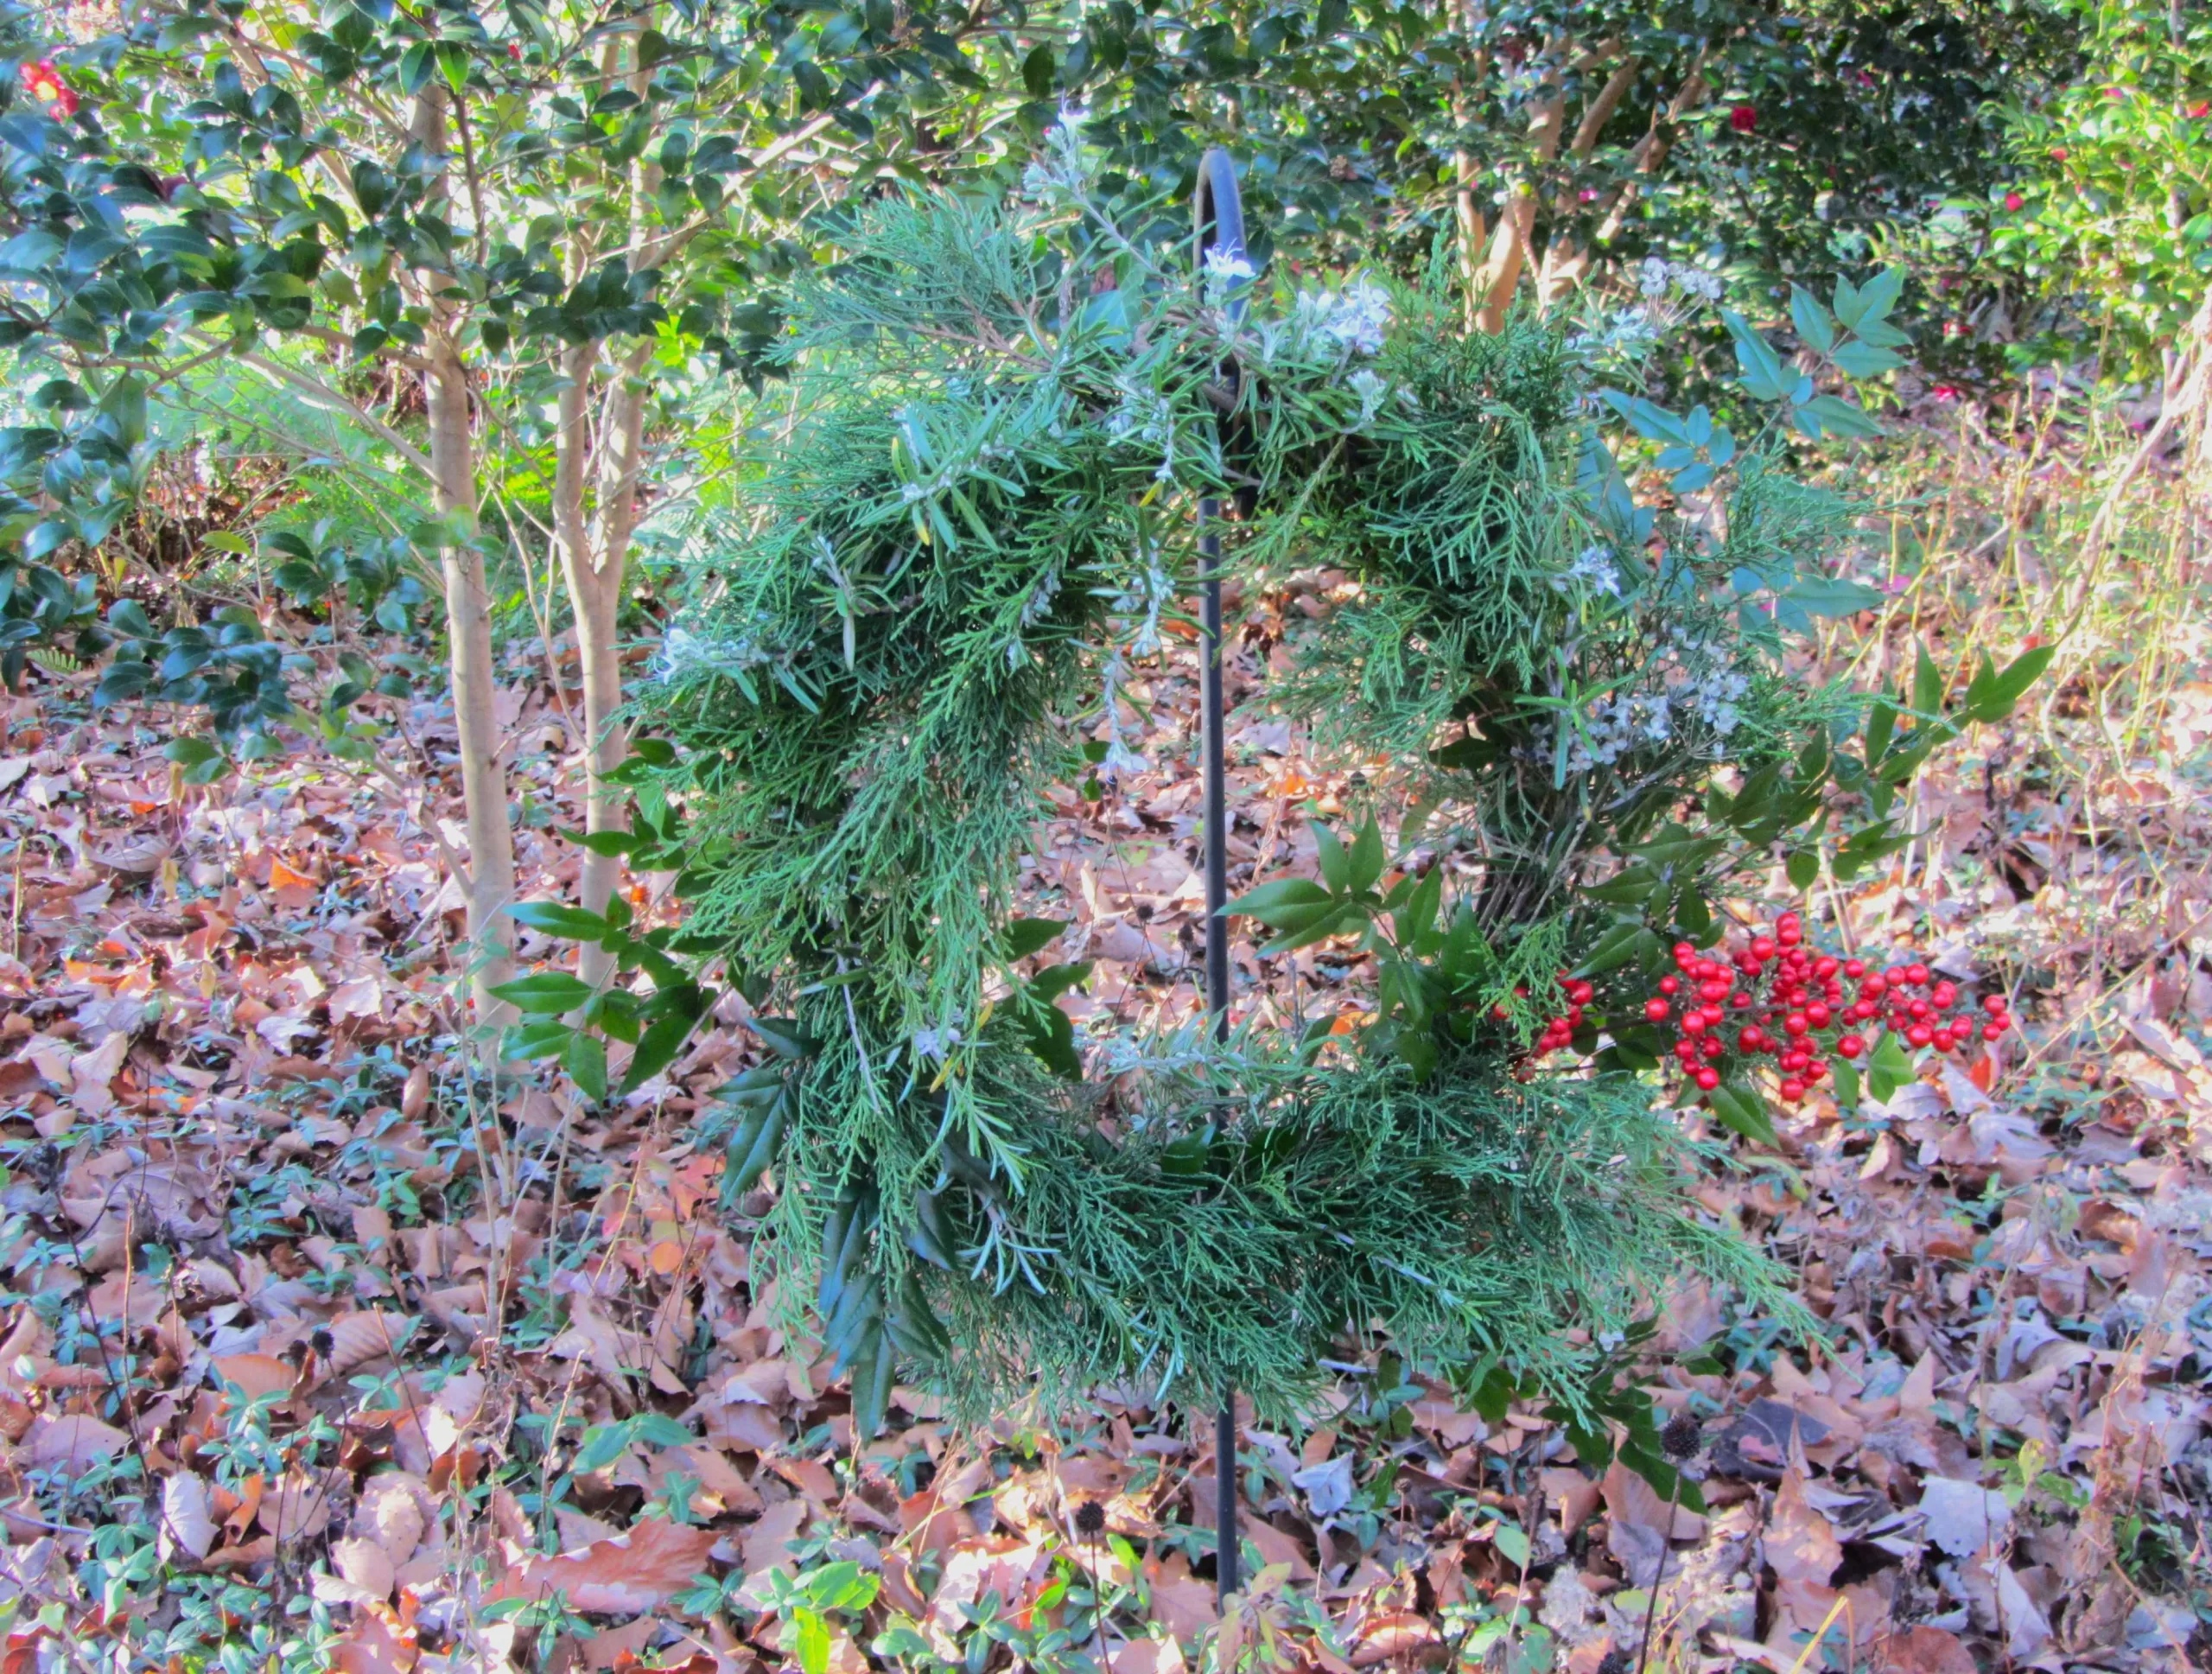
The wreath is now ready to hang. You can tie on a simple loop of twine on the back at the top, or simply hang the wreath over a hook or nail. The wreath will last the longest outside in a shaded area.
Fill in any gaps and make last-minute adjustments. Add something decorative, if you wish, at the top where the bundles join. At this point, I added some seed heads from chive flowers.
Display Your Wreath
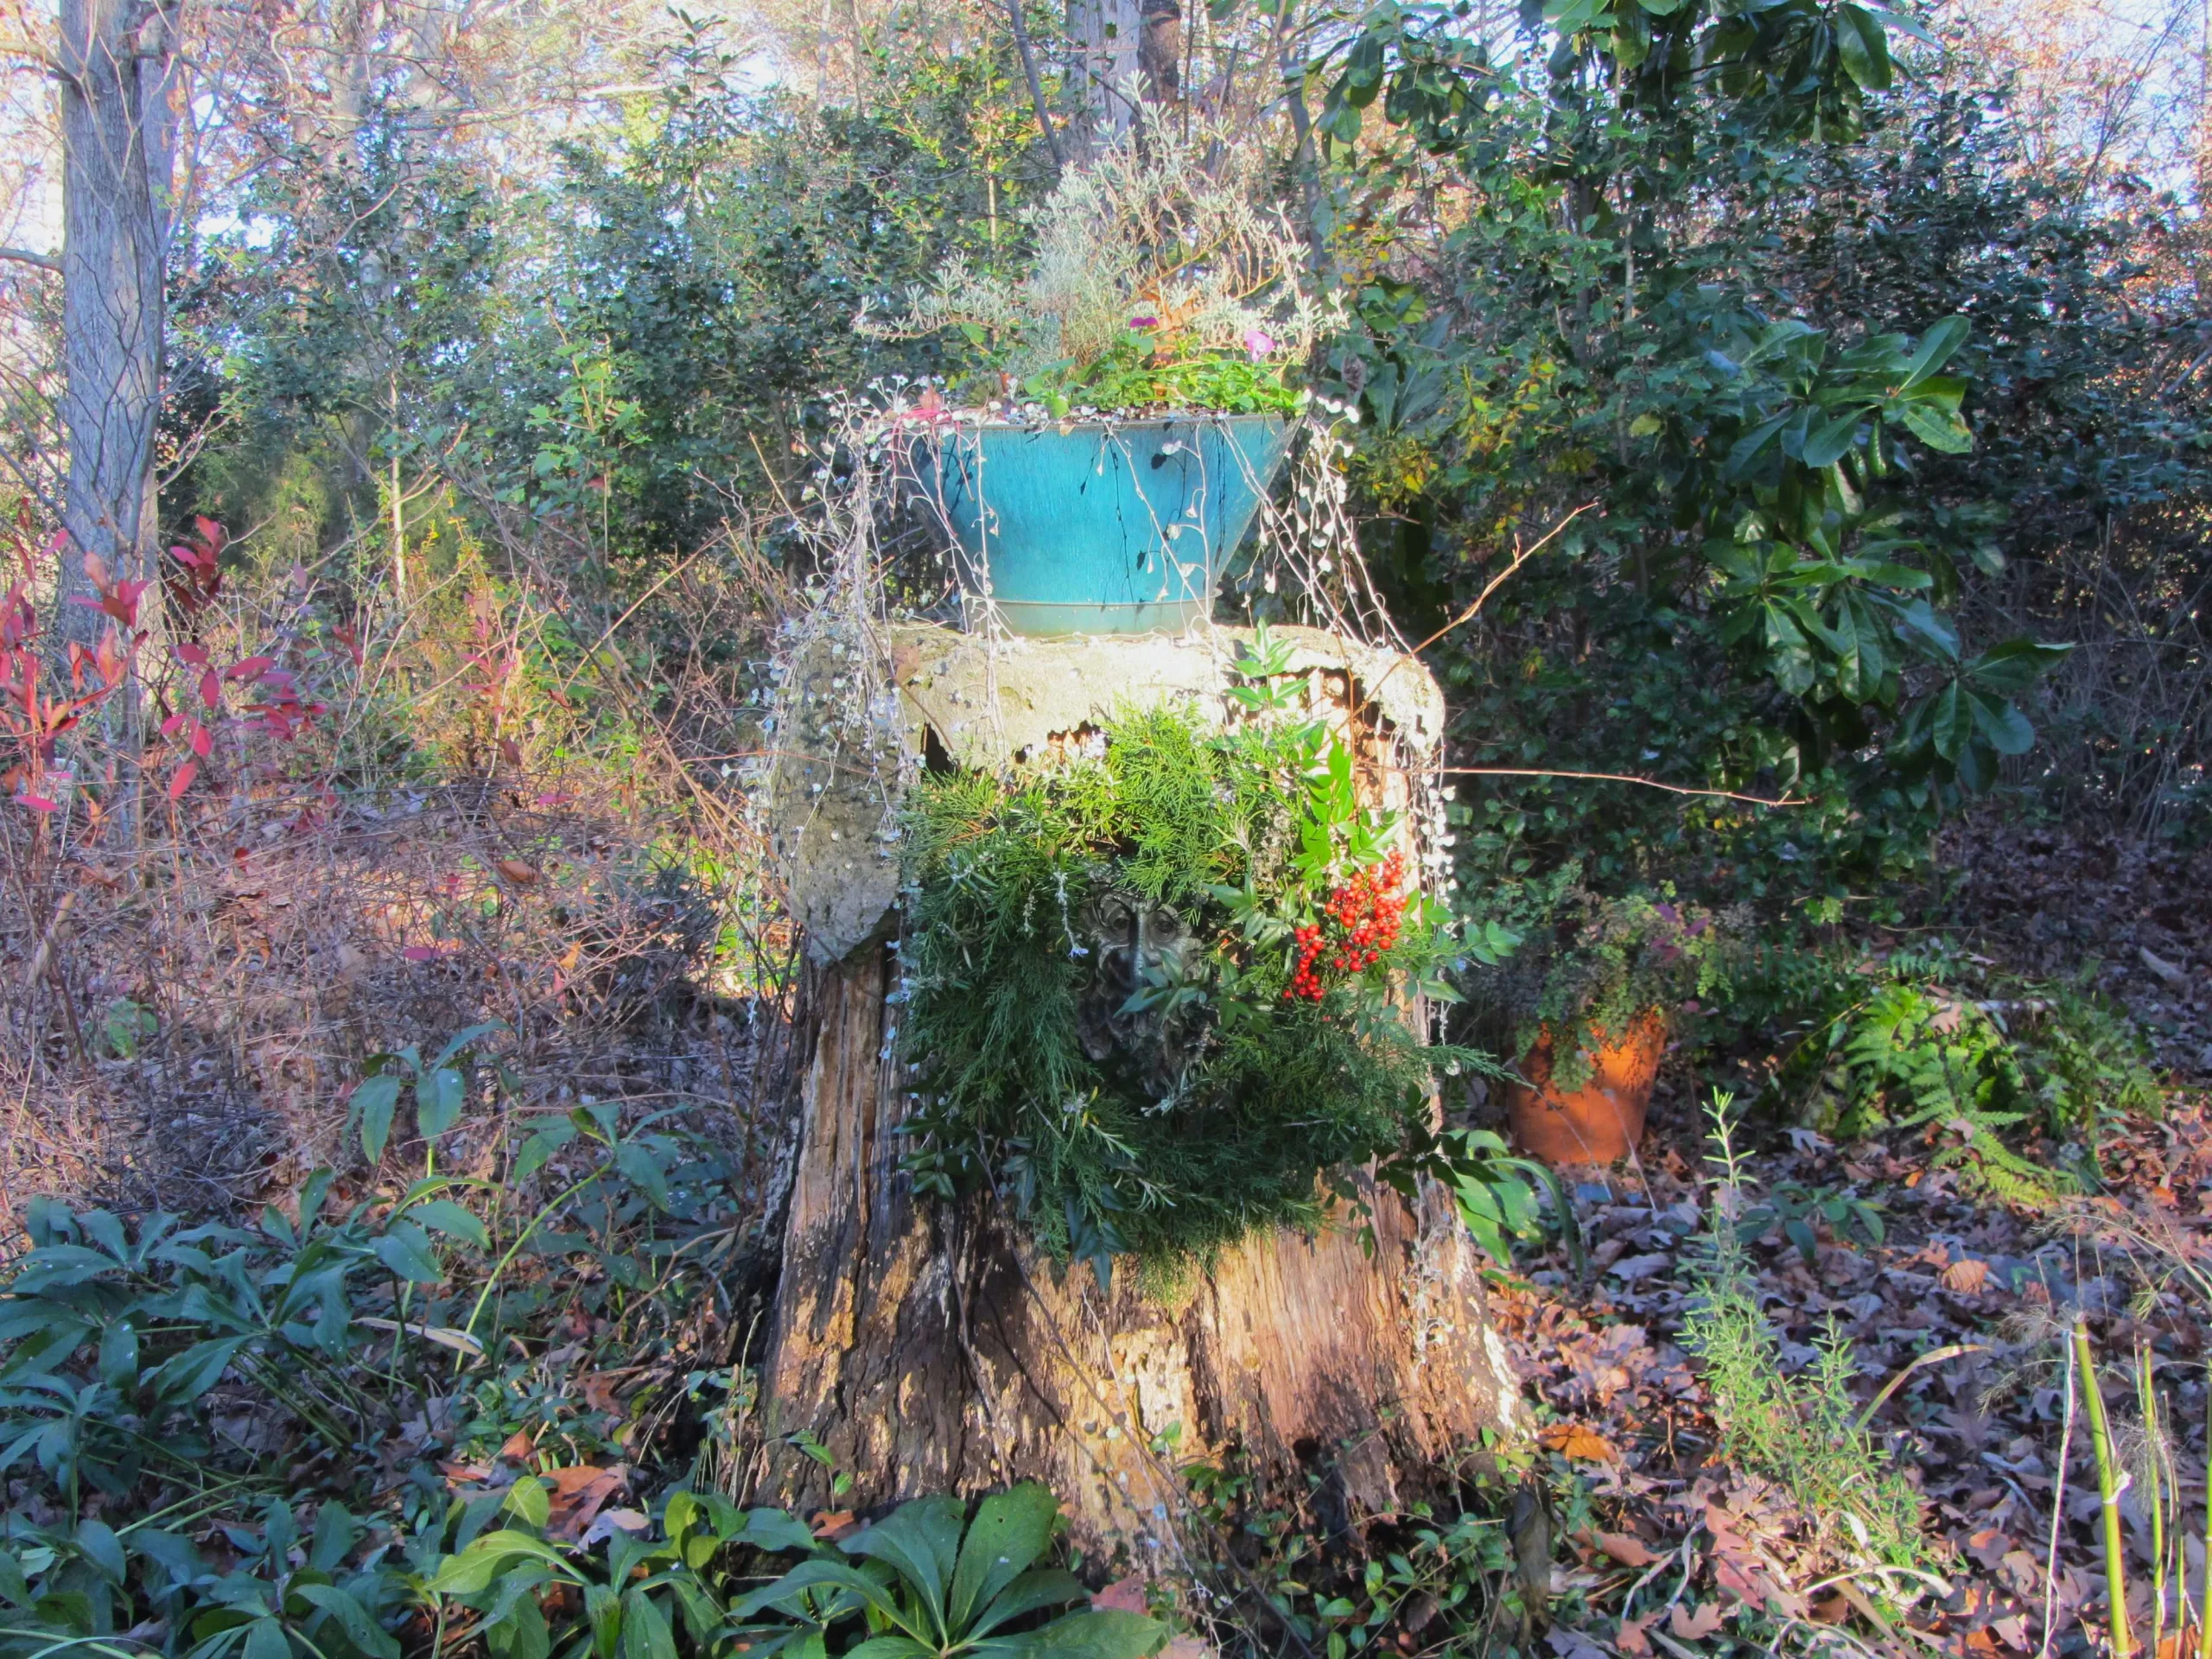
Direct sun and indoor heat will cause the greens to fade more quickly. You can mist the wreath every few days, if needed. This sort of fragrant wreath may also be used as a centerpiece on a table inside, with candles, an Amaryllis bulb, or some other plant or ornament in the center of the wreath.
Hang the wreath in a shaded spot, out of direct sun to prolong its life.
Enjoy your wreath all December, knowing you can return it all to nature in the new year. Reducing our consumption and carbon footprint is always a great way to end one year and begin the new, renewing our resolution to “Reduce, Re-use, and Recycle” for the good of the planet, and for our own well being.
Important note: Only harvest materials for your wreath from your own yard, or from a place where you have permission to take trimmings. Don’t prune stems from a public park or from the side of the road. Assume that all land is owned, and seek the owner’s permission to gather materials there.
All photos by E. L. McCoy